Leather Repair Near Me vs DIY Leather Repair Kit: Which Option Is Right?

Searching for leather repair near me usually means the leather matters. It may be a couch that anchors the living room, a car seat you see every day, a favorite pair of boots, or a bag you do not want to replace. The next decision is whether to hire a local repair shop or try a DIY leather repair kit at home.
Both options can be right. A professional repair service is best for severe damage, valuable items, structural problems, large tears, complex color matching, and jobs where the finish must be highly durable. A DIY kit can make sense for light scratches, small cracks, fading, scuffed color, and controlled repairs on smooth finished leather. The goal is to choose based on risk, not pride.
Choose DIY repair for small, contained damage on smooth finished leather when you can clean, test, repair, recolor, and protect patiently.
Choose professional leather repair for large tears, failed seams, severe peeling, expensive items, delicate leather, or uncertain leather type.
A local repair shop should be able to explain the repair process, color matching, expected durability, and limits before work begins.
DIY kits work best when expectations are realistic: improve the visible damage, blend the repair, and slow further wear.
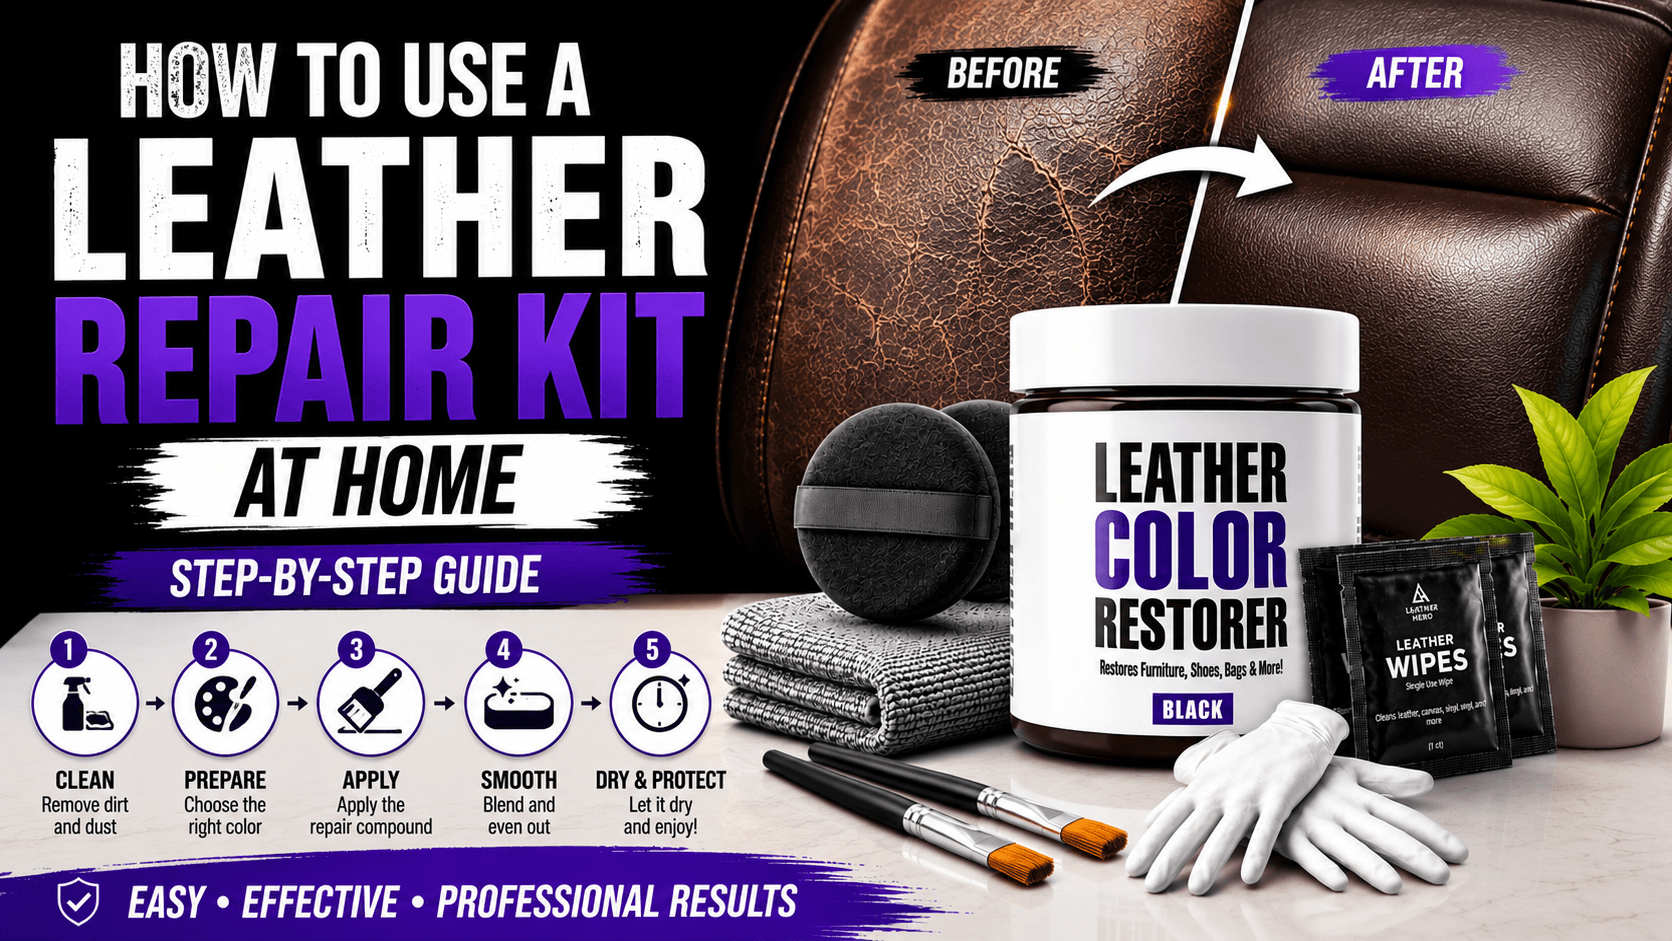
Restoration Flow
Measure the damage
Compare risk level
Choose DIY or pro
Protect the result
Visual Guide

DIY Repair Tools
A DIY kit is useful for small repairs where cleaning, filling, recoloring, and sealing can be done in controlled layers.

Color Blending Tools
Applicators help blend thin color layers after scratches, cracks, or worn areas have been cleaned and smoothed.
Quick Answer
Use a DIY leather repair kit when the damage is small, the surface is stable, and the item is not too risky to test. Examples include light scuffs on a shoe toe, a small faded couch arm, a worn car seat bolster, or a shallow scratch that does not require rebuilding a large section of leather. DIY works best when you can take your time and accept a practical improvement rather than a factory-new result.
Choose a leather repair service near you when the damage affects structure, safety, value, or a large visible area. Torn seams, deep rips, foam showing through, severe pet damage, extensive peeling, delicate designer items, and complicated color matching are good reasons to call a professional. A good repair is not just about hiding damage; it is about making the surface usable again.
Good DIY Candidates
Small scuffs, faded color, minor scratches, shallow cracks, and worn high-touch areas can often be handled at home on finished smooth leather. These projects usually need cleaning, possibly a small amount of filler, thin color restoration, and a protective top coat. The item should still feel stable and flexible, not brittle or crumbling.
DIY also makes sense when the repair area is limited and easy to test. A shoe toe, couch side panel, car bolster edge, or bag corner gives you a defined work zone. Start hidden, then move slowly. If the test improves the surface and dries correctly, you can continue with more confidence.
When Professional Repair Is Smarter
Professional repair is smarter when the damage is large, deep, structural, or emotionally expensive. A torn couch cushion, a split car seat seam, a designer handbag with delicate finish, or a jacket with ripping panels is not just a color problem. These repairs may need stitching, backing material, panel replacement, advanced fillers, spray equipment, or custom color matching.
Professionals also help when the leather type is unclear. Suede, nubuck, aniline, patent leather, bonded leather, and coated automotive leather behave differently. Using the wrong home product can darken, flatten, or stain a surface. If you cannot identify the leather and the item matters, getting an assessment is often the safer investment.
How to Evaluate a Local Leather Repair Shop
When you search leather repair near me, do more than pick the closest result. Ask what types of leather they repair, whether they handle your item category, and how they match color and sheen. A good shop should be comfortable explaining what can improve, what may remain visible, and how long the repair needs before heavy use.
Look for before-and-after examples that match your problem. A shop that restores car seats may not be the best choice for a delicate handbag, and a shoe repair shop may not handle furniture panels. Ask about cleaning, repair, color, top coat, cure time, and maintenance. Clear answers are a good sign.
What a DIY Repair Kit Should Include
A useful DIY repair setup usually includes cleaner, filler or repair compound if texture is damaged, an applicator, matching color restorer, and a compatible top coat for protection. You may not need every product for every job. If the leather is only faded, skip filler. If the leather is only dirty, skip color. The kit should match the damage.
Applicators matter more than people expect. Foam sponges, daubers, microfiber cloths, and small tools help control how much product reaches the leather. Most visible DIY mistakes come from too much product at once. Thin layers are easier to blend, easier to dry, and easier to correct.
Decision Matrix
Choose DIY when the area is smaller than your hand, the leather is finished and smooth, the surface is not actively peeling, and the item can be tested in a hidden spot. Choose professional help when the damage spreads across a large panel, the leather has missing chunks, the color is hard to match, or the item is expensive enough that a failed attempt would be painful.
Time matters too. DIY repair is not just product application. It includes cleaning, drying, testing, applying thin layers, waiting, inspecting, and protecting. If you need the item ready immediately, a professional may still be better. If you can work patiently over a weekend, DIY becomes more realistic.
How to Start a DIY Repair Safely
Start with a hidden test. Clean a small area, let it dry, and apply the smallest amount of repair or color product needed. Watch how the leather accepts it. Does the color match after drying? Does the surface feel sticky, stiff, or smooth? Does the repair flex without cracking? The test gives you information before the visible area is at risk.
Mask surrounding materials when needed, especially around car trim, shoe soles, handbag hardware, and contrast stitching. Keep products controlled on the applicator. Do not flood seams or perforations. Let each layer dry fully. If the project starts to look worse, stop and reassess before adding more product.
Expectations for DIY Results
A DIY leather repair kit can make damage less visible, restore color, smooth small defects, and protect a worn area. It may not make old leather look brand new. Grain, age, old cracking, and previous damage can still show in certain light. That does not mean the repair failed. A good home repair often makes the item look cared for again rather than untouched.
Durability depends on preparation and use. A repaired shoe toe, steering wheel, seat bolster, or couch arm may need maintenance because it keeps receiving friction. Sealing and careful cleaning help, but high-use areas will always wear faster than decorative areas.
When to Stop and Call a Professional
Stop if the leather keeps peeling, if filler will not grip, if color dries in obvious patches, if the item becomes sticky, or if the damage spreads while you work. Adding more product rarely fixes an unstable surface. A professional may be able to strip, stabilize, recolor, or refinish in a way that home tools cannot.
Also stop if the repair affects safety or function. A slippery steering wheel, a tearing car seat seam, unstable footwear, or a handbag strap that bears weight should not be treated as a cosmetic-only project. Some repairs need structure first and appearance second.
Conclusion
Leather repair near me and DIY leather repair kit are not competing answers. They are options for different levels of risk. DIY is a smart choice for small, stable, cosmetic repairs on smooth finished leather. Professional repair is smarter for large, structural, valuable, delicate, or uncertain projects.
Choose the path that protects the item. If you go DIY, clean first, test hidden, build thin layers, and seal high-wear areas. If you hire a local service, ask clear questions about process, limits, color match, and durability. Either way, the best repair starts with an honest diagnosis.
Match the product to the leather type, finish, and condition, then test it on a hidden area before full application.
Leather Hero Care NoteRecommended Product
Leather Filler Paste Kit
A focused product pick for the restoration steps in this guide.
Helpful References
Frequently Asked Questions
Is a DIY leather repair kit worth it?
It can be worth it for small scratches, scuffs, faded color, and minor cracks on smooth finished leather. It is less suitable for large tears, severe peeling, or delicate leather.
When should I search for leather repair near me instead of doing it myself?
Choose a local professional for torn seams, large rips, structural damage, expensive items, uncertain leather types, or repairs where a visible mistake would be costly.
Can a DIY kit fix cracked leather?
A kit can improve small cracks if the leather is stable. Deep, widespread, or brittle cracking may need professional repair or replacement panels.
Can I repair peeling leather at home?
Small peeling spots may improve if the loose surface can be stabilized. Large bonded-leather peeling or widespread coating failure is usually a poor DIY candidate.
Should I use color restorer after repairing leather?
Yes, if the repaired area needs color blending. Repair texture first, then apply thin color layers after the surface is smooth and dry.
Join The List
Leather Care, Delivered.
Get expert guides and exclusive offers in your inbox.