Best Leather Repair Kit for Cracked, Worn, and Peeling Leather

The best leather repair kit is not the biggest kit or the one with the most colors. It is the kit that matches the actual damage. Cracked leather needs a product that can improve texture. Worn leather may need cleaning and color restoration. Peeling leather may need a much more careful diagnosis because the surface layer may be failing. Scratched leather may need either color or filler depending on depth.
This guide explains how to choose a repair kit for cracked, worn, and peeling leather. It focuses on finished smooth leather furniture, shoes, bags, jackets, steering wheels, and car interiors. It also explains when a home kit is realistic and when replacement or professional repair may be smarter.
A good repair kit should match the damage type: cleaner for residue, filler for missing material, color restorer for fading, and top coat for protection.
Cracked leather usually needs texture repair before color restoration can look natural.
Worn leather may only need cleaning and color restorer if the surface is still smooth.
Peeling bonded leather can be difficult to repair permanently because the surface layer itself may be failing.
Restoration Flow
Diagnose the damage
Clean and prepare
Fill or recolor
Seal and maintain
Visual Guide

Filler for Cracks
Choose filler when cracks, gouges, or missing material create rough texture that color cannot hide.

Cleaner for Worn Leather
Worn leather often looks worse because of grime and oils, so cleaning may reveal how much repair is truly needed.
Color for Faded Wear
When wear has removed pigment but the surface is smooth, a matching color restorer is often the key product.
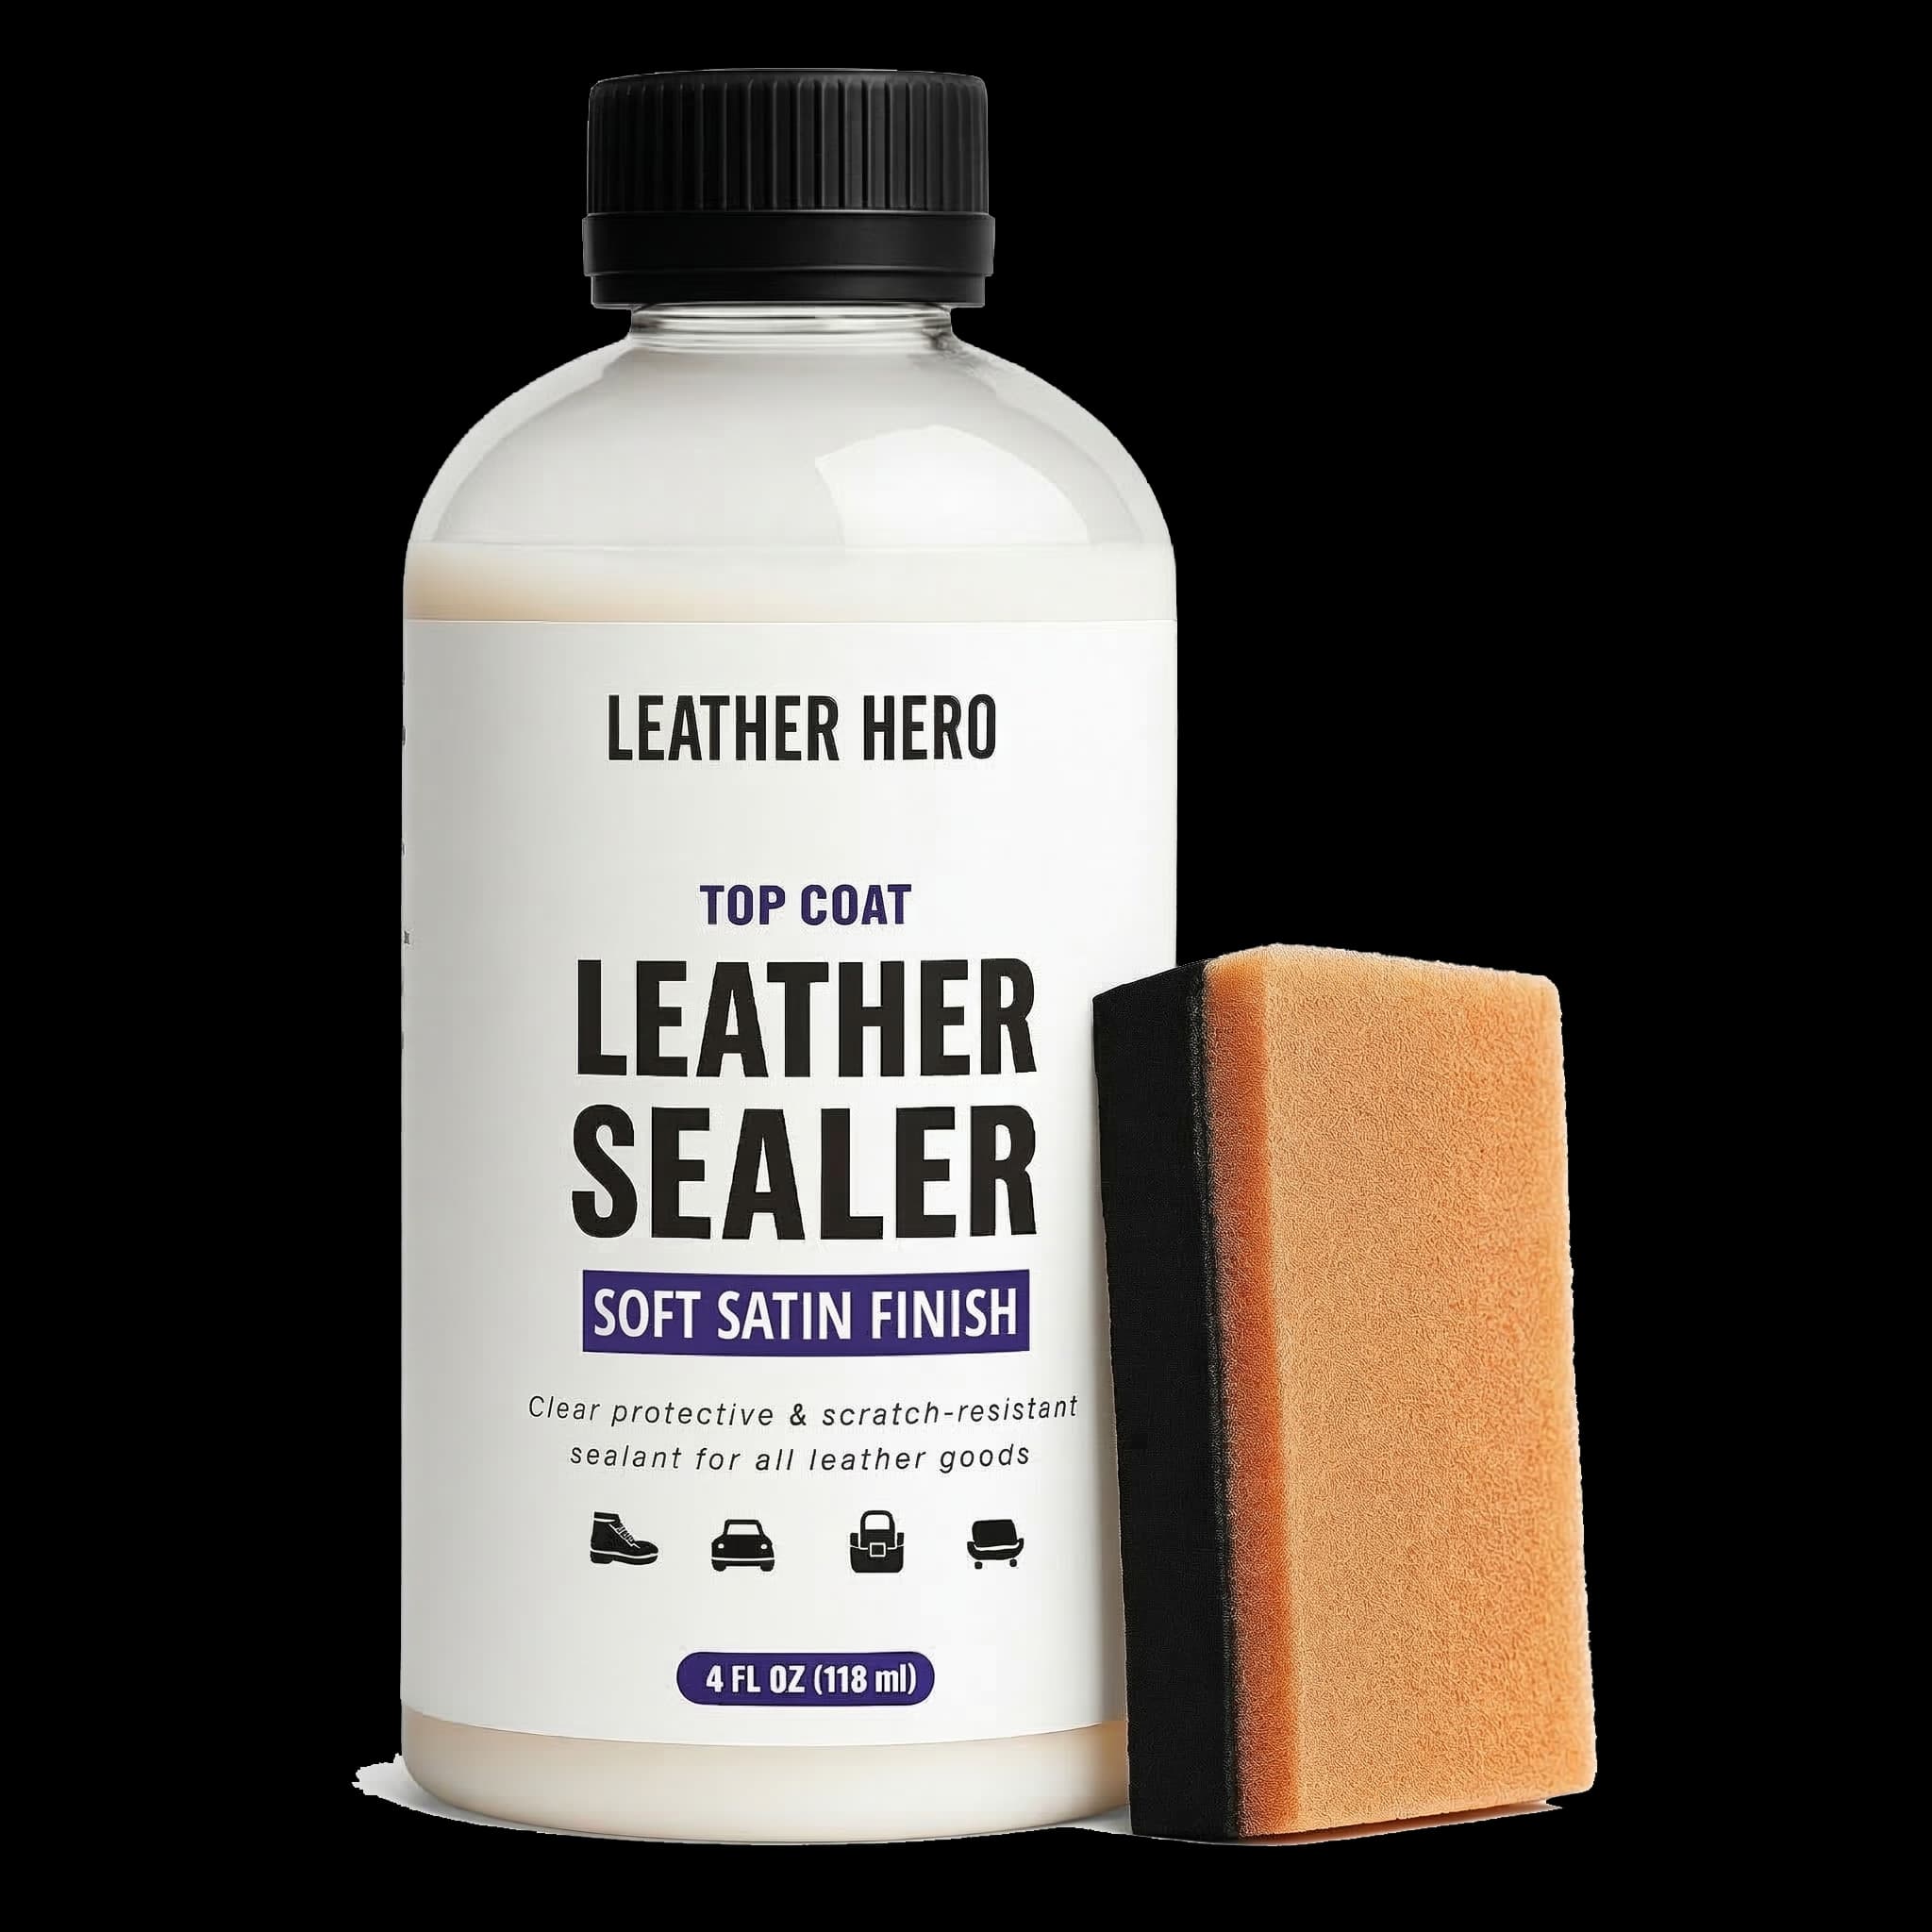
Finish for Durability
Top coat protects repaired and recolored areas from friction, cleaning, and repeated handling.
What the Best Leather Repair Kit Should Include
A useful repair kit should solve a sequence of problems, not just add color. At minimum, a serious repair setup should include a way to clean the surface, a filler or repair compound for texture damage, an applicator, a color product that matches the leather, and a top coat or sealer for high-wear areas. Some projects do not need every step, but a complete kit gives you options when the damage is more than a simple scuff.
The right kit depends on the leather. A black leather couch with pale arms may need cleaner, black color restorer, and satin finish. A cracked seat edge may need cleaner, filler, color, and top coat. A scratched bag corner may only need cleaner and a tiny color touch-up. A peeling bonded leather cushion may need more than a home kit can reasonably provide.
Best Kit for Cracked Leather
Cracked leather has a texture problem. If you can feel the crack with your fingernail, color alone will not make it disappear. The best leather repair kit for cracks should include filler or paste that can level the damaged area before color is applied. Thin filler layers are usually better than one thick layer because they dry more evenly and are easier to blend.
After filler dries and the area feels smoother, use matching color restorer to blend the repair into the surrounding leather. Finish protection is important because cracks usually appear where leather flexes, bends, or gets friction. Couch arms, car bolsters, shoe toes, and bag handles all need a durable final surface.
Best Kit for Worn Leather
Worn leather is not always cracked. Sometimes it is dirty, dull, oily, faded, or lightly scuffed. In those cases, the best kit starts with cleaner and color restorer rather than filler. Cleaning removes the buildup that makes leather look flat, and it also shows you whether the surface is truly damaged.
If the leather is smooth after cleaning but still pale, use color restorer. Apply thin coats and stop when the tone looks even. Worn areas are usually high-contact areas, so a top coat is worth considering. This is especially true for couches, steering wheels, driver seats, shoes, and handbag handles.
Best Kit for Peeling Leather
Peeling leather needs the most caution. If the item is bonded leather or faux leather and the surface film is separating, a repair kit may improve appearance temporarily but may not create a permanent fix. The problem is not only color; the top layer is failing. Any repair sits on a surface that may continue to peel around the patch.
For small peeling edges on finished leather, filler and color may help if the surrounding surface is stable. Clean gently, remove only loose flakes, apply thin filler where needed, restore color, and seal. For widespread peeling, replacement, reupholstery, or professional repair may be more honest than expecting a small kit to rebuild a failing surface.
Best Kit for Scratches and Scuffs
For light scratches, choose a kit with cleaner and matching color restorer. If the scratch is pale but smooth, filler may be unnecessary. A small dauber or cotton swab helps apply color only where needed. Feather the edges so the scratch does not become a rectangular patch.
For deep scratches, choose a kit with filler. The same rule applies: texture first, color second, protection third. Shoes and bags require especially thin repairs because they flex and are seen up close. Couches and car seats need panel-level blending so the repair does not stand out.
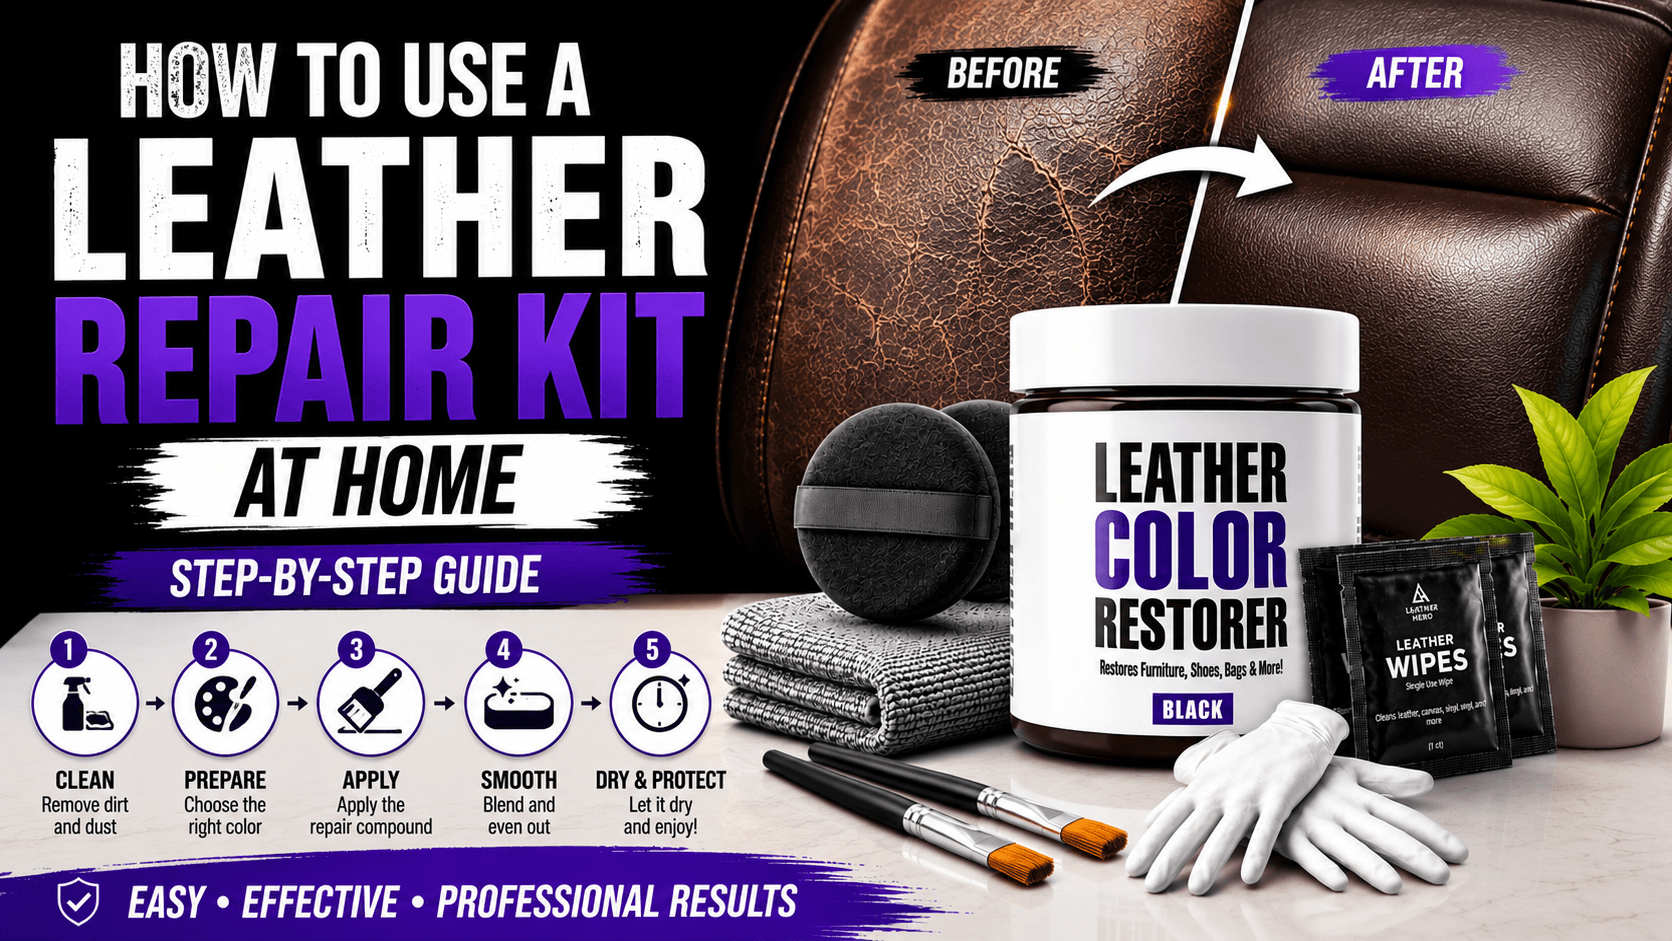
How to Use a Leather Repair Kit
Start by cleaning the leather and letting it dry naturally. Do not trap moisture under filler or color. Next, repair physical damage with filler if needed. Let each layer dry and keep the repair as thin as the damage allows. Once the texture is smooth, apply matching color restorer in thin coats, drying between coats.
After color dries, use the finish that matches the item. Matte is subtle for furniture and car interiors. Satin is a flexible middle choice. Gloss works best for polished shoes and dressier accessories. Let the final surface cure before heavy use. The repair may feel dry to the touch before it is ready for daily friction.
When a Home Kit Is Not Enough
A home repair kit is best for small to medium cosmetic damage on finished smooth leather. It is less reliable for large tears, structural seam failures, rotten leather, severe peeling, expensive designer pieces, exotic leather, suede, nubuck, and heavily cracked areas that need professional rebuilding. Knowing that limit protects your item and your expectations.
If the leather is valuable or sentimental, test slowly. If a hidden test darkens, wrinkles, lifts, or becomes sticky, stop. If the item is a car steering wheel or seat with safety concerns, avoid any repair that creates a slippery or unstable surface. The best repair is not only better-looking; it also has to feel safe and usable.
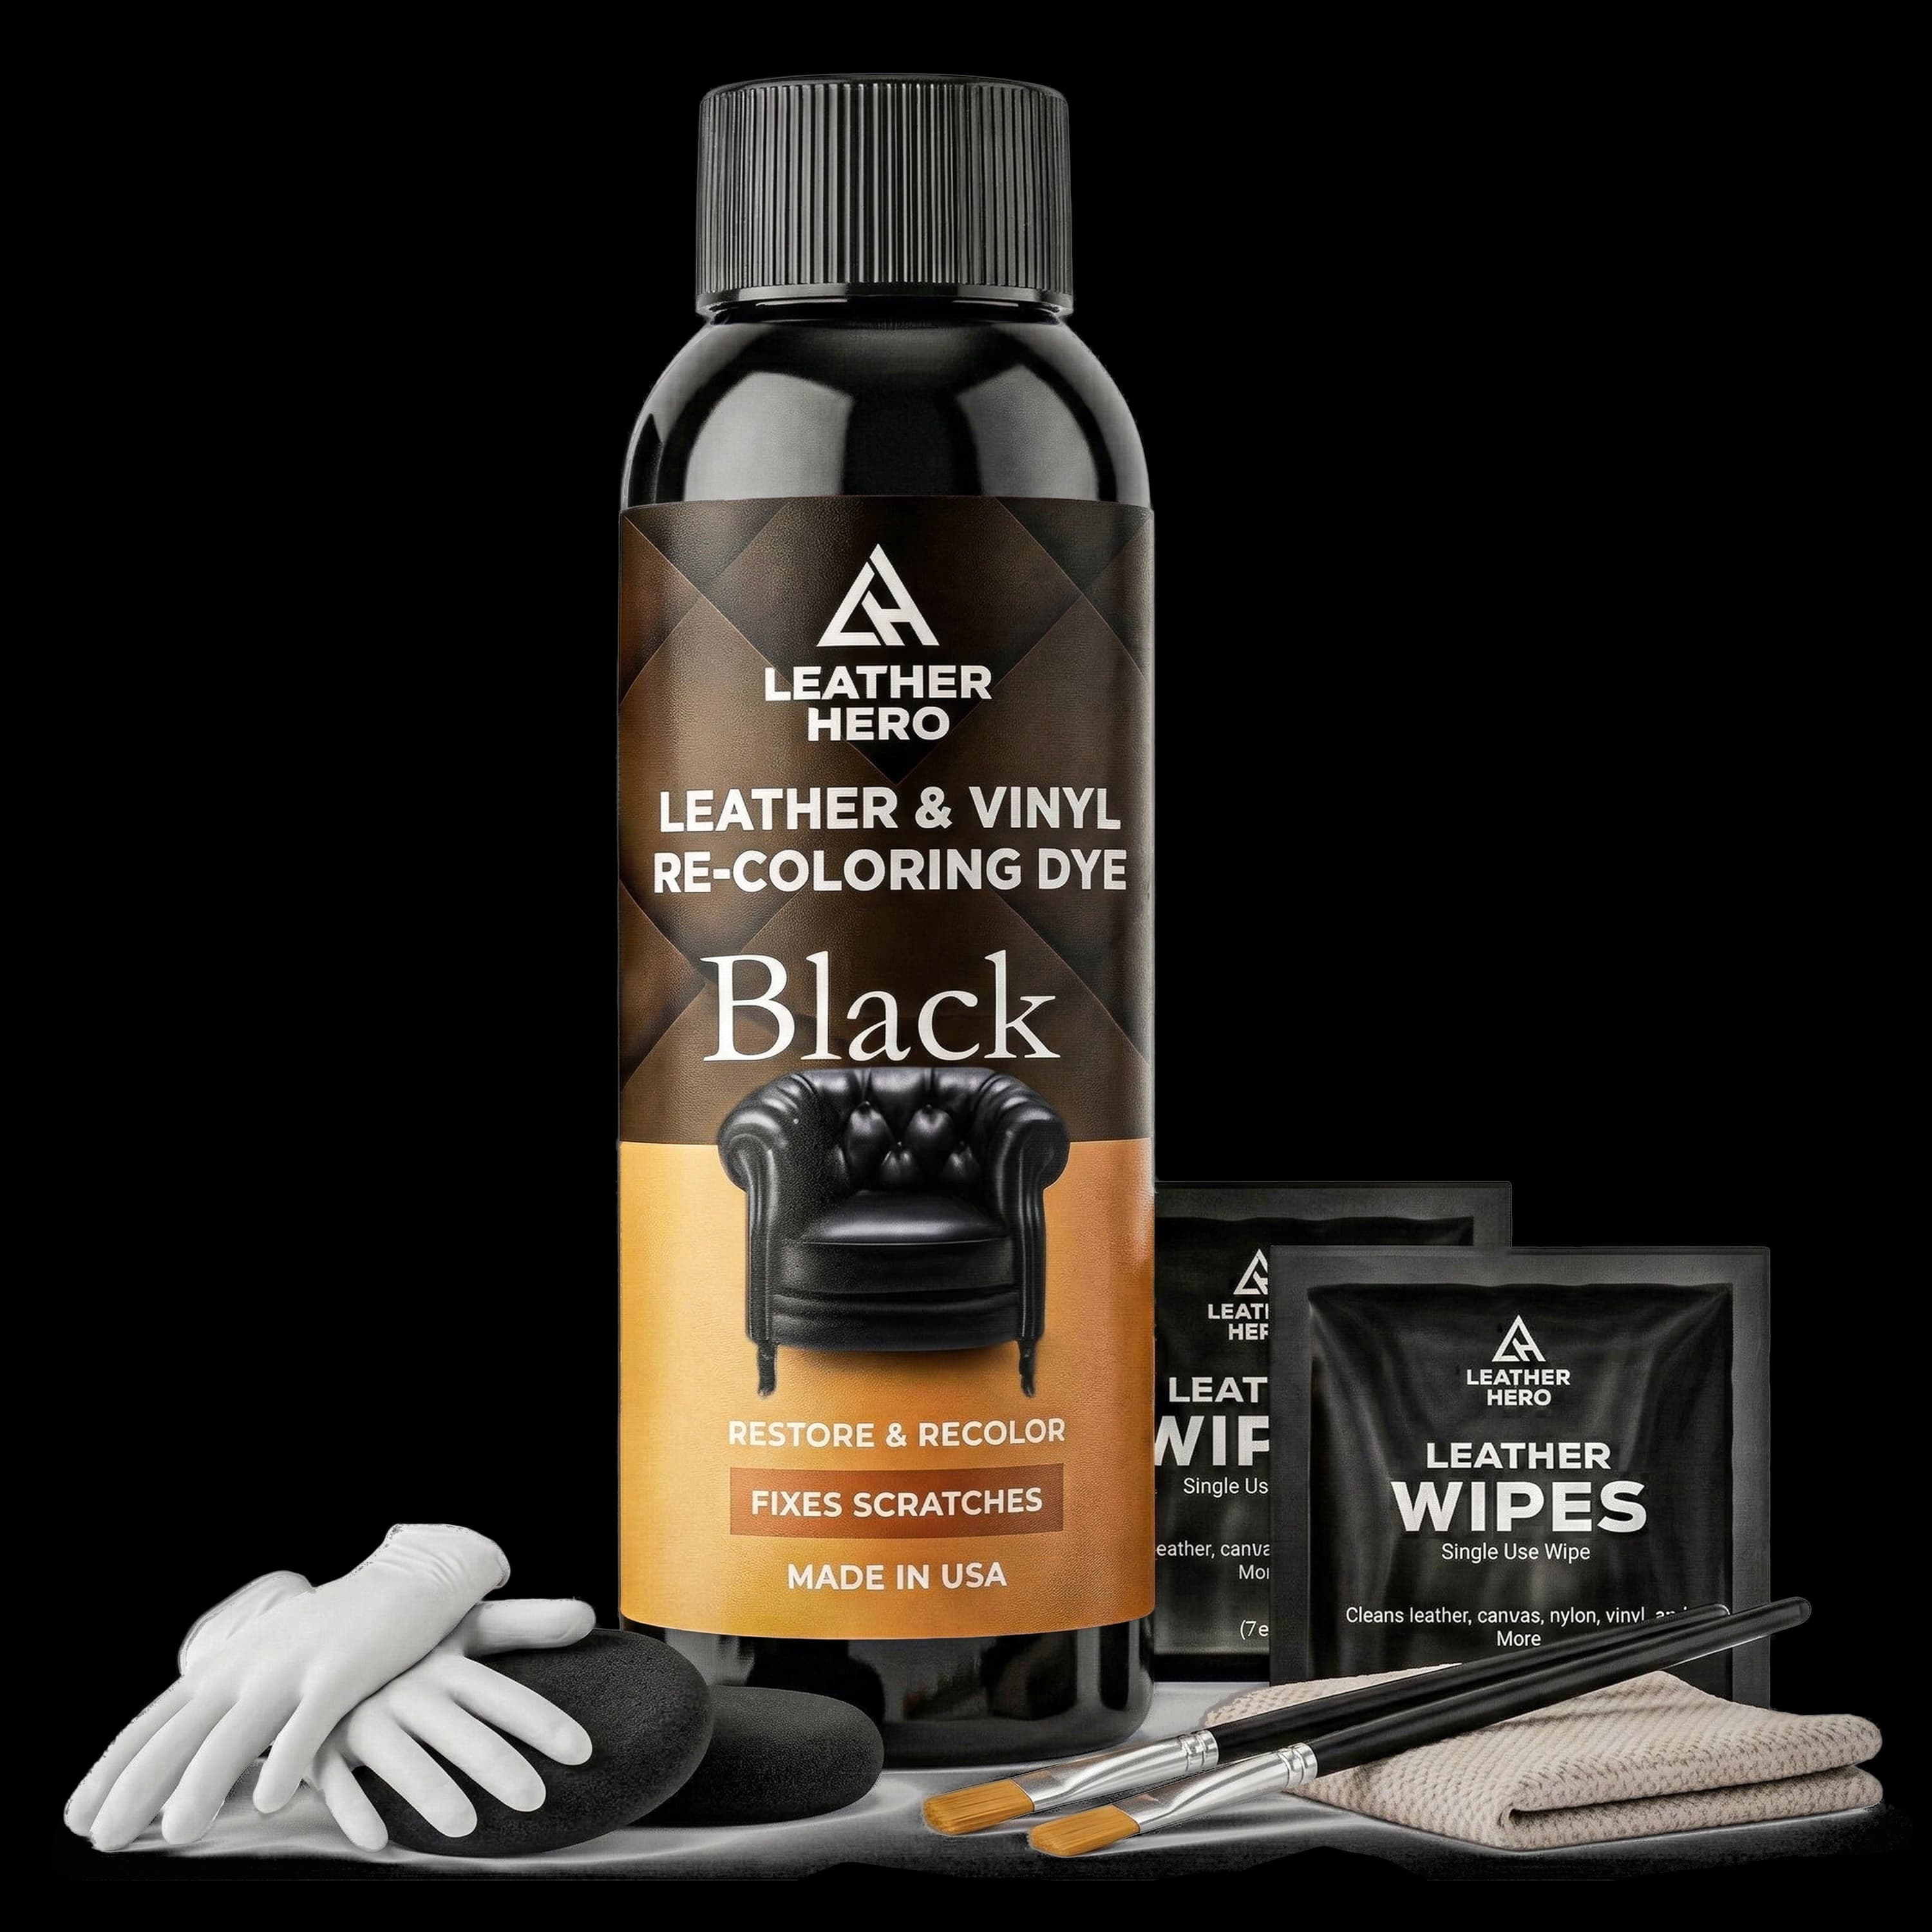
Recommended Leather Hero Repair Path
For cracked or gouged leather, start with Leather Hero Cleaner & Preparer, use Leather Hero Leather Filler Paste Kit on the damaged texture, restore color with the closest Leather Hero Color Restorer Kit, then protect with matte, satin, or gloss finish. For worn but smooth leather, use cleaner and color restorer first, then finish protection if the area gets friction.
For peeling leather, inspect carefully before buying. If the surface is failing broadly, no small kit can promise a permanent repair. If the peeling is minor and the surrounding surface is stable, filler, color, and top coat may improve appearance. Keep expectations realistic and focus on stopping the repair from becoming heavier than the leather can support.
Conclusion
The best leather repair kit for cracked, worn, and peeling leather is the one that matches the damage. Cracks need filler, worn color needs restorer, dirty leather needs cleaner, and repaired high-contact areas need a protective finish. Buying one product for every problem usually leads to patchy results.
For most Leather Hero projects, think in order: clean, repair texture, restore color, protect finish, and maintain gently. That sequence gives cracked, worn, scratched, and lightly peeling finished leather the best chance of looking natural again without replacing the item too soon.
Match the product to the leather type, finish, and condition, then test it on a hidden area before full application.
Leather Hero Care NoteRecommended Product
Leather Hero Leather Filler Paste Kit
A focused product pick for the restoration steps in this guide.
Helpful References
Townsend Leather Cleaning Guide
External reference on gentle leather cleaning before stronger repair treatments.
How to Fix Scratched Leather
Step-by-step scratch repair guide for shoes, bags, couches, and car interiors.
Leather Restoration Products Guide
Learn when to use cleaner, filler, color restorer, top coat, and maintenance products.
Frequently Asked Questions
What is the best leather repair kit for cracked leather?
Choose a kit that includes leather filler or paste, cleaner, matching color restorer, and a protective finish. Cracks need texture repair before color.
Can a leather repair kit fix peeling leather?
It may improve small stable peeling areas, but widespread bonded-leather peeling is hard to repair permanently because the surface layer is failing.
Do I need filler for worn leather?
Only if the worn area is rough, cracked, gouged, or missing material. Smooth worn leather may only need cleaning, color restorer, and top coat.
Should I clean leather before using a repair kit?
Yes. Cleaning removes oils, dust, polish, and residue so filler, color, and finish products can bond more evenly.
Can I use a leather repair kit on suede?
No, not unless the product specifically says it is safe for suede. Suede and nubuck need specialized brush, eraser, cleaner, and protector routines.
Related Posts
View All

Join The List
Leather Care, Delivered.
Get expert guides and exclusive offers in your inbox.