
How to Use a Leather Repair Kit at Home: Step-by-Step Guide
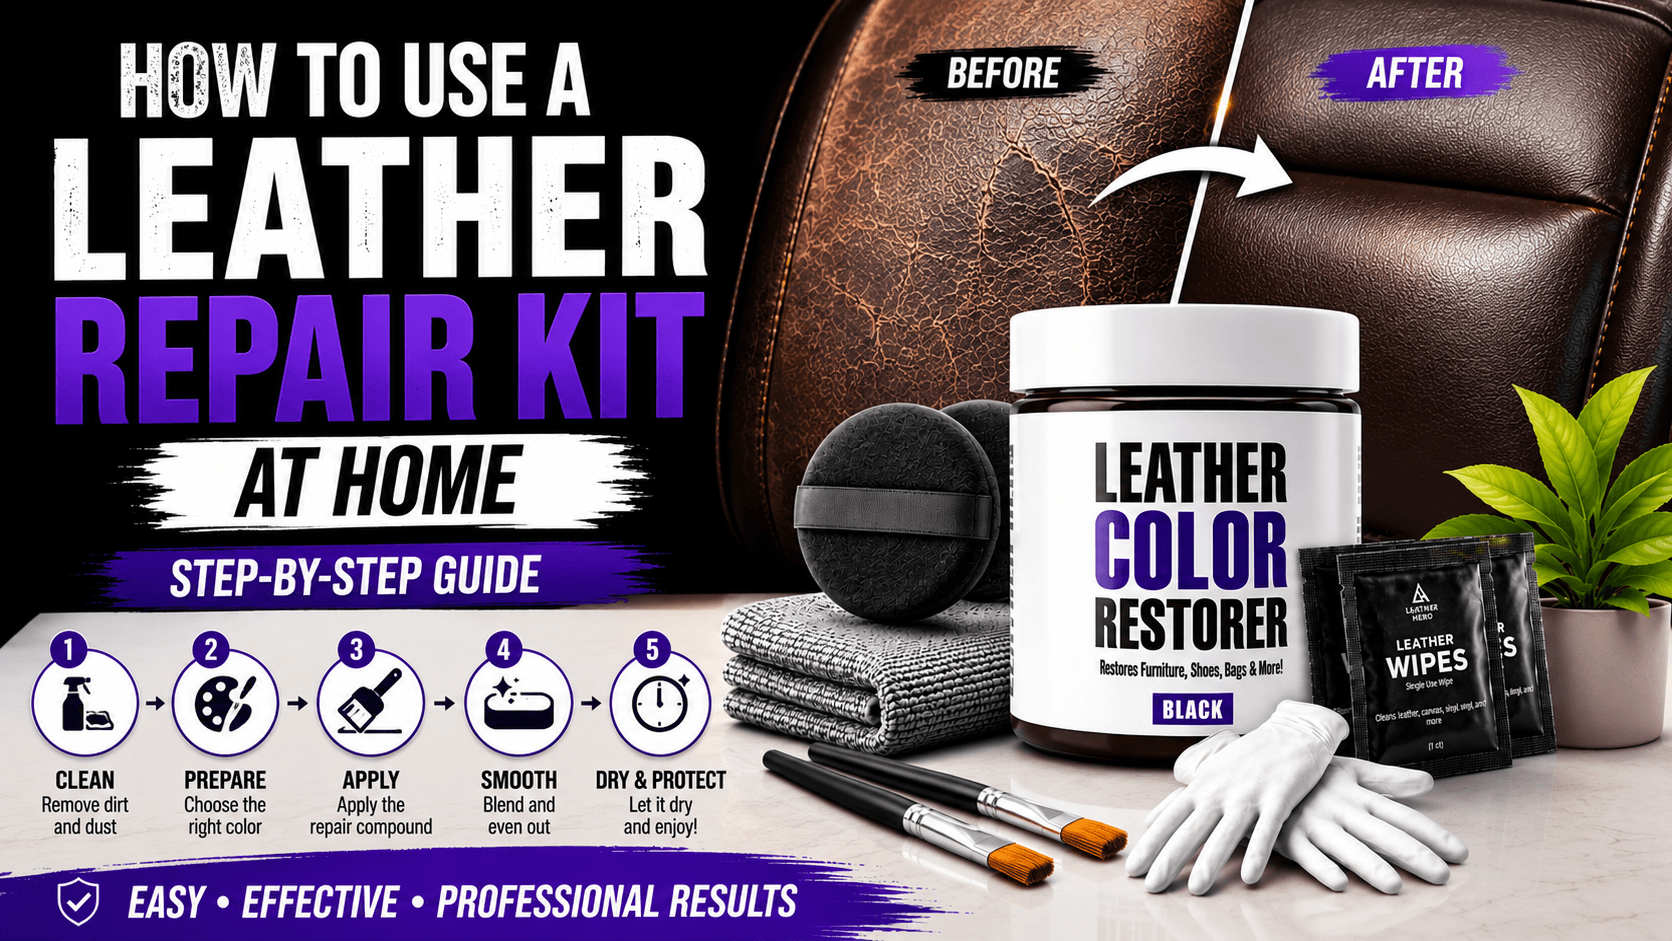
A leather repair kit can save a couch arm, car seat, ottoman, shoe toe, handbag corner, or jacket panel from looking permanently damaged. But the kit only works well when the damage is prepared correctly. Repairing leather is not just filling a mark and covering it with color. It is a sequence: clean the surface, stabilize loose edges, fill only what is missing, level the repair, recolor carefully, and protect the finished area.
This step-by-step guide is written for home users who want a professional-looking result without pretending every project is simple. Small scratches, shallow cracks, worn color, and minor surface damage can often be improved at home. Deep tears, structural seam failure, large holes, badly peeling bonded leather, or expensive heirloom pieces may need a specialist. Knowing that difference helps you get better results and avoid making damage harder to fix later.
A leather repair kit is best for small scratches, shallow cracks, worn edges, minor holes, and areas where material needs to be leveled before recoloring.
Cleaning and drying are essential. Repair filler should not be applied over dust, oils, old conditioner, loose finish, or damp leather.
Use thin layers of filler or repair compound, let each layer cure as directed, and smooth carefully before adding color.
After repair and recoloring, protect high-use surfaces with a top coat so the repaired area can handle friction and cleaning.
Restoration Flow
Clean and inspect damage
Fill shallow damage in layers
Blend color over repair
Seal the repaired surface
What a Leather Repair Kit Can Fix
A leather repair kit is useful when the surface has physical damage that color alone cannot solve. Light scratches can often be reduced with cleaning, conditioning, or color restoration, but deeper scratches and small cracks need something to level the surface. A repair kit fills low spots, supports worn edges, and creates a smoother base for color. This is why repair usually comes before recoloring, not after it.
Common repair-kit projects include couch arms with claw marks, car seat bolsters with shallow cracking, shoe toes with scuffed grain, handbag corners with worn edges, and ottomans with small cuts. The repair should be realistic. If the leather is split through the backing, if foam is exposed, if stitching has failed, or if the item is made from bonded leather that is peeling in sheets, a home kit may improve appearance but may not create a long-term structural fix.
The best mindset is restoration, not disguise. You are trying to make damage cleaner, stronger, smoother, and less visible. You are not trying to erase the fact that leather is a natural material that moves, flexes, creases, and ages.
Tools and Products to Prepare
Before starting, gather a leather cleaner, soft cloths, applicators, filler or repair compound, fine smoothing material if the kit requires it, matching color restorer, and a protective top coat for high-use surfaces. Good lighting is also important. Many repair mistakes happen because the user works in a dim room and only notices texture problems after the color dries.
Use the product that matches the step. Leather Hero Leather Filler Paste Kit is a repair-focused product for filling and leveling small damage. Leather Hero Cleaner & Restorer is useful before repair because clean leather gives the repair compound a better surface. Leather Hero Color Restorer Kit can be used after the filled area has cured and been smoothed, so the repair blends with the surrounding color. For seats, steering wheels, couch arms, and shoes, a top coat helps protect the final result.
Avoid household shortcuts. Super glue can make leather hard and shiny. Shoe polish can transfer. Acrylic paint can crack on flexible areas. Alcohol, bleach, and harsh degreasers can strip finish and dry the leather. Leather repair is easiest when every product in the system is made for leather.
Step 1: Clean and Dry the Leather
Start with a dry cloth or soft brush to remove surface dust. If the item has seams, vacuum them gently. Then clean the repair area and several inches around it. The surrounding area matters because color blending often extends beyond the exact scratch or crack. Use light pressure and repeat if the cloth keeps lifting dirt. Let the leather dry fully before filling.
Do not apply filler over conditioner residue, body oil, wax, or moisture. These can weaken adhesion and cause the repair to lift. If the leather has been treated recently with a heavy conditioner or polish, give it extra cleaning time and test the repair compound in a hidden area. Preparation is slow, but it saves the project.
Step 2: Trim, Stabilize, and Fill
Inspect the damage closely. If there are loose flakes or raised edges, do not pull aggressively. Trim only material that is already detached and cannot be laid flat. For a crack, press the edges gently so you understand whether the gap is shallow or deep. Apply filler in thin layers instead of trying to fill the entire defect at once. Thin layers cure more evenly and are easier to smooth.
Use just enough filler to level the damaged area. Overfilling creates a raised patch that becomes obvious once color is applied. Underfilling leaves a shadow line. Let the compound dry as directed by the product instructions. If another layer is needed, add it after the first layer sets. The goal is a repair that feels smooth to the fingertip before color touches it.
Step 3: Smooth and Blend the Surface
Once the filled area has cured, check it from different angles. Run a clean fingertip gently across the repair. If you feel a ridge, the eye will probably see it after color. Smooth carefully according to the kit directions. Work lightly. Aggressive sanding or scraping can damage the surrounding leather finish and make the repair area larger.
Blending is where many home repairs become visible. Do not color only the exact filled spot with a hard border. Feather color slightly beyond the repair so the tone transitions naturally. Thin coats are important because a thick color layer can create a shiny patch, hide grain, or crack on flexible areas.
Step 4: Recolor and Protect
After the surface is smooth, apply matching color restorer in thin coats. If the leather is black, a black color restorer can blend scuffs and repaired scratches effectively. For brown leather, match the shade carefully and test first. Allow each coat to dry before deciding whether another coat is necessary. Stop when the repair is visually blended; more product is not always better.
For furniture seats, car interiors, shoe toes, purse corners, and other high-friction zones, finish with a protective top coat after the color has dried as directed. This helps the repair resist rubbing, cleaning, moisture, and regular handling. Let the item cure before heavy use. Sitting on a repaired couch arm too soon or wearing repaired shoes before the finish has set can shorten the life of the work.
Conclusion
A leather repair kit works best when you treat it as part of a complete restoration system. Clean first, fill only what is missing, smooth carefully, recolor in thin layers, and protect the repaired area. That process takes more patience than a quick cover-up, but the finished result looks more natural and lasts longer.
For small home repairs, pair a leather filler kit with a Leather Hero cleaner, a matching color restorer, and a top coat where the surface gets regular use. If the damage is structural, spreading, or on a very expensive item, ask a professional before making a permanent repair attempt.
Match the product to the leather type, finish, and condition, then test it on a hidden area before full application.
Leather Hero Care Note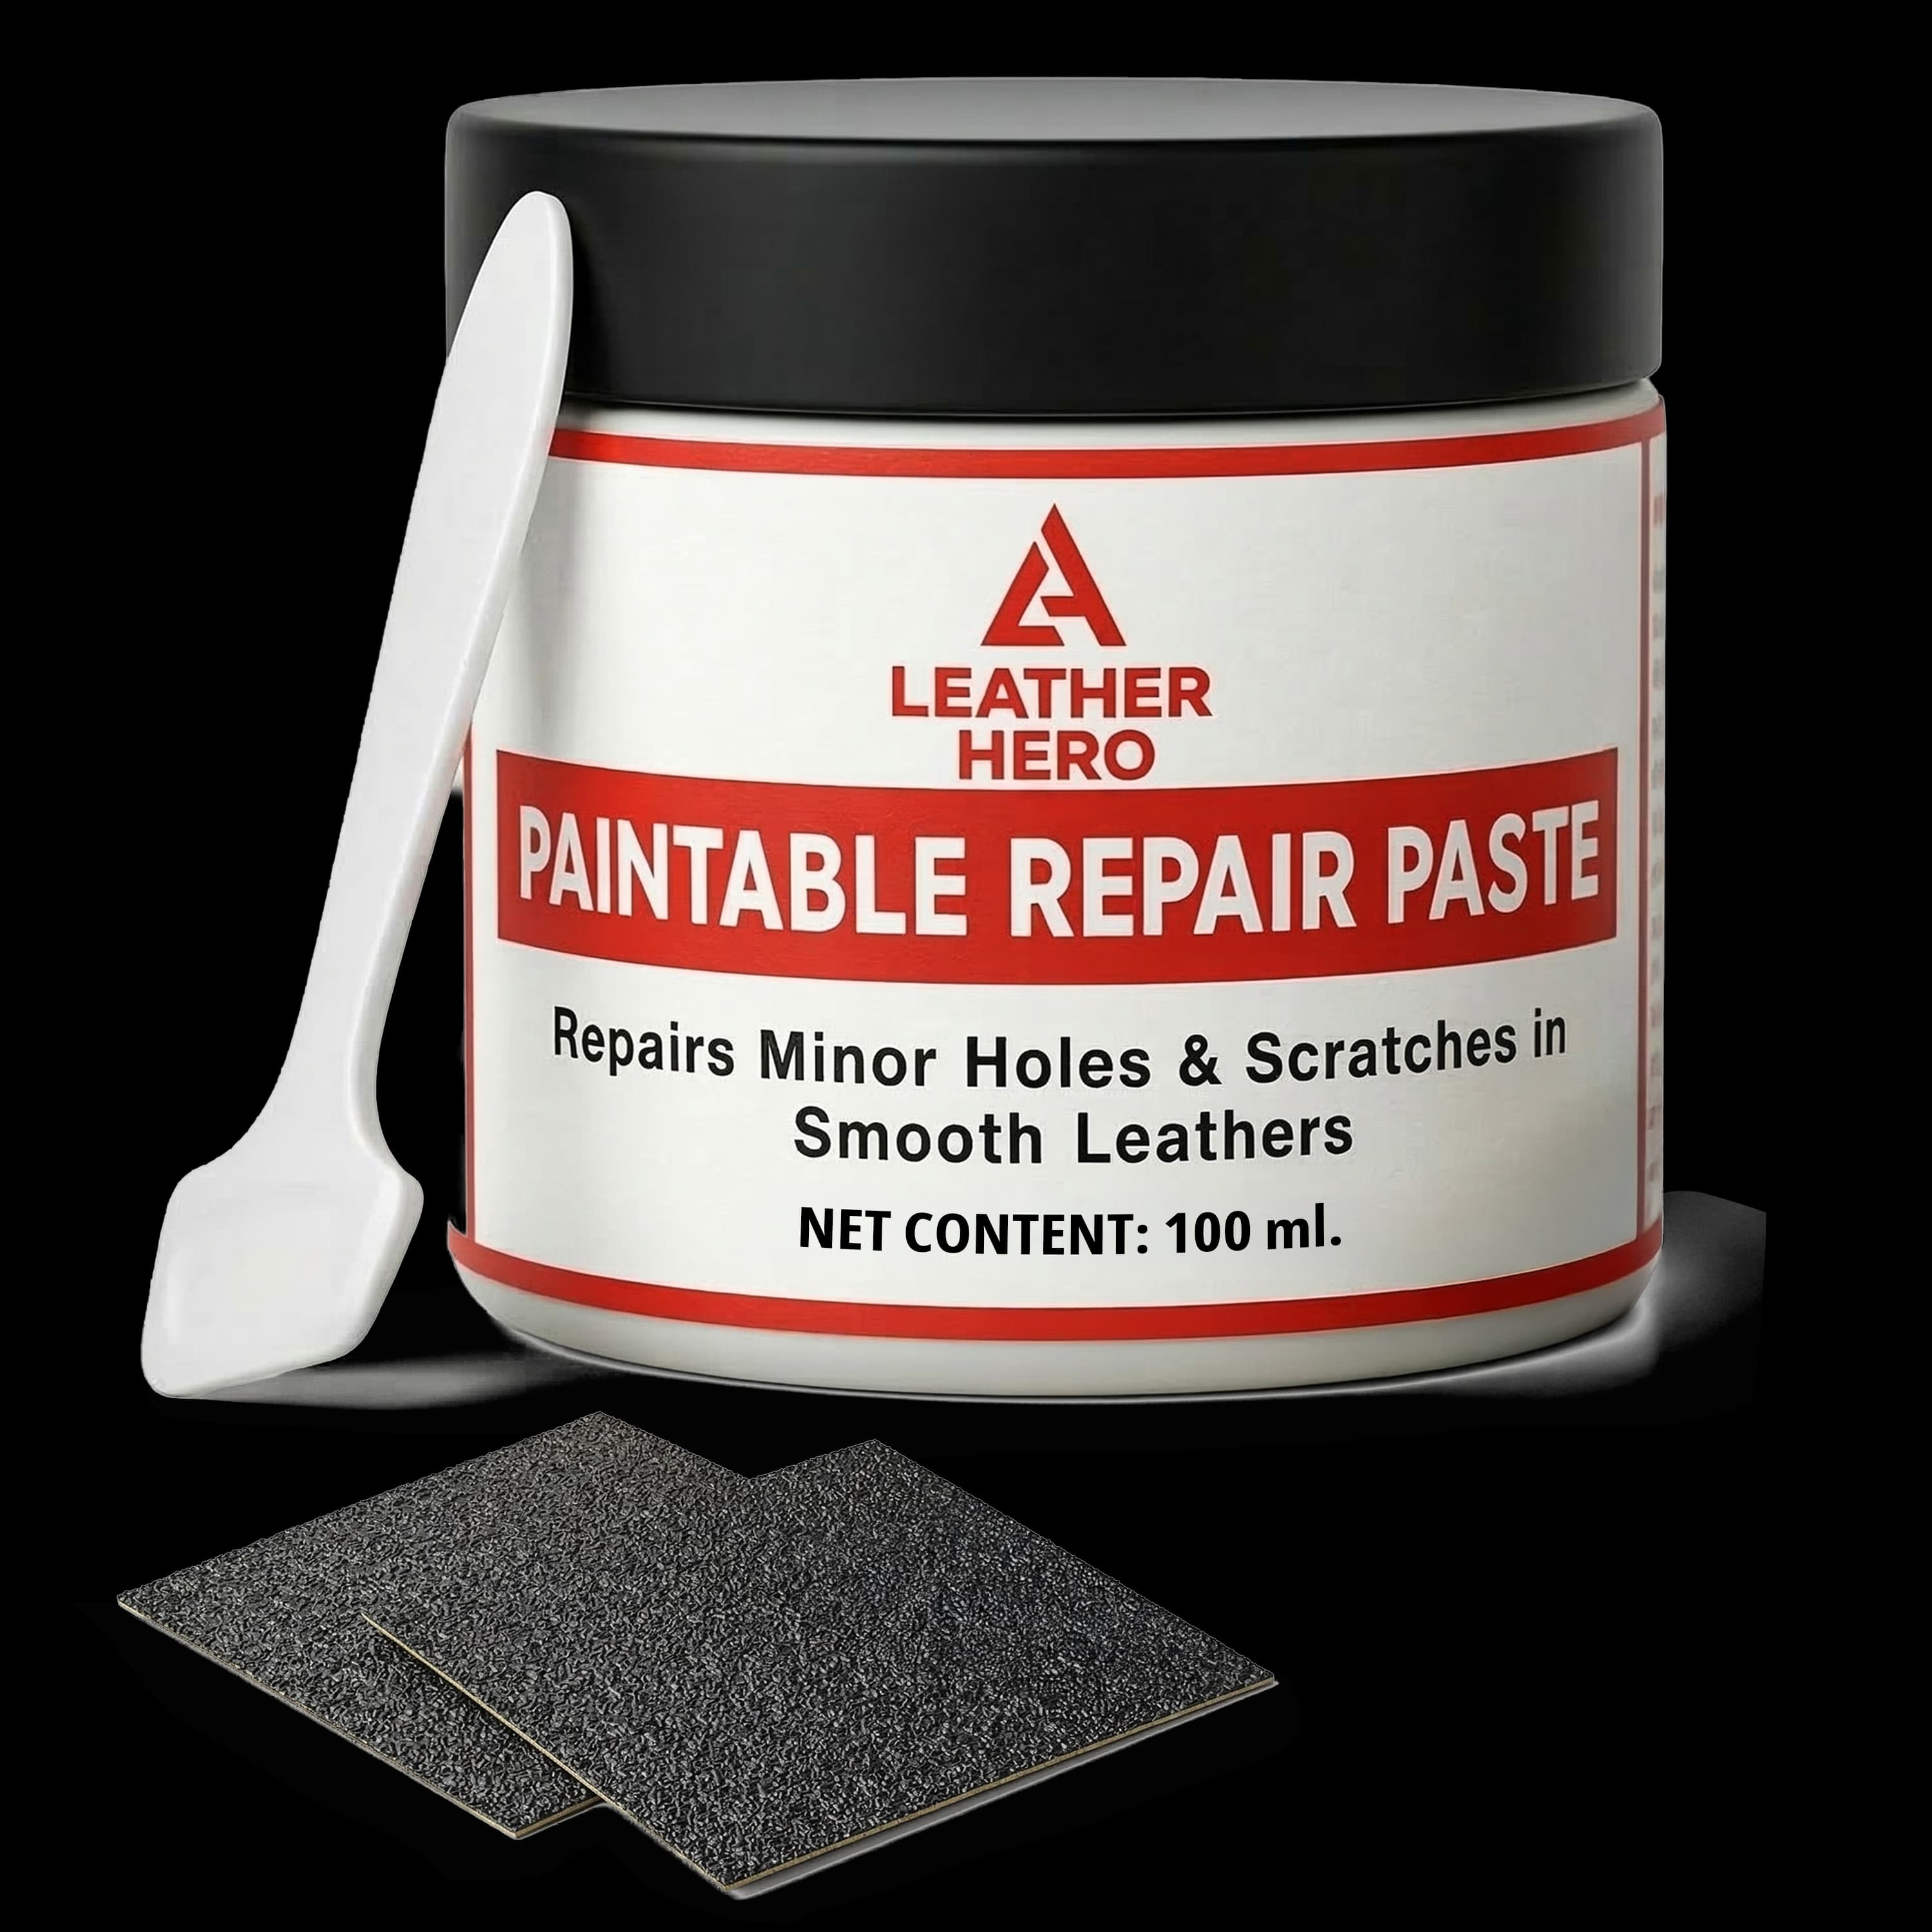
Recommended Product
Leather Hero Leather Filler Paste Kit
A focused product pick for the restoration steps in this guide.
Helpful References
Frequently Asked Questions
Can I use a leather repair kit on a couch?
Yes, a repair kit can help with small scratches, shallow cracks, and worn couch arms. Large tears, peeling bonded leather, or structural damage may need professional repair.
Do I need to recolor leather after using filler?
Usually yes. Filler repairs the surface shape, but a matching color restorer helps the repaired area blend into the surrounding leather.
How long should leather repair dry before use?
Follow the product instructions, but allow the repair, color, and top coat to dry and cure before heavy use. High-friction items need extra patience.
Can a repair kit fix peeling leather?
It depends on the material. Small lifted edges may be improved, but bonded leather peeling in sheets is difficult to restore permanently with a home kit.
Related Posts
View All
Join The List
Leather Care, Delivered.
Get expert guides and exclusive offers in your inbox.