
How to Use Leather Filler for Cracks, Scratches, and Small Holes
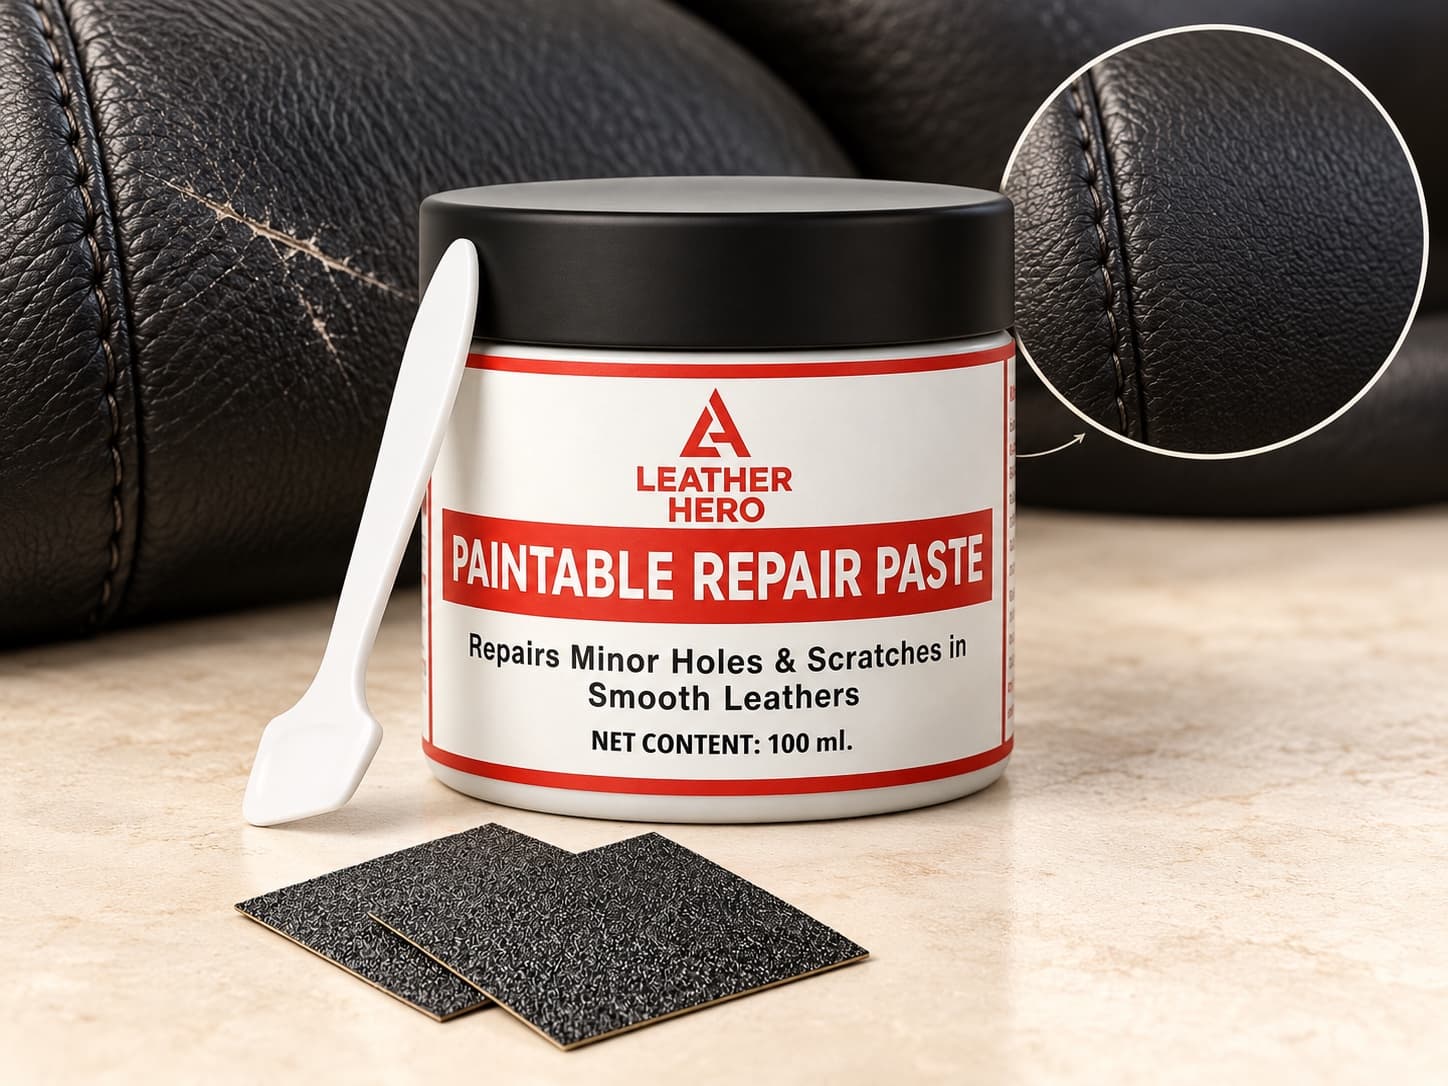
Leather filler repairs texture; it does not replace color. It is useful when a scratch, crack, or small hole has removed surface material and leaves a groove that catches your fingernail.
The most natural-looking repair comes from clean preparation and several thin filler layers. Once the surface is level, matching color and finish can blend the repair into the surrounding leather.
Use filler only when damage has depth; smooth pale scuffs may need color rather than paste.
Clean and dry the damaged area before applying a very thin filler layer.
Let each layer dry fully and smooth only as much as needed to match the surrounding texture.
Recolor and protect the repaired area after the filler is level and stable.
Restoration Flow
Clean the damage
Apply thin filler
Dry and smooth
Color and protect
When Does Leather Need Filler?
Run a fingernail gently across the damaged area. If the mark feels smooth, the problem may be limited to the color or finish layer. If your nail catches in a groove, the edges feel rough, or material is missing, filler can rebuild the surface before recoloring.
Filler is designed for localized damage on suitable smooth leather. It is not a reliable cure for widespread peeling bonded leather, torn seams, large holes, crumbling material, or weakened upholstery foam. Those problems may need a patch, professional repair, or replacement.
Prepare the Repair Area
Clean away dirt, oil, polish, and loose particles with a leather-safe cleaner. Trim only material that is completely detached; do not pull on stable edges. Let the area dry fully, then position the item so the damaged surface lies in its normal shape without being stretched.
For a small hole, support material may be needed behind the leather so filler is not bridging an empty gap. Follow the repair product directions for backing fabric and maximum damage size. Always test the process in an inconspicuous area when possible.
Apply Filler in Thin Layers
Use a small spatula to press a minimal amount of filler into the crack or scratch. Scrape away excess from the surrounding grain so the first layer fills the low point without creating a raised patch. Thin layers dry more evenly and are easier to control than one heavy application.
Allow the layer to dry according to the product instructions, then inspect it from several angles. Add another thin layer only where the surface is still low. Stop when the repair is level with the surrounding leather rather than building a mound over it.
Smooth, Color, and Seal the Repair
Once the filler is fully dry, smooth high spots gently with the included repair material or the method recommended for the product. Preserve some natural texture; a perfectly flat glossy patch can be more noticeable than a subtle repair that follows the leather grain.
Apply matching color in light coats and feather it beyond the filler edge. After the color dries, choose a compatible matte, satin, or gloss finish to match the rest of the item and protect areas exposed to friction.
Mistakes That Make Filler Repairs Visible
A thick one-pass repair can shrink unevenly, stay soft underneath, or sit above the leather. Applying filler over dirt or flexible loose flakes also weakens the result. Rushing into color before the filler is dry can trap moisture and create an uneven patch.
Keep expectations realistic on high-flex areas such as deep shoe creases and seat bolsters. Use the smallest amount of filler that restores the profile, match the color carefully, and protect the final surface without making it stiffer than the surrounding leather.
Match the product to the leather type, finish, and condition, then test it on a hidden area before full application.
Leather Hero Care Note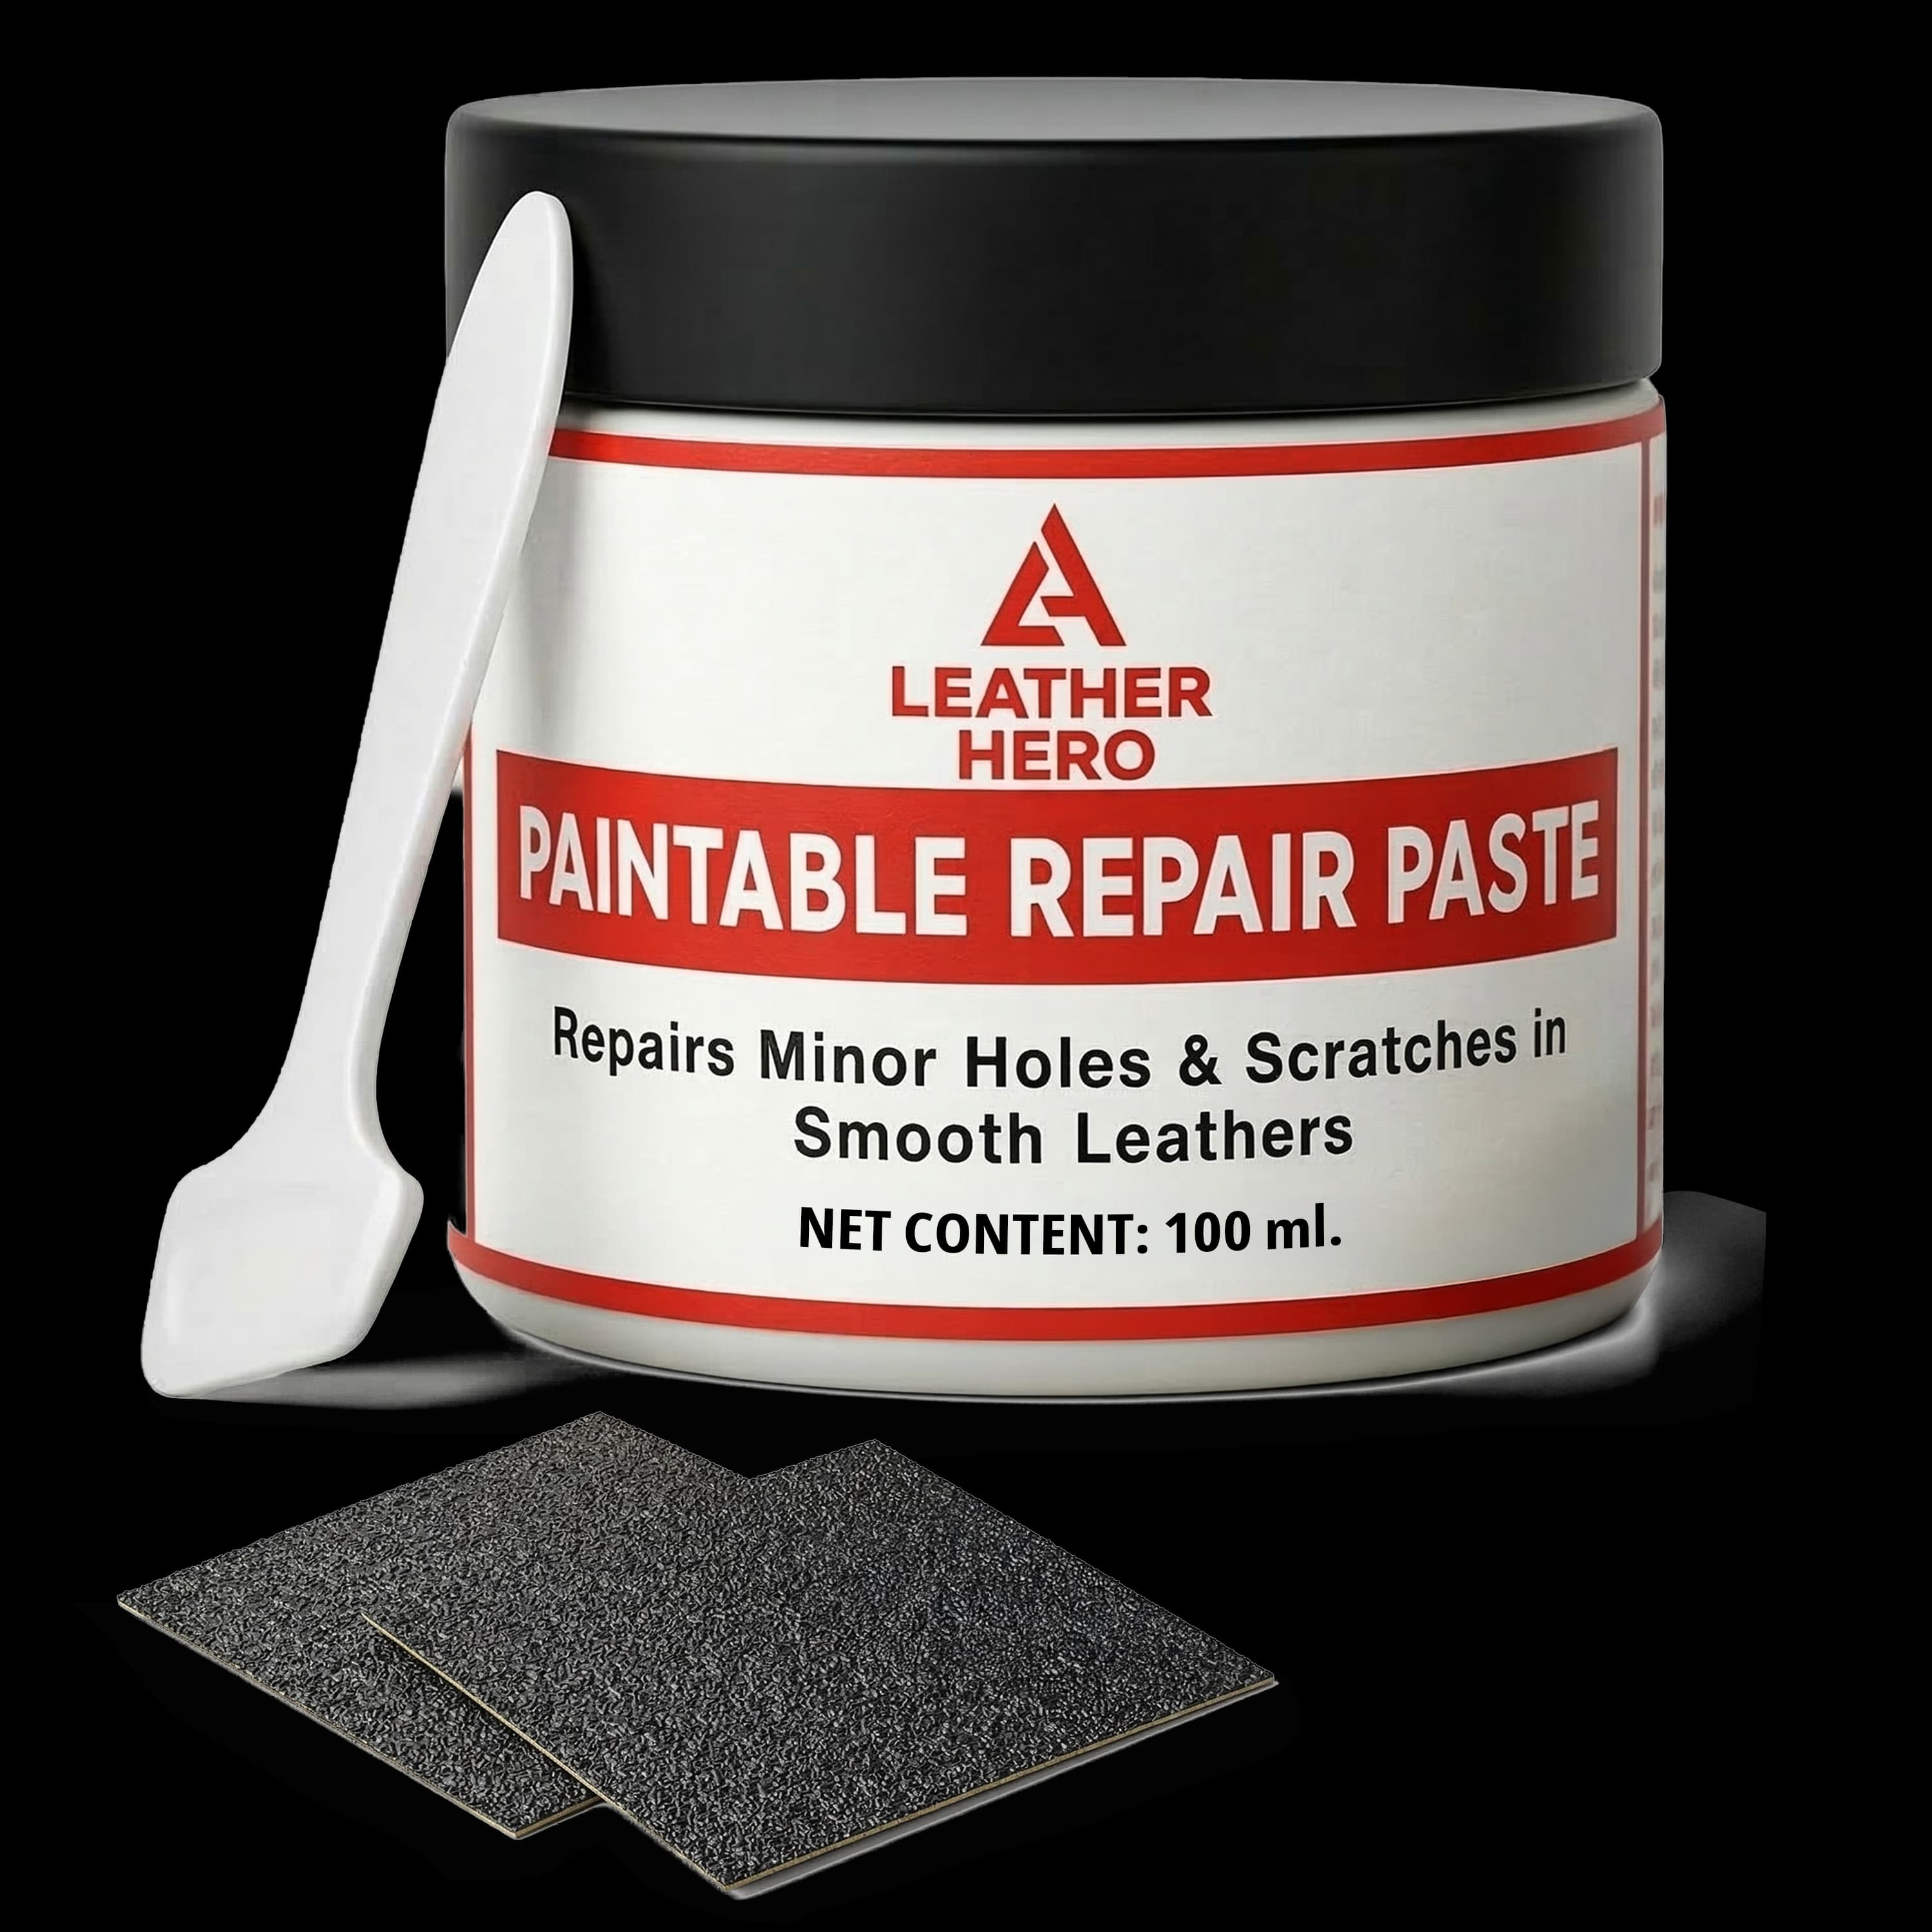
Recommended Product
Leather Hero Leather Filler Paste Kit
A focused product pick for the restoration steps in this guide.
Helpful References
Frequently Asked Questions
Can leather filler repair deep scratches?
Yes, when the scratch has removed material but the surrounding leather is stable. Build the repair in thin, fully dried layers before adding color.
Do I apply leather color before or after filler?
Apply filler first to restore texture. Once it is dry and smooth, apply matching color and then a compatible protective finish if needed.
Can leather filler fix peeling bonded leather?
It may improve a very small stable edge, but widespread peeling means the surface layer is failing and is unlikely to be permanently repaired with filler alone.
How many layers of leather filler should I use?
Use as few thin layers as needed to bring the damaged area level with the surrounding surface. The depth of the damage determines the count.
Related Posts
View All
Join The List
Leather Care, Delivered.
Get expert guides and exclusive offers in your inbox.