How to Restore Faded Leather Color at Home Without Replacing It
Faded leather does not always mean ruined leather. A black couch arm that has turned gray, a dark brown boot that looks washed out, a handbag handle that has lost color, or a car-seat bolster with pale wear can often be improved at home when the surface is still structurally sound. The secret is not applying the darkest product you can find. The secret is diagnosing the leather, cleaning it properly, restoring color in thin layers, and protecting the finish after the color looks even.
This guide explains how to restore faded leather color at home without replacing the item. It is written for finished smooth leather such as furniture, shoes, bags, jackets, steering wheels, and car interiors. Suede, nubuck, aniline, raw leather, and peeling bonded leather need different decisions, so always test first and stop if the leather reacts badly.
Restore color only after cleaning the leather, because body oil, wax, dust, and old conditioner can block even coverage.
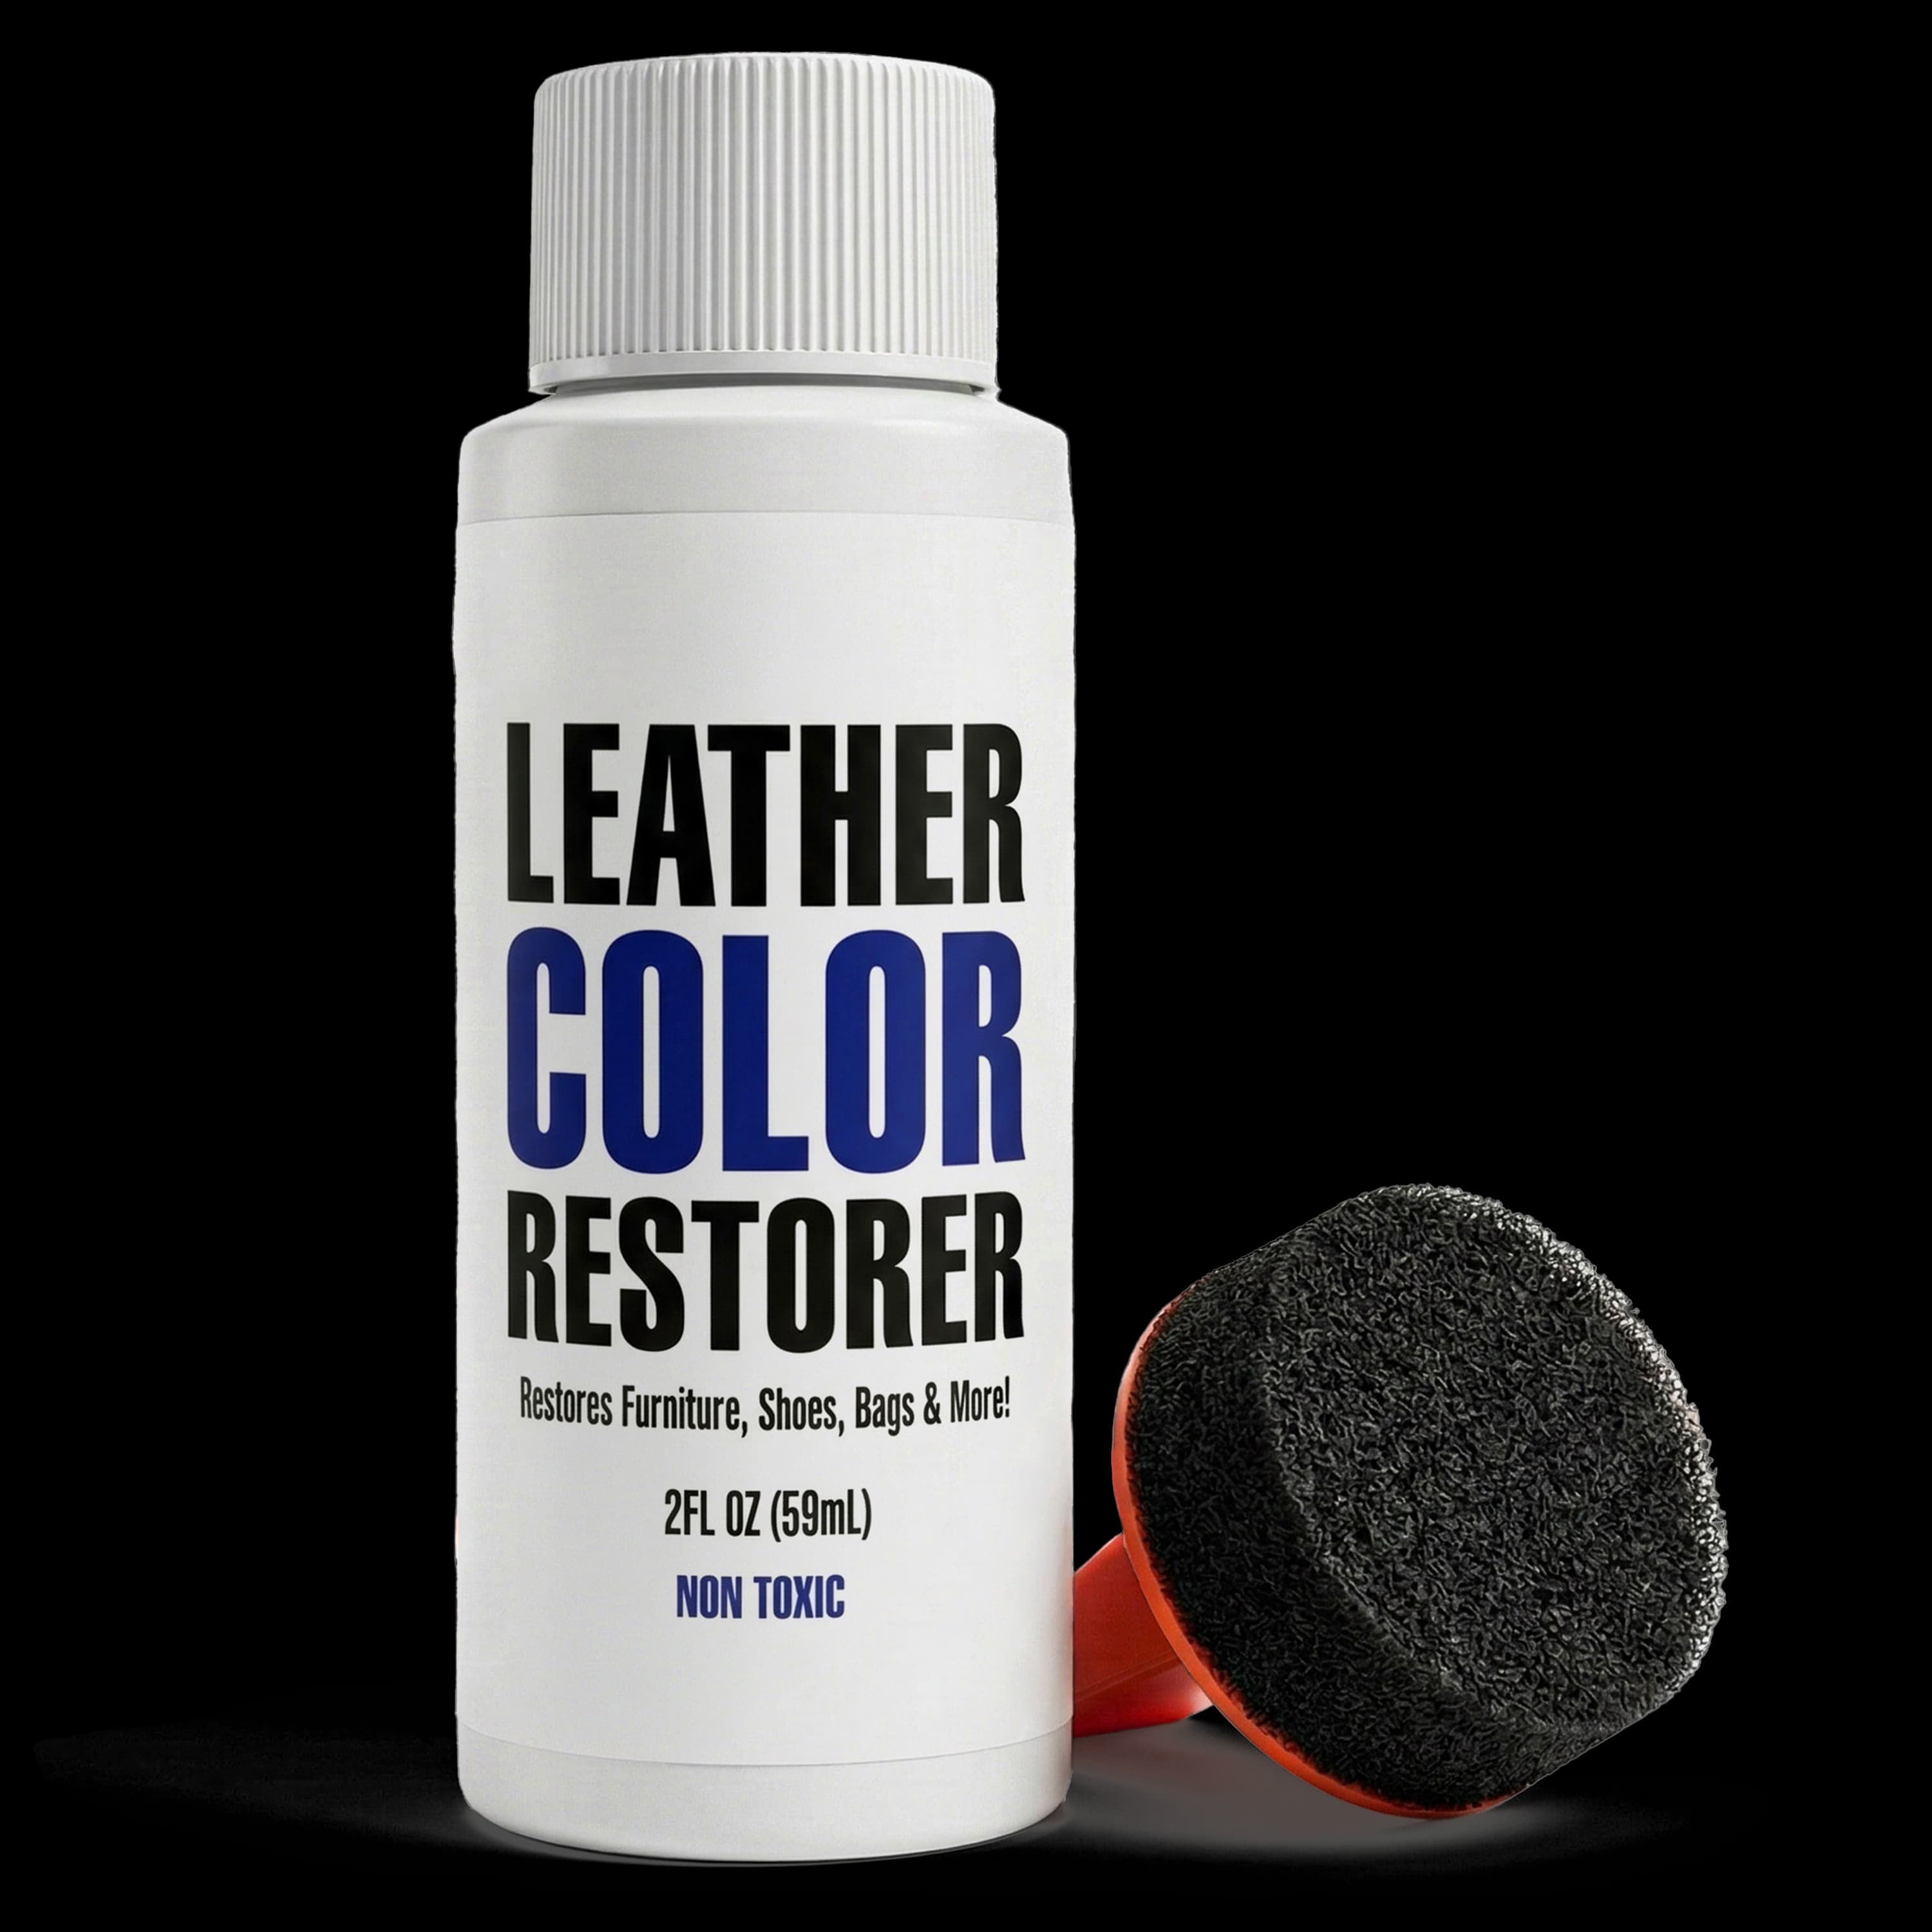
Use leather color restorer when pigment has faded but the leather surface is still mostly smooth and intact.
Apply several thin coats instead of one heavy coat so grain, flexibility, and a natural look are preserved.
Protect high-contact areas with a compatible finish or top coat after the restored color dries.
Restoration Flow
Inspect the leather
Clean and dry fully
Test the color match
Restore and protect
Visual Guide
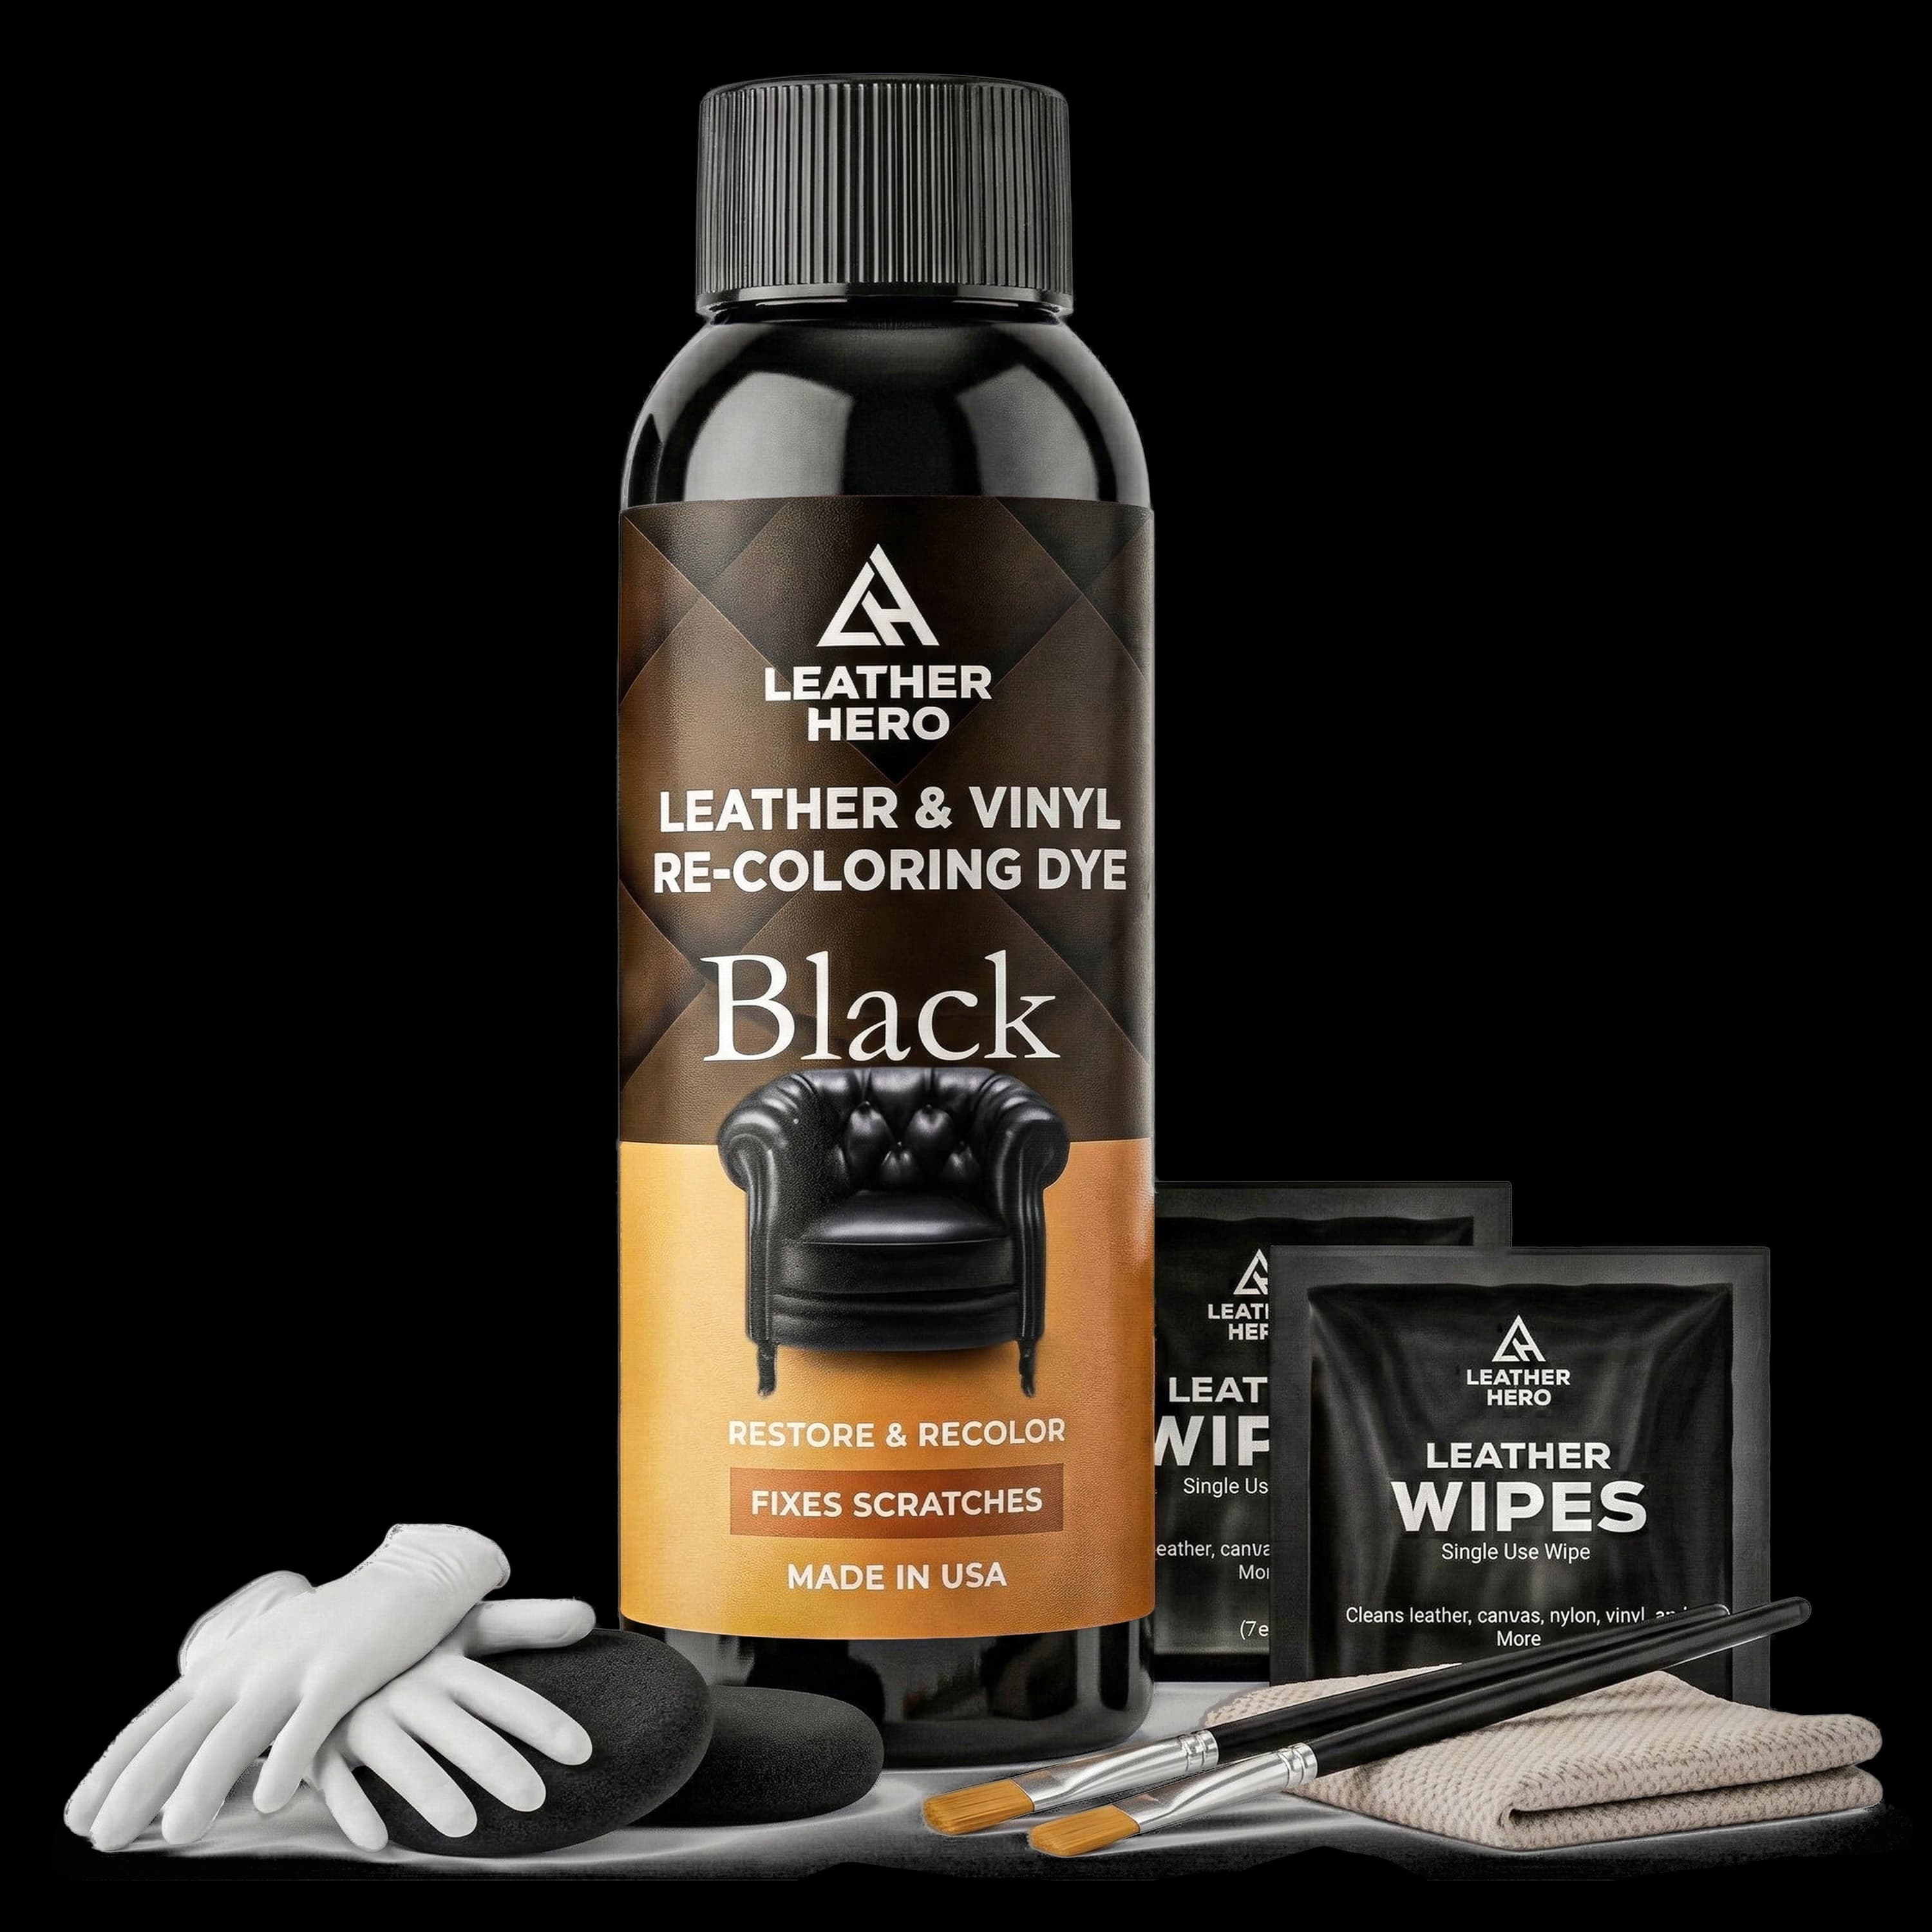
Color Restorer for Faded Pigment
Use color restorer when finished leather still has a stable surface but the pigment has worn pale, gray, or uneven.

Cleaner Before Color
Cleaning first removes the residue that often causes patchy color, poor bonding, or a sticky-looking repair.
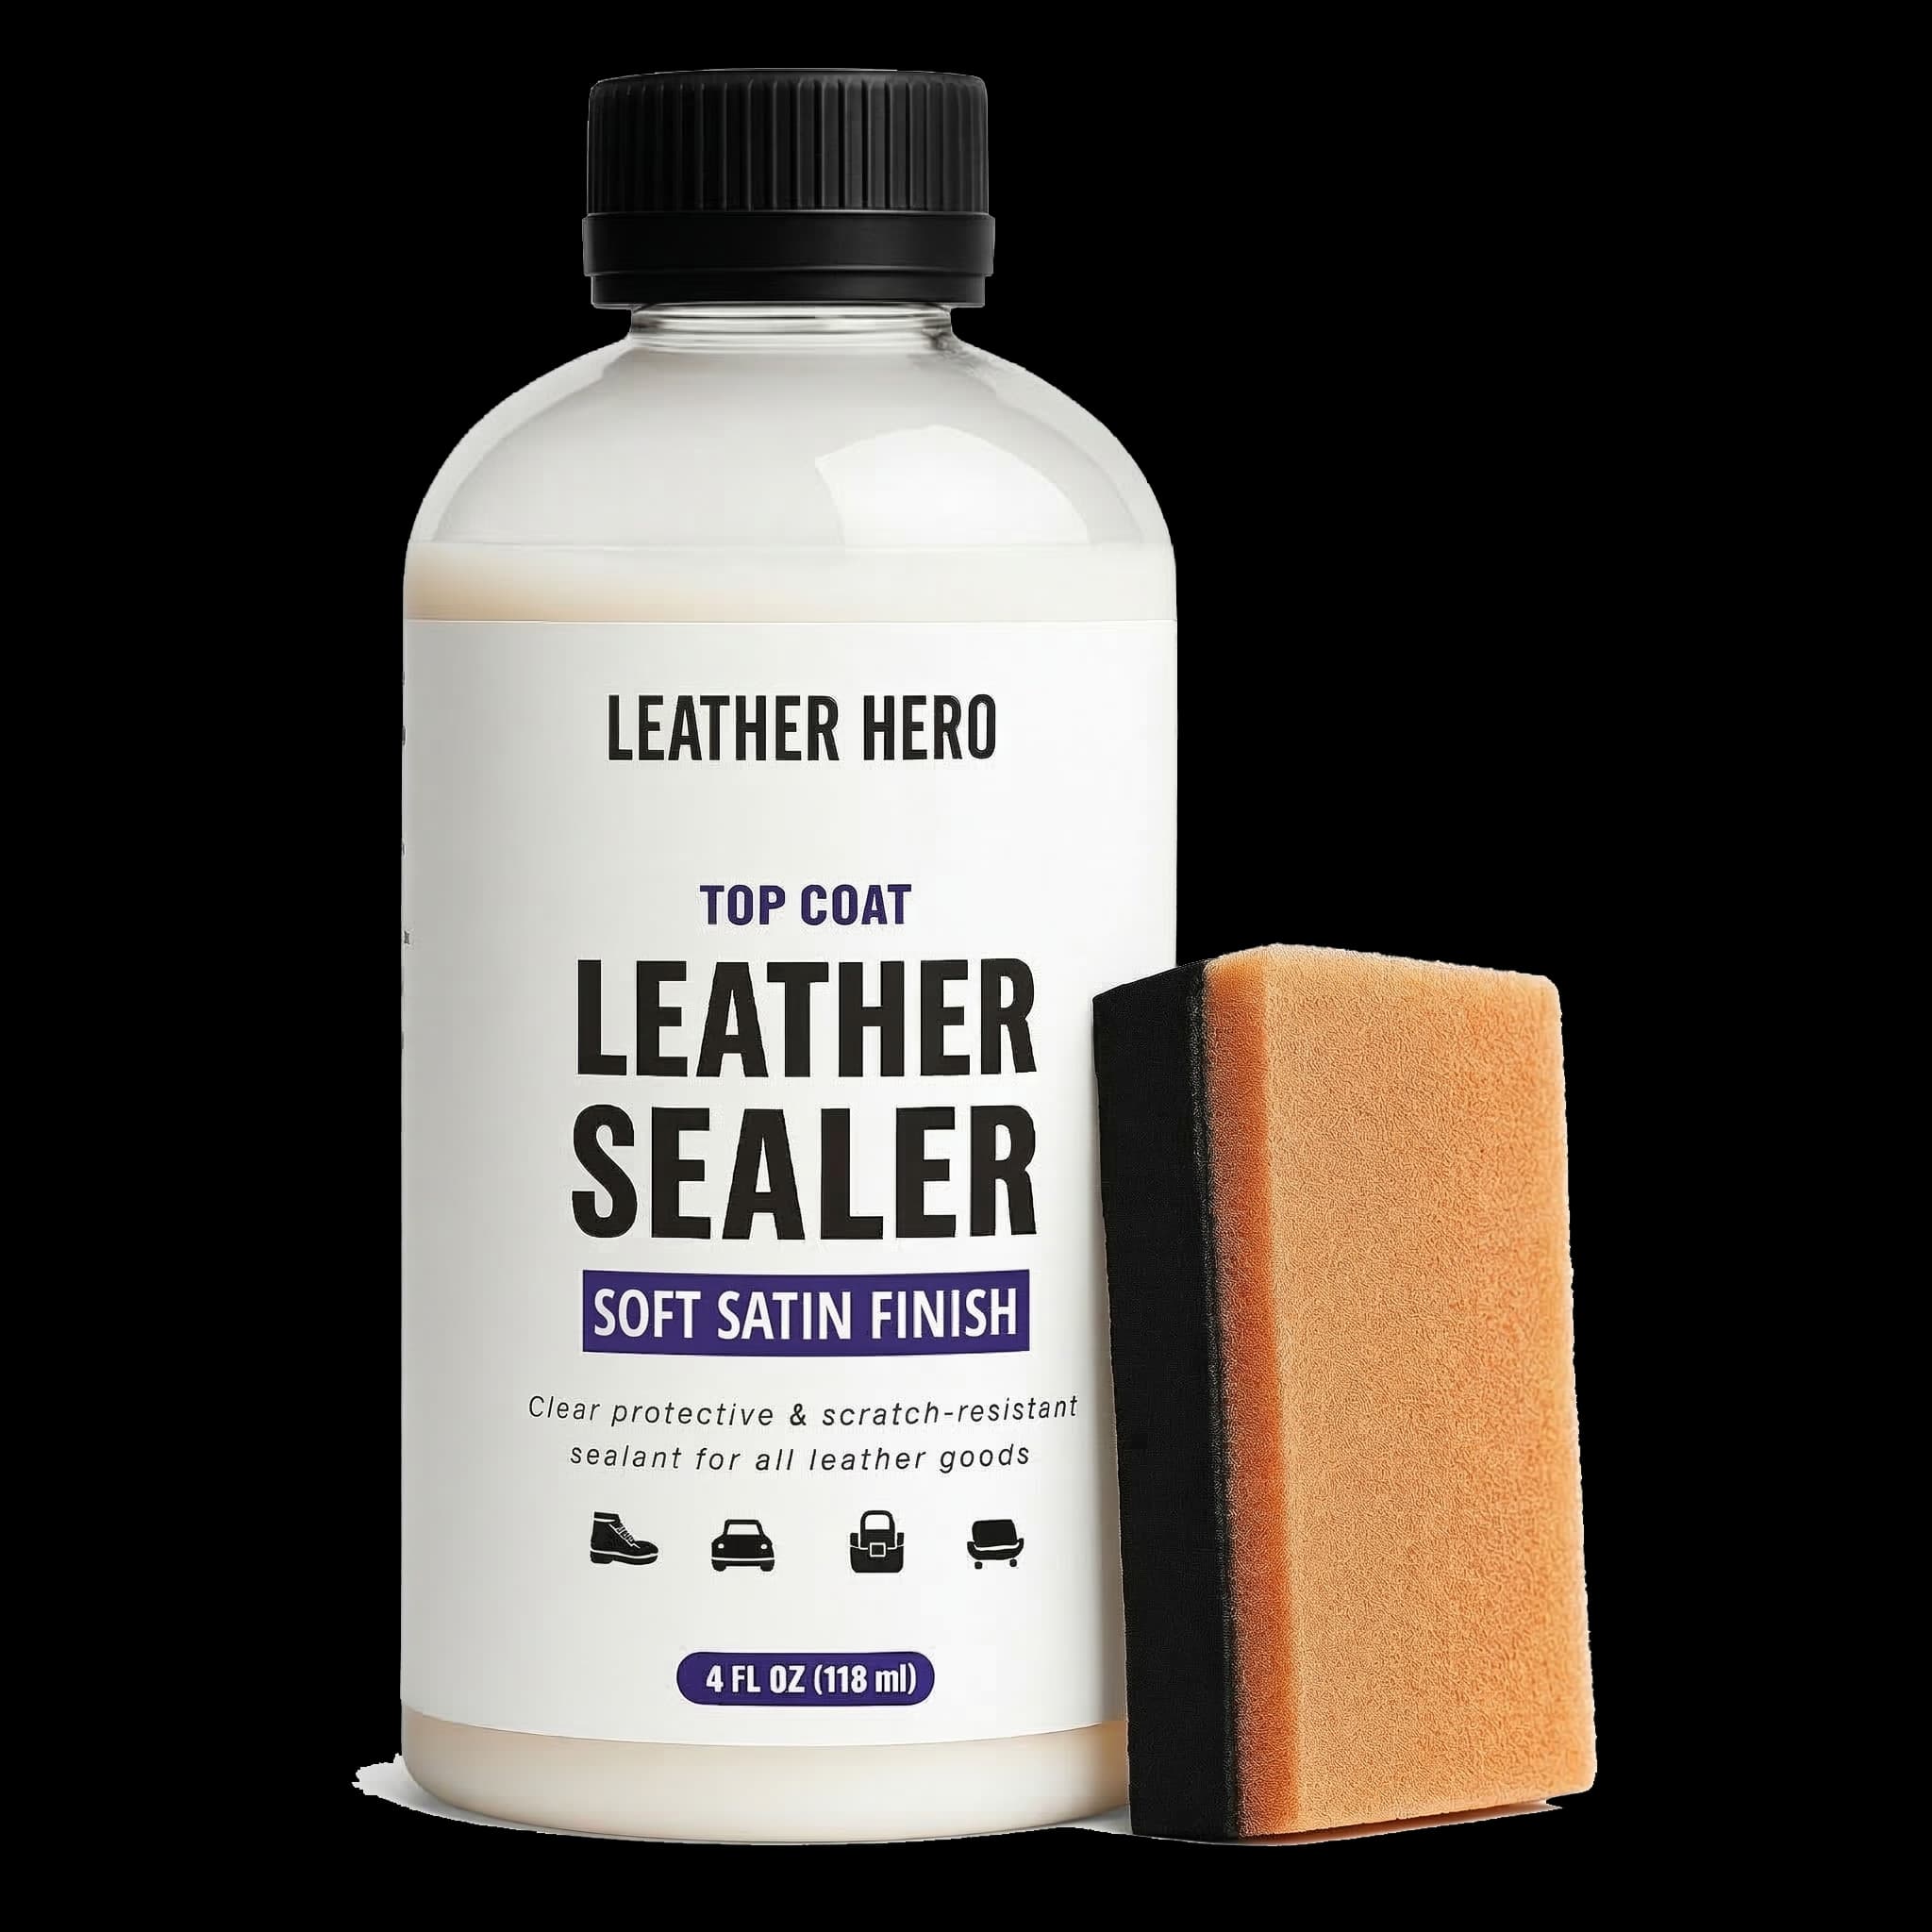
Finish Protection
A finish coat helps protect restored color on couch arms, seats, shoe toes, steering wheels, and handbag handles.
Applicator Control
Small applicators help you feather color into worn areas instead of leaving hard edges around the repair.
When Faded Leather Can Be Restored
Faded leather is a color problem first, not always a replacement problem. Restoration is realistic when the leather is finished, smooth, flexible, and mostly intact. If the original surface still feels stable under your hand, color restoration can often bring back depth and make the item look cared for again. Typical projects include black leather furniture that has turned charcoal, brown shoes with pale toes, purse handles faded by hand oils, steering wheels worn at the top, and car seats with light-colored bolsters.
Color restoration is less predictable when the leather is suede, nubuck, raw, heavily cracked, sticky, or peeling. Suede and nubuck have a raised nap that can flatten or darken if treated like smooth leather. Peeling bonded leather has a failing surface layer, so adding color may only hide the problem briefly. If cracks catch your fingernail, repair the texture before color. If the surface flakes, lifts, or feels gummy, stop and consider professional repair or replacement.
Step One: Identify the Leather and Damage
Look at the item in daylight. Fading usually appears on areas that receive sunlight, friction, or skin contact. Furniture fades on arms, headrests, and cushion fronts. Shoes fade on toes and flex points. Handbags fade on corners and handles. Cars fade on steering wheels, driver bolsters, and armrests. The pattern tells you whether the issue is pigment loss, grime, dryness, or surface damage.
Touch the faded area. If it feels smooth, you are probably dealing with color loss and finish wear. If it feels rough, cracked, or raised, filler or repair may be needed first. If the leather looks better when wiped with a barely damp cloth but then dulls again after drying, the item may need cleaning and conditioning before you decide on color. Diagnosis prevents the common mistake of using color to cover dirt or cracks.
Step Two: Clean Before Applying Color
Cleaning is the step that decides whether restoration looks even. Leather collects body oil, conditioner residue, polish, dust, pet oils, hair products, sunscreen, and household grime. These layers can make color sit on top of the surface instead of blending into the worn finish. Use a leather-safe cleaner or preparer, work in small sections, and apply product to a cloth or applicator instead of soaking the leather.
After cleaning, let the leather dry naturally. Do not use a hair dryer, heater, or direct sun to speed up the process. Forced heat can dry leather unevenly and make fading or cracking worse. Once the item is dry, inspect it again. Many pieces look dramatically better after cleaning alone, and that is useful information. If the color is still pale or gray after cleaning, color restorer is the next logical step.
Step Three: Test the Color Match
Always test color in a hidden area before applying it to the main surface. Good test spots include the back of a cushion, underside of a strap, inside edge of a shoe tongue, lower seat panel, or any area that will not be visible during normal use. Let the test dry fully before judging it. Wet color often looks darker and glossier than the final result.
A perfect color name does not guarantee a perfect match. Black leather is forgiving, but brown leather can lean red, yellow, gray, or chocolate. If the shade is close, thin coats and feathered edges can make the repair blend naturally. If the shade is clearly wrong, do not force it. A slightly patient test saves you from a very visible patch.
Step Four: Apply Thin Coats
Use a small amount of product and spread it beyond the most faded spot so the edges blend into the surrounding leather. Heavy coats can hide grain, create stiffness, increase drying time, and make the surface look painted. Thin coats are easier to control. Let each coat dry, inspect the color in normal light, and only add another coat if the surface still looks uneven.
For large items such as couches and car seats, work by panel rather than by random spot. Complete one cushion face, arm section, or seat bolster at a time so the color has a logical stopping point. For shoes and handbags, use smaller applicators around seams, corners, handles, stitching, and hardware. The goal is a gradual refresh, not a thick mask.
Step Five: Protect the Restored Finish
Once the color looks even and has dried, decide whether the area needs finish protection. High-contact surfaces almost always benefit from a top coat. Think of couch arms, steering wheels, driver seats, bag handles, shoe toes, jacket cuffs, and any leather that is touched, sat on, flexed, or cleaned often. A top coat helps protect color from friction and makes the sheen more consistent.
Match the finish to the item. Matte keeps glare low, satin gives a natural soft sheen, and gloss is better for polished items such as dress shoes or certain accessories. Test finish products just like color products. A gloss coat can deepen color, while a matte finish can make a repair look flatter. Satin is often the safest middle ground for furniture, bags, and car interiors.
Best Leather Hero Products for Faded Leather
For black finished leather, start with Leather Hero Color Restorer Kit - Black when the main problem is faded pigment. Pair it with Leather Hero Cleaner & Preparer when the surface has oil, wax, or dirt buildup. For dark brown leather, choose the closest dark brown color restorer rather than forcing black onto a brown surface. If the repair is on a high-wear area, add Soft Satin Finish or another compatible top coat based on the sheen you want.
If the faded area is also cracked or gouged, add a filler step before color. Color follows texture. If the surface is rough before color, it will still look rough after color. A simple routine for many at-home projects is clean, dry, fill if needed, restore color, dry again, protect, and then maintain gently.
How to Maintain Restored Leather
Restored leather lasts longer when it is cleaned lightly and protected from the same conditions that caused the fading. Keep leather away from harsh direct sunlight when possible. Wipe spills quickly. Avoid alcohol wipes, bleach, abrasive pads, and household degreasers. Dust furniture and bags regularly so grit does not grind into the finish.
Do not over-condition newly restored leather. Too much conditioner can soften the finish, attract dust, or change the sheen. Start with gentle cleaning and only add maintenance products when the leather actually needs them. Small touch-ups are easier than waiting until the color is badly faded again.
Conclusion
You can restore faded leather color at home when the leather is smooth, finished, and structurally stable. The best results come from a careful sequence: identify the leather, clean the surface, test the color, apply thin coats, and protect high-contact areas after the color dries.
Replacement should be the last option, not the first reaction. If the leather is not peeling or badly cracked, a good cleaner, a matching Leather Hero color restorer, and the right finish coat can make faded leather look richer, cleaner, and more intentional without hiding the grain that gives leather its character.
Match the product to the leather type, finish, and condition, then test it on a hidden area before full application.
Leather Hero Care NoteRecommended Product
Leather Hero Color Restorer Kit - Black
A focused product pick for the restoration steps in this guide.
Helpful References
Leather Naturally Care Guide
External reference on natural drying, leather-specific products, and hidden-area testing.
Leather Color Restorer vs Leather Dye
Compare color restorer and dye before choosing a color repair method.
Shop Leather Hero Color Restoration
Browse Leather Hero products for cleaning, restoring, sealing, and repairing smooth leather.
Frequently Asked Questions
Can faded leather color be restored at home?
Yes, faded finished leather can often be restored at home when the surface is smooth and intact. Clean first, test the color in a hidden area, and apply thin coats.
What is the best product for faded black leather?
A black leather color restorer is usually best for faded finished black leather. Use cleaner first and add a top coat on high-friction areas.
Can I restore faded leather without dye?
Yes. If you want to refresh the original color rather than make a major color change, a leather color restorer is often more practical than dye.
Why does leather fade?
Leather fades from sunlight, friction, body oils, cleaning residue, age, and repeated use. High-touch areas usually fade first.
Do I need to seal leather after restoring color?
A top coat is recommended for restored areas that receive friction, handling, or regular cleaning, because it helps protect the color.

Join The List
Leather Care, Delivered.
Get expert guides and exclusive offers in your inbox.