
Best Leather Restorer for Faded, Dry, and Worn Leather
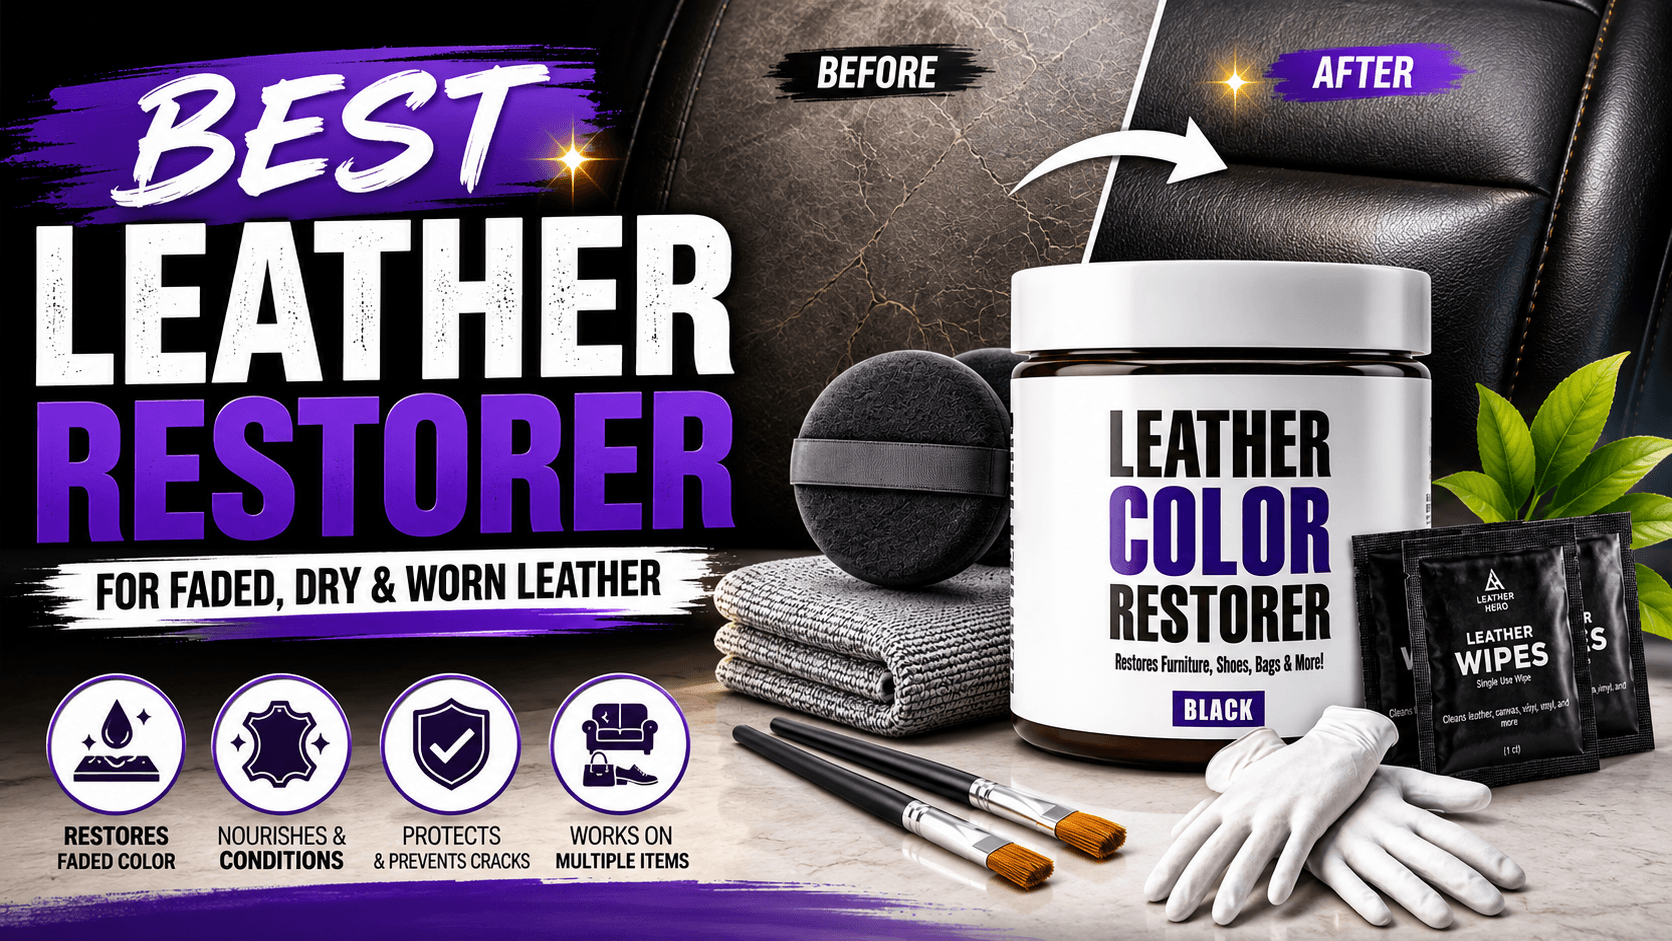
The best leather restorer is not simply the darkest cream, the shiniest polish, or the product with the strongest before-and-after photo. A good restorer should match the type of leather, the kind of damage, the color depth you want to recover, and the finish you want to leave behind. That is why faded leather, dry leather, cracked leather, and worn leather should not all be treated with the same routine.
This guide explains how to choose a leather restorer like a professional: start by reading the surface, clean before adding color, restore in thin controlled layers, protect the finish, and build a maintenance routine that keeps the item looking cared for instead of artificially coated. It is written for homeowners, car owners, shoe collectors, handbag owners, and anyone comparing leather restoration products before buying.
Use a leather restorer when the surface has faded, looks dry, has light scuffs, or has lost color richness, but do not use color products on suede, nubuck, or unfinished absorbent leather unless the product specifically allows it.
Cleaning is the step that decides whether the restoration looks smooth or patchy. Dirt, body oil, wax, silicone, and old conditioner can block the restorer from bonding evenly.
For faded color, choose a color restorer; for dryness and dullness, choose a cleaner/restorer or conditioner; for missing material, use a repair or filler product before recoloring.
Professional-looking restoration usually comes from several thin coats, proper drying time, gentle buffing, and a protective top coat where the leather gets frequent handling.
Restoration Flow
Identify leather type and damage
Clean away oils and residue
Restore color in thin coats
Seal, buff, and maintain
What a Leather Restorer Should Actually Do
A leather restorer should improve the appearance of worn leather without hiding the natural character that makes leather valuable. On a faded sofa, it should bring the color back toward an even tone. On car seats, it should reduce the tired gray look that appears on bolsters, armrests, and steering-wheel contact points. On shoes and bags, it should refresh the surface while keeping the leather flexible enough for daily use. The best leather restorer is therefore not a single miracle product. It is the right product used in the right order.
Think of restoration in four jobs: clean, repair, recolor, and protect. Some products combine two of those jobs, while others are made for one specific step. Leather Hero Cleaner & Restorer is useful when the item mainly needs cleaning, surface refreshment, and a better cared-for appearance. Leather Hero Color Restorer Kit is better when the color itself has faded or worn away. A leather filler or repair kit is needed when scratches, cuts, or missing grain must be leveled before color work begins. A top coat becomes important when the restored area will be touched, sat on, flexed, or cleaned often.
This matters because many disappointing restoration projects fail before the first coat is applied. People add color to a dirty surface, apply a thick layer because they want fast coverage, or skip the protective finish on a high-use item. The result can be streaking, stiffness, transfer, or a surface that looks restored for a few days and then wears quickly. A professional approach is slower, but it is also more predictable.
How to Read Faded, Dry, and Worn Leather
Before choosing a product, inspect the leather under strong natural light. If the surface color has become lighter but the grain still feels smooth, you are probably dealing with fading or abrasion. That usually calls for color restoration. If the leather looks dull, feels thirsty, and has fine surface lines but no missing color, you may need cleaning and conditioning more than pigment. If the surface has actual cuts, open cracks, missing finish, or rough edges that catch your fingernail, a repair step should happen before any color work.
Also check whether the leather is finished or absorbent. Finished leather is common on furniture, handbags, jackets, car interiors, and many shoes. It has a protective coating that slows absorption, so liquid beads slightly before soaking in. Suede and nubuck are different because the surface is open and textured; a normal smooth-leather restorer can darken, flatten, or stain them. If you are unsure, test a tiny hidden area with a damp cotton swab. Fast darkening and spreading usually means the leather is more absorbent and needs a specialized approach.
Color matters too. Black leather is forgiving because small tone differences disappear more easily. Brown leather is more sensitive because warm, red, chocolate, and espresso undertones show quickly. For brown furniture, boots, and car interiors, compare the restorer against an unworn hidden area such as the back of a cushion, the inside of a strap, or a tucked seam. If the color is close but not exact, thin coats and blending beyond the damaged area will usually look more natural than a heavy patch applied only to the mark.
Best Product Choice by Situation
For faded but intact leather, choose a color restorer. The goal is not to paint the leather like a wall. The goal is to deposit controlled color into worn areas while preserving the shape, grain, and touch of the item. Leather Hero Color Restorer Kit - Black is a strong match for black shoes, black furniture, black bags, jackets, and automotive wear points. Leather Hero New Color Restorer Kit - Dark Brown is a better direction for darker brown furniture, boots, and accessories where a black product would look flat or unnatural.
For dry and dull leather, begin with a cleaner/restorer or care kit. Dry leather often looks worse than it really is because dust, body oil, and old conditioner create a cloudy surface. A cleaning pass can reveal whether the item truly needs color or only needs a better maintenance routine. Leather Hero Cleaner & Restorer is a practical first product for general leather refreshment, especially when you want to lift grime and improve appearance before deciding whether recoloring is necessary.
For worn leather with cracks, peeling edges, or small damage, do not rely on color alone. Color can disguise discoloration, but it cannot replace missing material. Use a filler or repair kit where the surface is physically damaged, let the repair cure, sand or smooth as directed, then recolor the area. This is especially important on seat bolsters, couch arms, ottomans, and shoes where friction will expose uneven repair work quickly.
Step-by-Step Restoration Routine
Start by vacuuming seams and wiping the leather with a soft dry cloth. Remove loose dust before adding moisture so grit does not scratch the surface. Next, clean the leather using a leather-safe cleaner. Work in small sections, use light pressure, and change cloth areas often so you are not moving dirt from one place to another. Let the item dry fully before judging color, because damp leather can temporarily look darker and more even than it really is.
After cleaning, test the restorer in a hidden spot. This step protects you from color mismatch, unexpected darkening, finish reaction, or unwanted shine. If the test looks right when dry, apply a thin coat with a sponge, dauber, or soft cloth. Keep the edges feathered so there is no hard line between restored and unrestored leather. Allow proper drying time, then decide whether a second coat is needed. Most professional-looking results come from restraint: two thin coats usually look better than one heavy coat.
Once the color is even, buff lightly with a clean cloth. If the item is a chair, couch, steering wheel, handbag handle, shoe toe, or any area that gets friction, consider a protective top coat. A top coat helps guard against color rub-off, surface wear, and repeated cleaning. The final step is maintenance. Keep restored leather out of harsh direct sun when possible, wipe spills quickly, avoid household cleaners, and refresh the surface before it becomes severely dry again.
Common Mistakes That Make Restoration Look Amateur
The first mistake is skipping preparation. Leather gathers skin oils, hair products, dust, pet residue, silicone sprays, and waxes. If those stay on the surface, a restorer may sit unevenly or fail to grip. The second mistake is choosing a product only by color name. Dark brown, mahogany, coffee, walnut, and espresso can all look different in real light. Use hidden-area testing and blend outward.
Another mistake is trying to restore every mark. Natural creases, grain variation, and gentle patina are part of leather. If you chase a brand-new plastic-perfect look, the piece can lose the richness that made it worth restoring. Focus on improving obvious fading, dryness, and wear while keeping believable texture. Finally, avoid heat guns, harsh solvents, alcohol-heavy cleaners, bleach, and general household degreasers. They can dry the leather, remove finish, or create permanent stains.
Conclusion
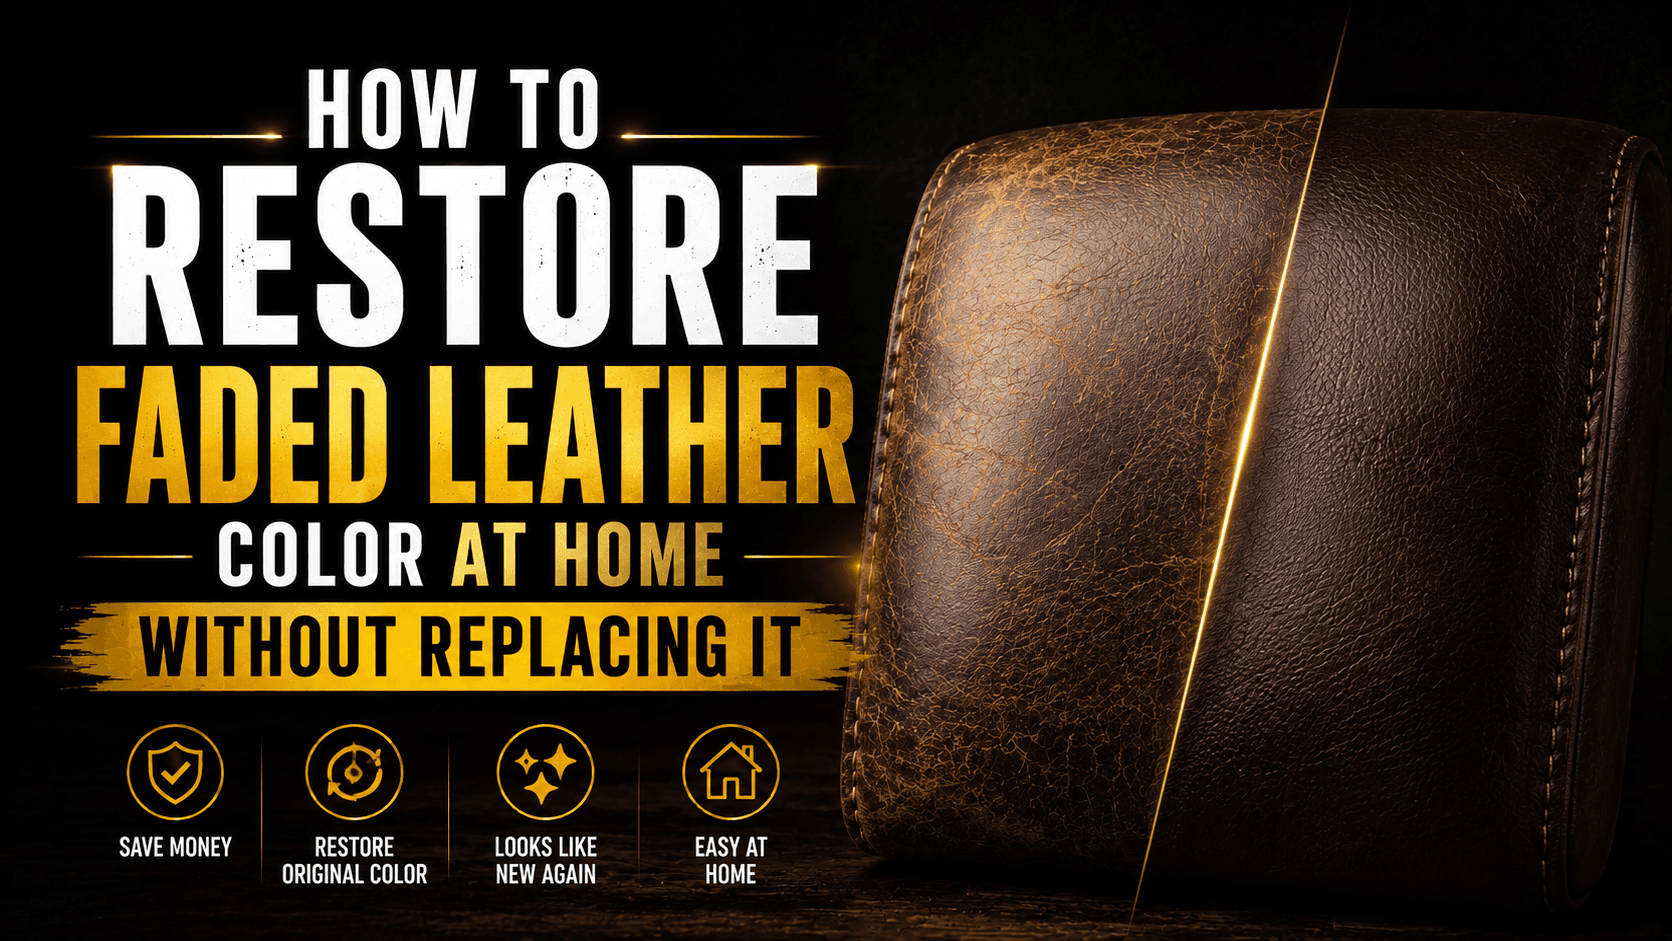
The best leather restorer for faded, dry, and worn leather is the one that matches the real problem. Use a cleaner/restorer when the leather is dull and dirty, a color restorer when pigment has faded, a repair kit when material is missing, and a top coat when the restored area needs durability. That complete approach gives you a better chance of a smooth, natural result than buying one product and hoping it solves every type of damage.
For Leather Hero shoppers, the strongest starting point is usually Leather Hero Cleaner & Restorer for general refreshment, then a color-specific Leather Hero Color Restorer Kit for faded black or brown surfaces, followed by a top coat for high-touch items. Work slowly, test first, and let thin layers do the work.
Match the product to the leather type, finish, and condition, then test it on a hidden area before full application.
Leather Hero Care Note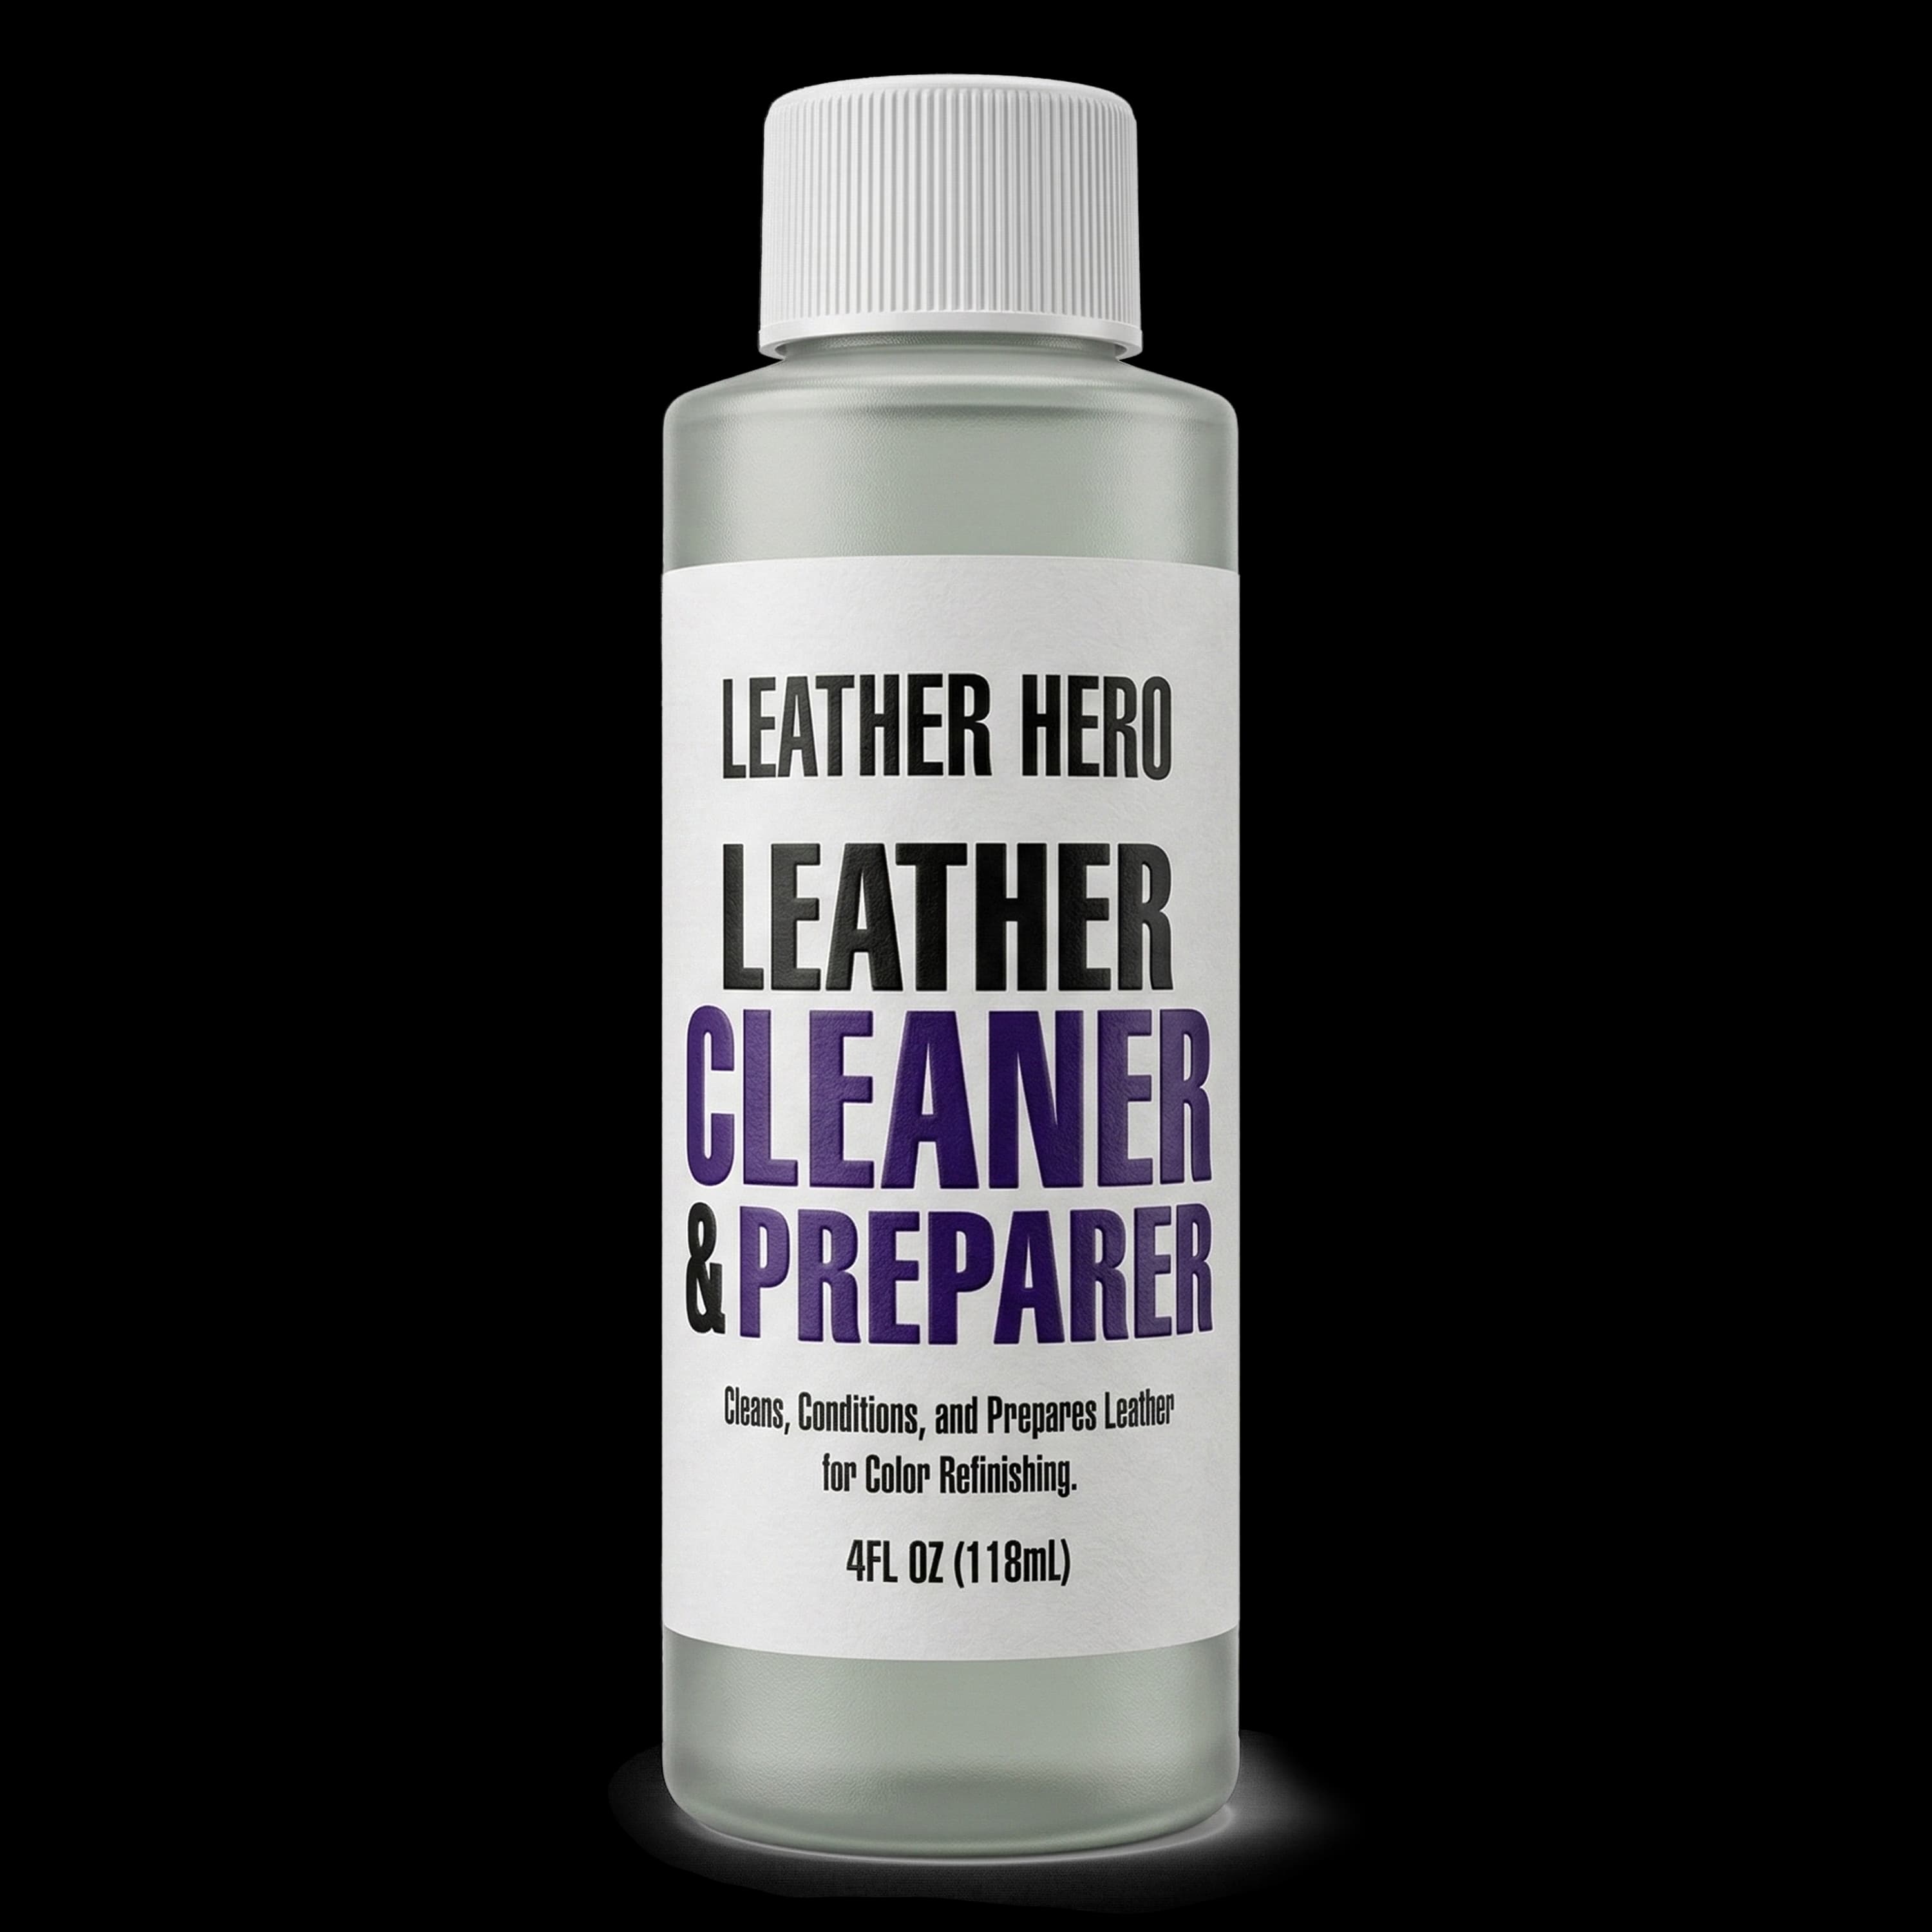
Recommended Product
Leather Hero Cleaner & Restorer
A focused product pick for the restoration steps in this guide.
Helpful References
Frequently Asked Questions
What is the best leather restorer for faded leather?
For faded finished leather, a color restorer is usually the best choice because the problem is loss of pigment rather than only dryness. Choose the closest color, test in a hidden area, and apply thin coats.
Can leather restorer fix cracks?
A color restorer can make small surface lines look better, but open cracks or missing material need a filler or repair kit before color is applied.
Should I clean leather before using a restorer?
Yes. Cleaning removes oils, dust, wax, and old conditioner that can block even absorption or bonding. Let the leather dry fully before applying restorer.
Do I need a top coat after restoring leather?
A top coat is recommended for seats, steering wheels, couch arms, shoe toes, handbag handles, and other high-friction areas because it helps protect the restored finish.
Join The List
Leather Care, Delivered.
Get expert guides and exclusive offers in your inbox.