
How to Fix Pet Scratches and Claw Marks on Leather Furniture
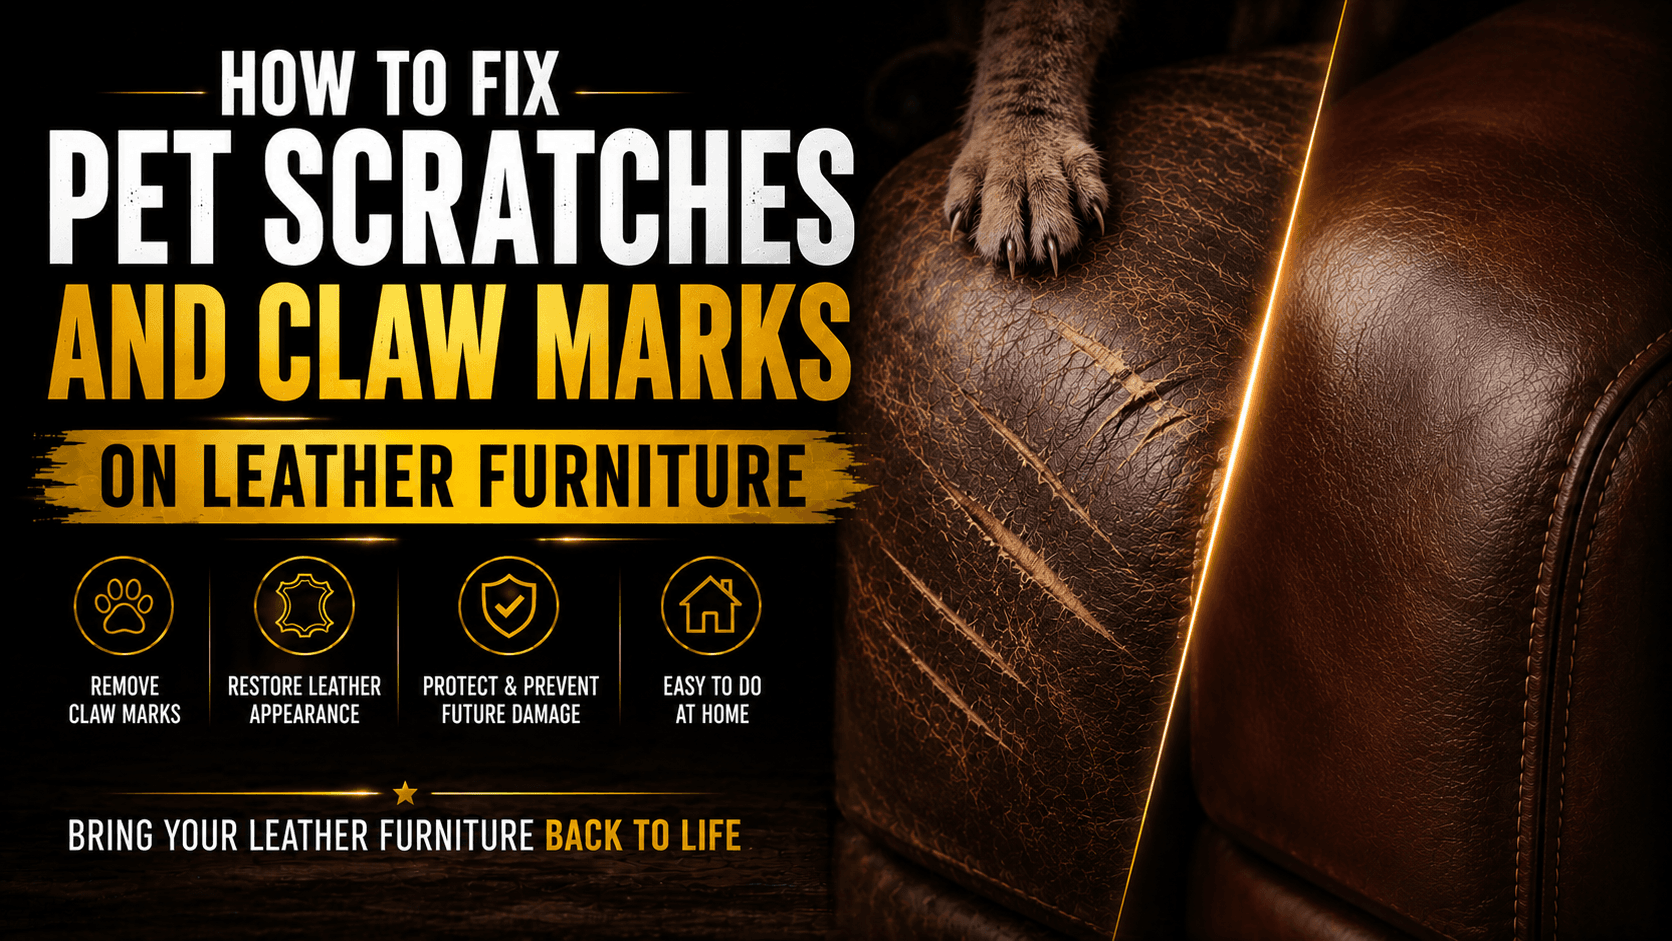
Cats and dogs love leather furniture almost as much as their owners do, and that affection often shows up as claw marks, surface scuffs, and torn stitching on a couch arm, cushion corner, or ottoman edge. The damage looks worse than it usually is. Most pet scratches sit in the top finish layer of the leather, not through the hide itself, which means a careful repair routine can restore the surface without replacing the furniture.
This guide walks through how to evaluate scratch depth, clean the area, fill and smooth damaged texture, match and blend color, and protect the repair so it holds up against the next round of scratching. It also covers when a scratch is too deep for a home fix and how to reduce the chances of the same spot getting scratched again.
Most cat and dog claw marks only damage the top finish coat, so color and light filler work is usually enough.
Deep gouges that catch a fingernail need filler before any color step, or the repair will still look uneven.
Clean and dry the area completely before touching it with filler, color restorer, or conditioner.
Protect repaired areas with a top coat, since pets tend to return to the same scratching spot.
Restoration Flow
Inspect scratch depth
Clean the area
Fill deep marks
Recolor and protect
Visual Guide
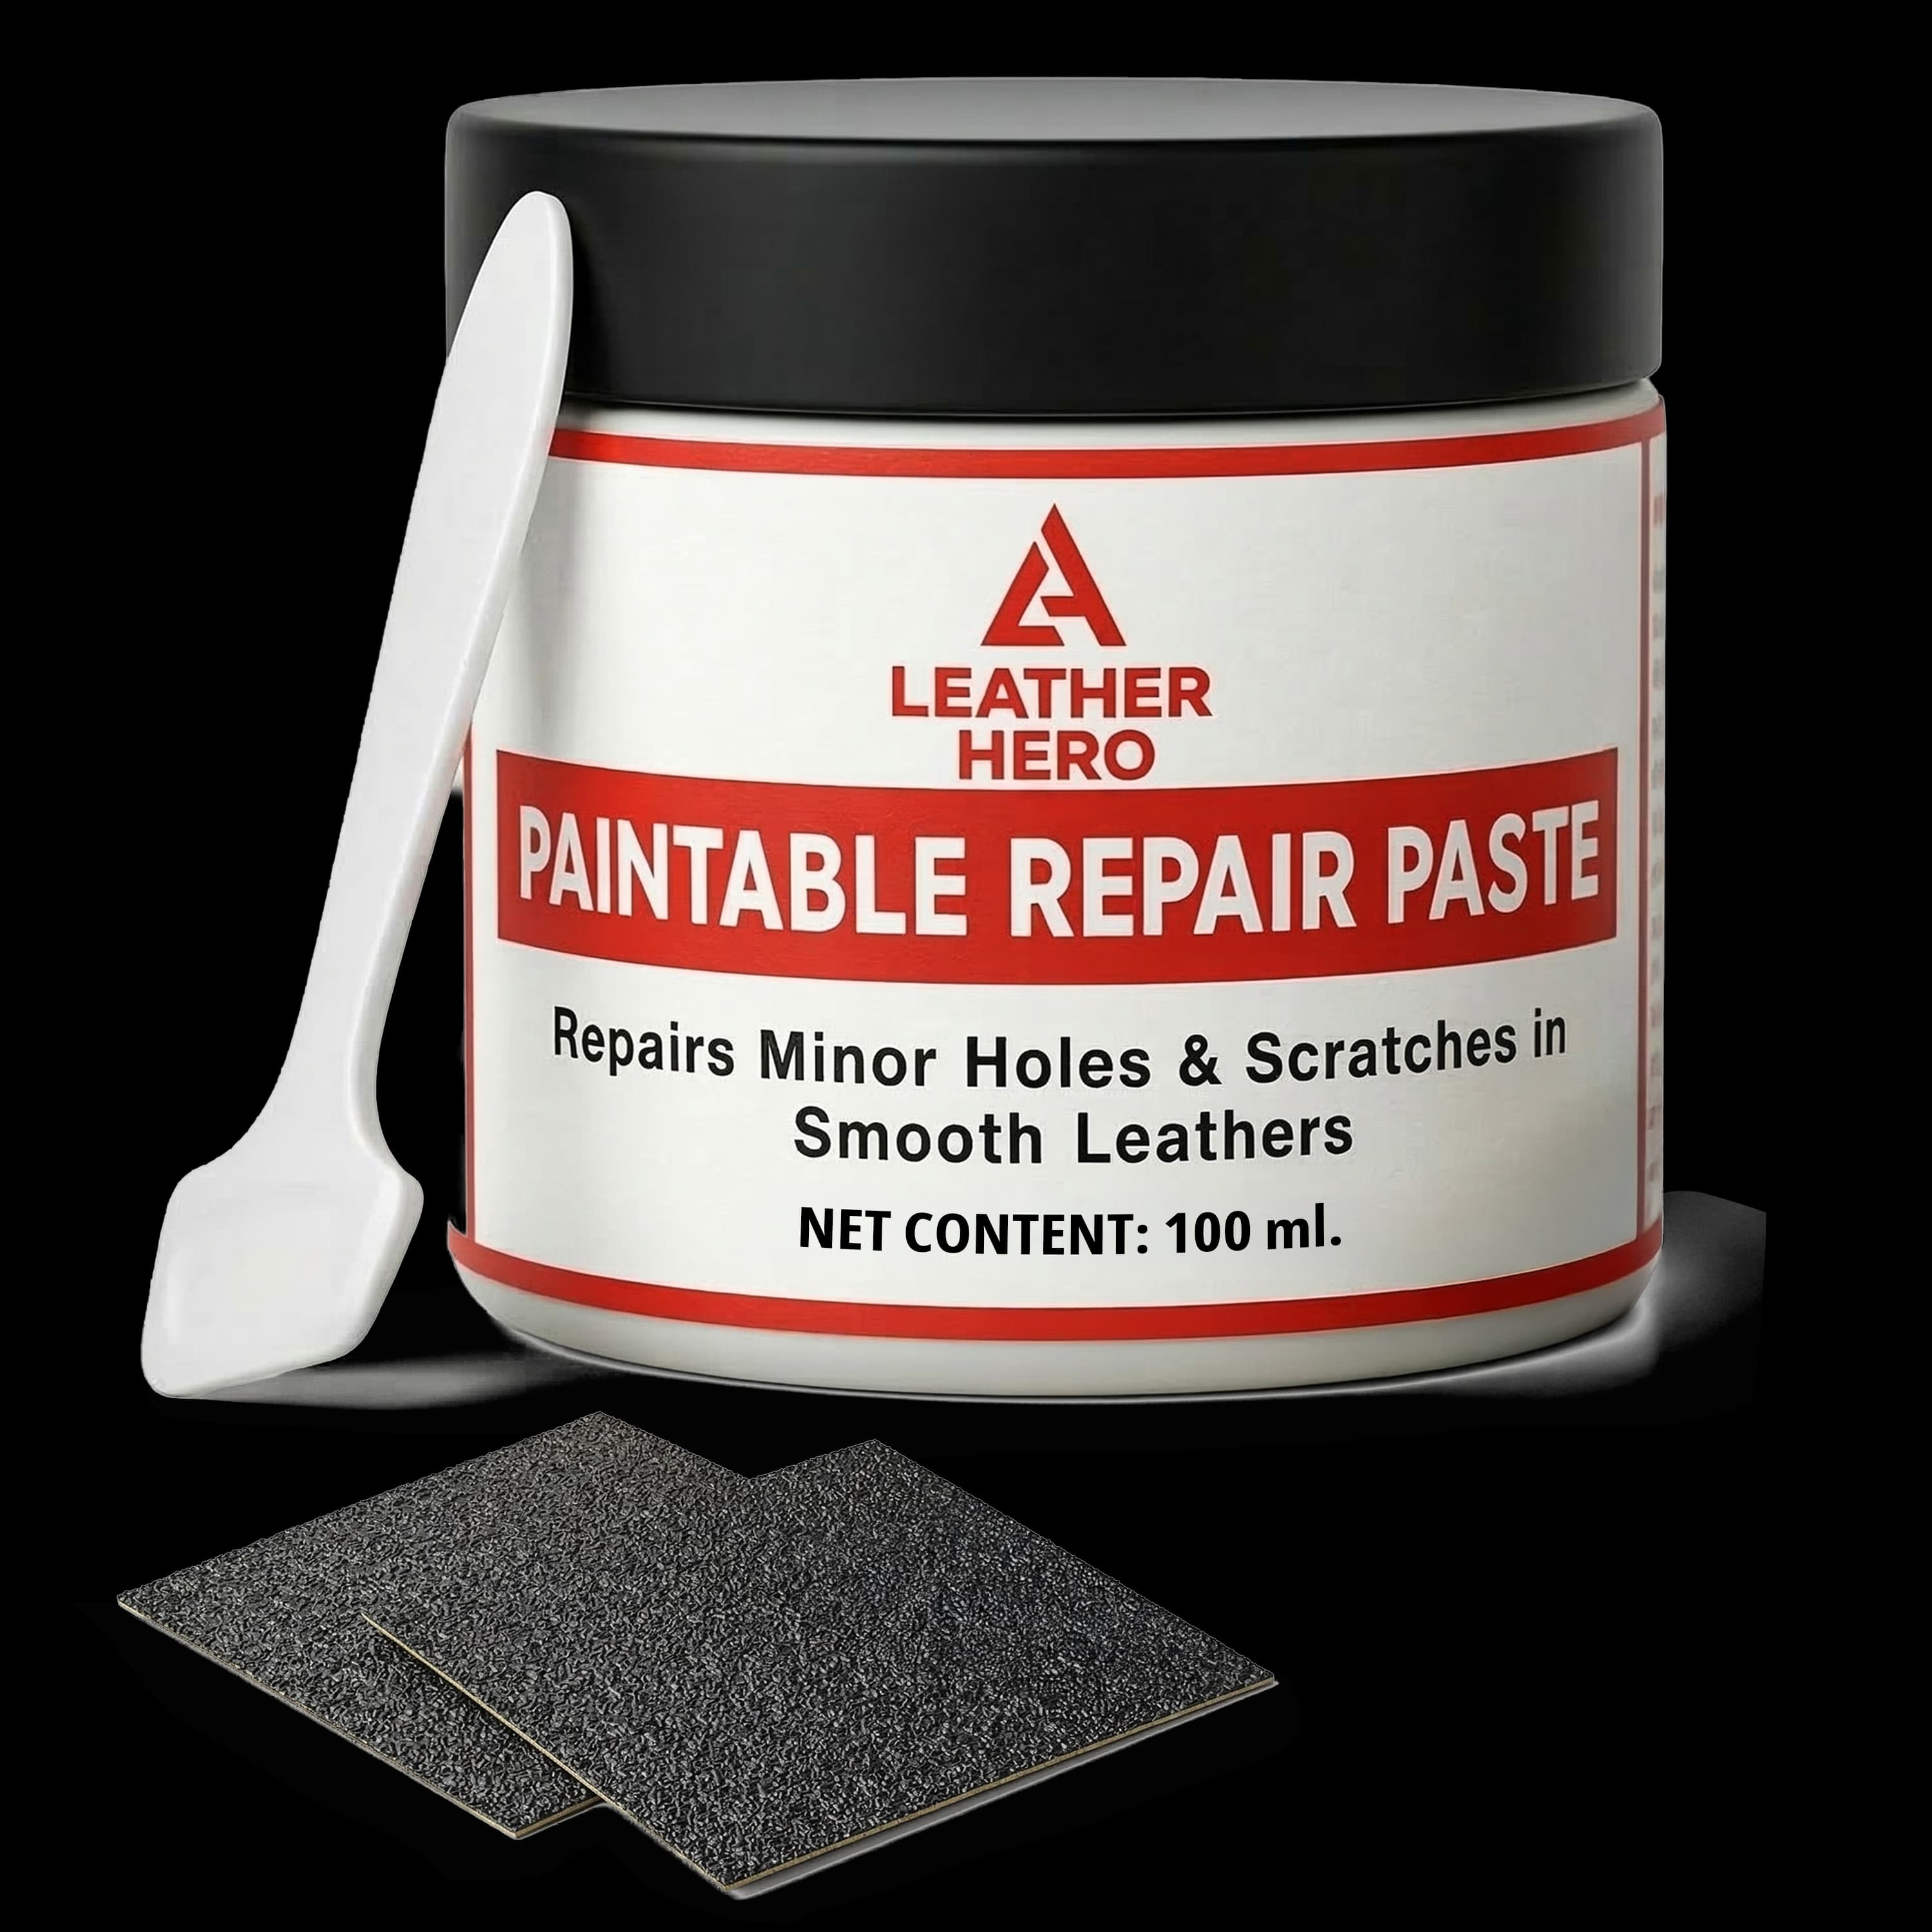
Filler for Deep Claw Marks
Use filler on scratches that catch a fingernail so the surface is smooth before any color is applied.
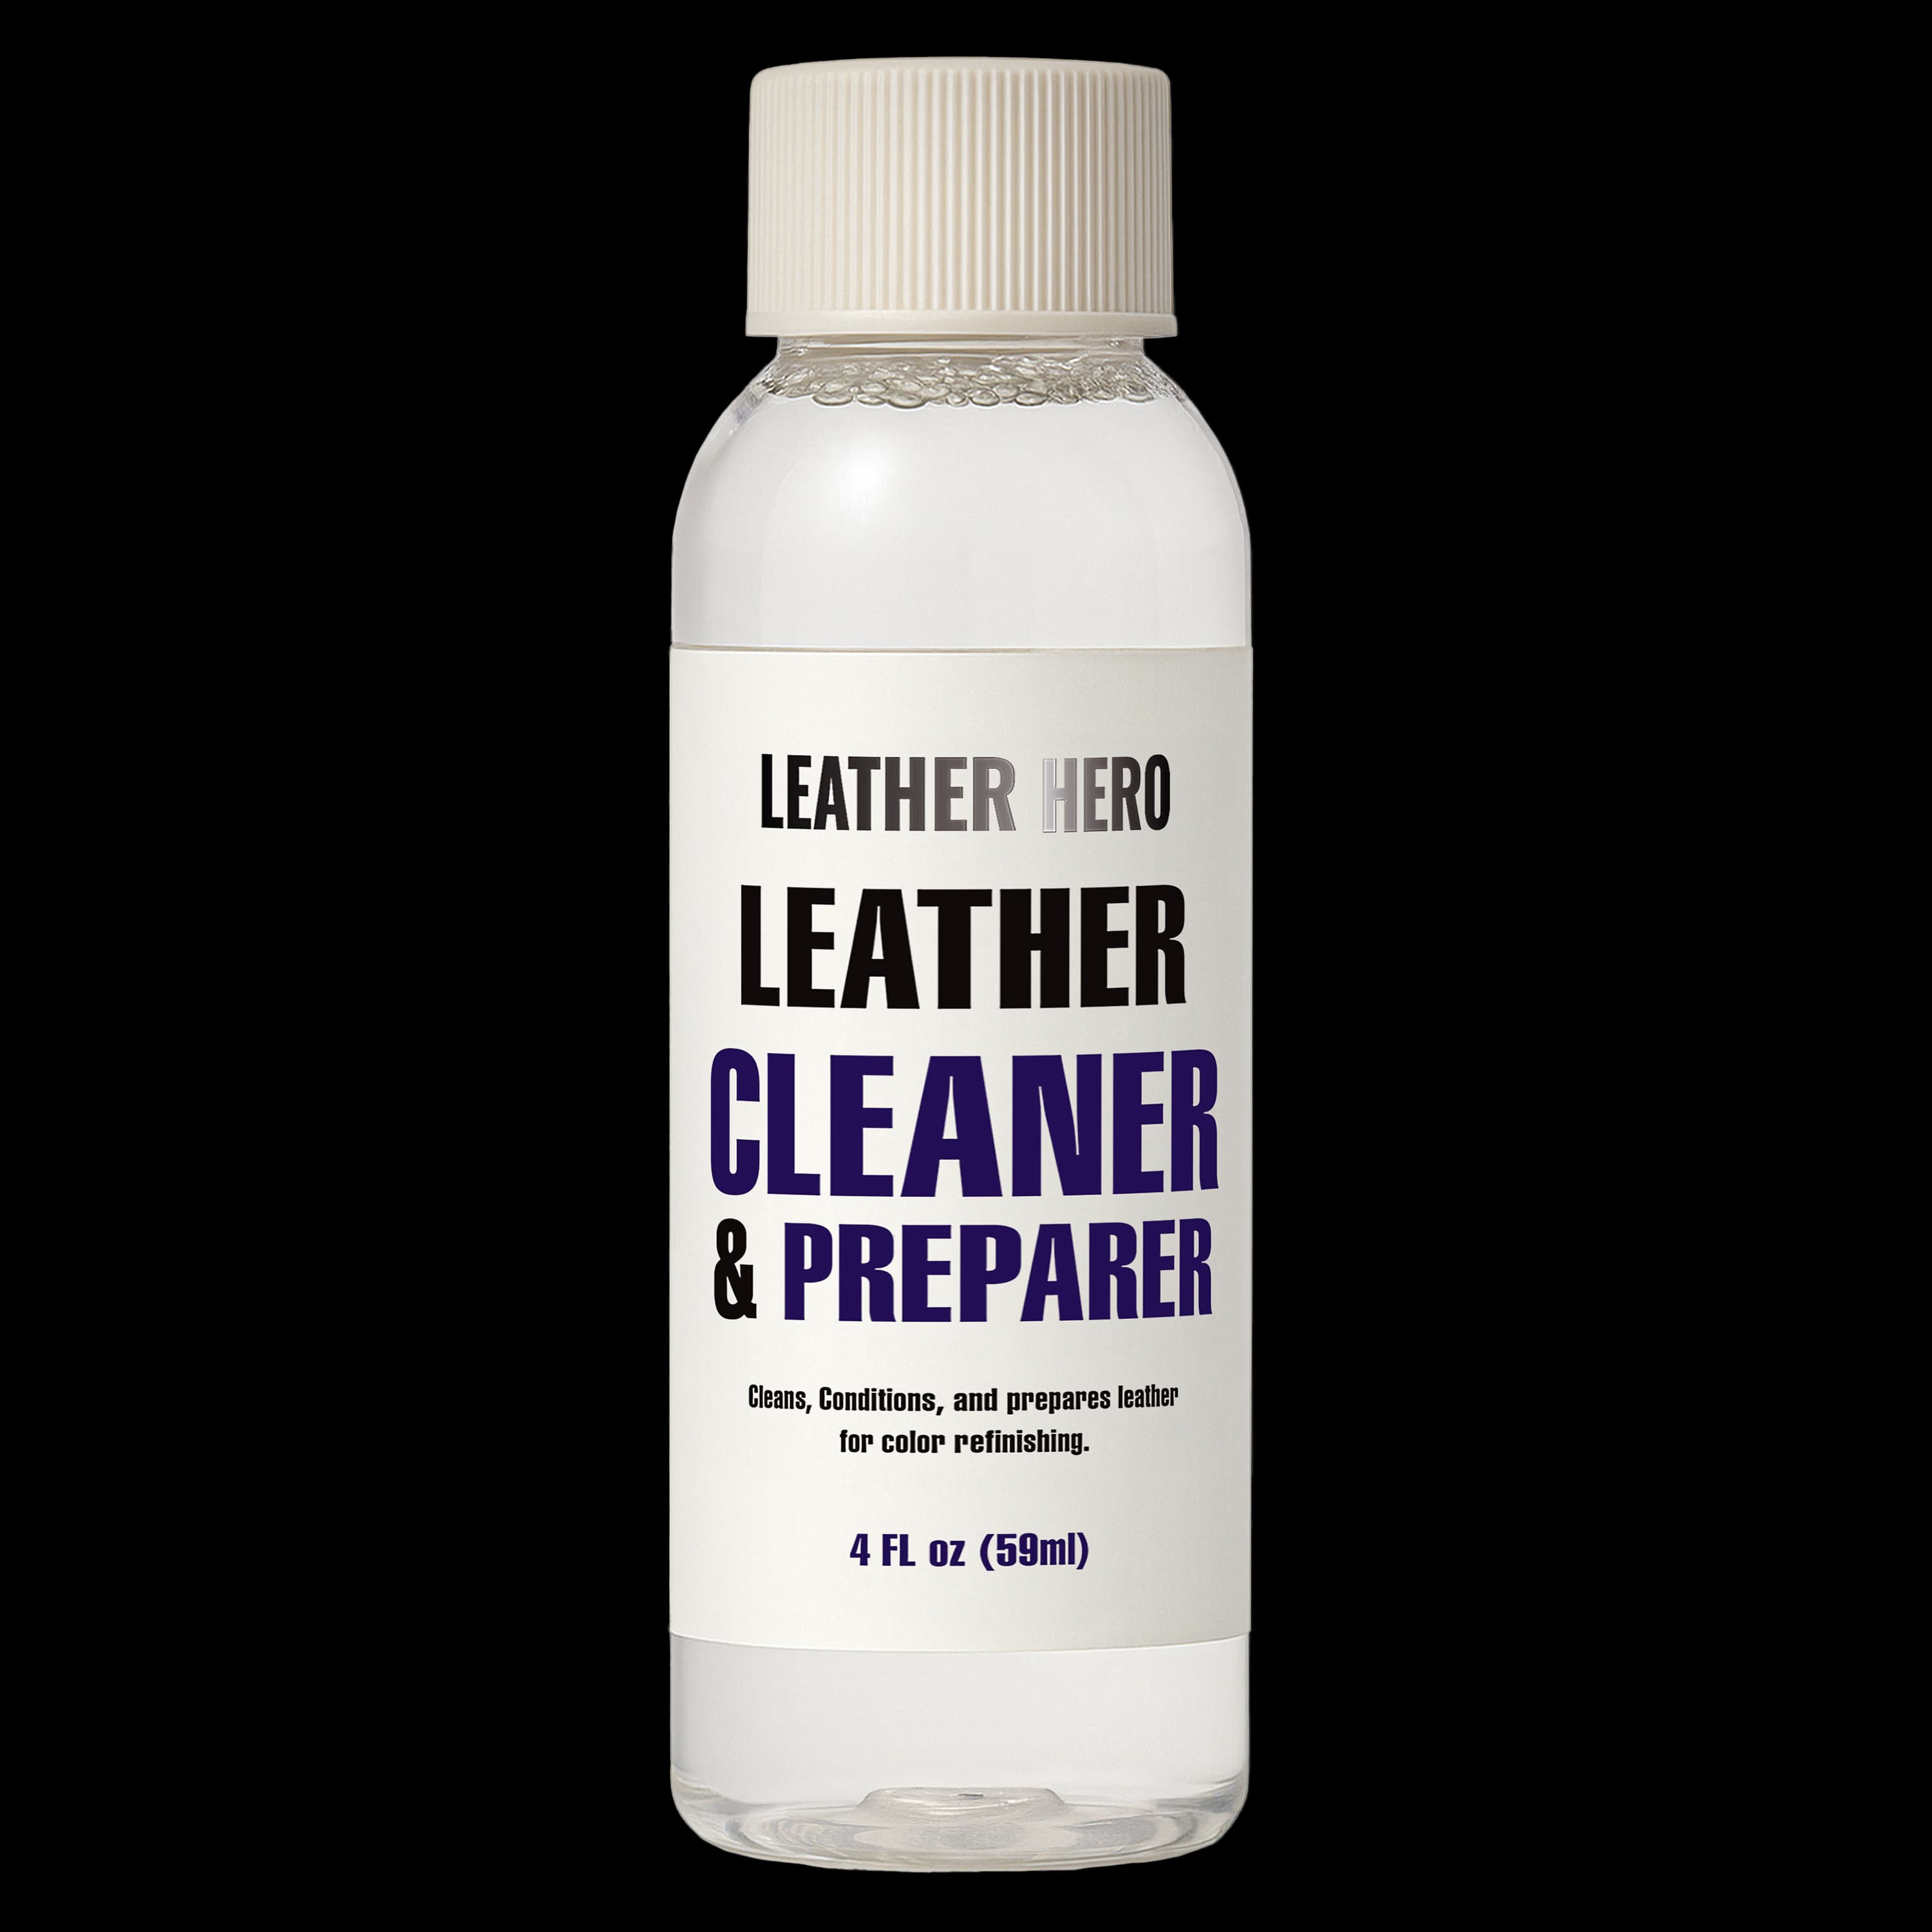
Clean Before Any Repair
Pet hair, oils, and dander can block filler and color from bonding evenly to scratched leather.
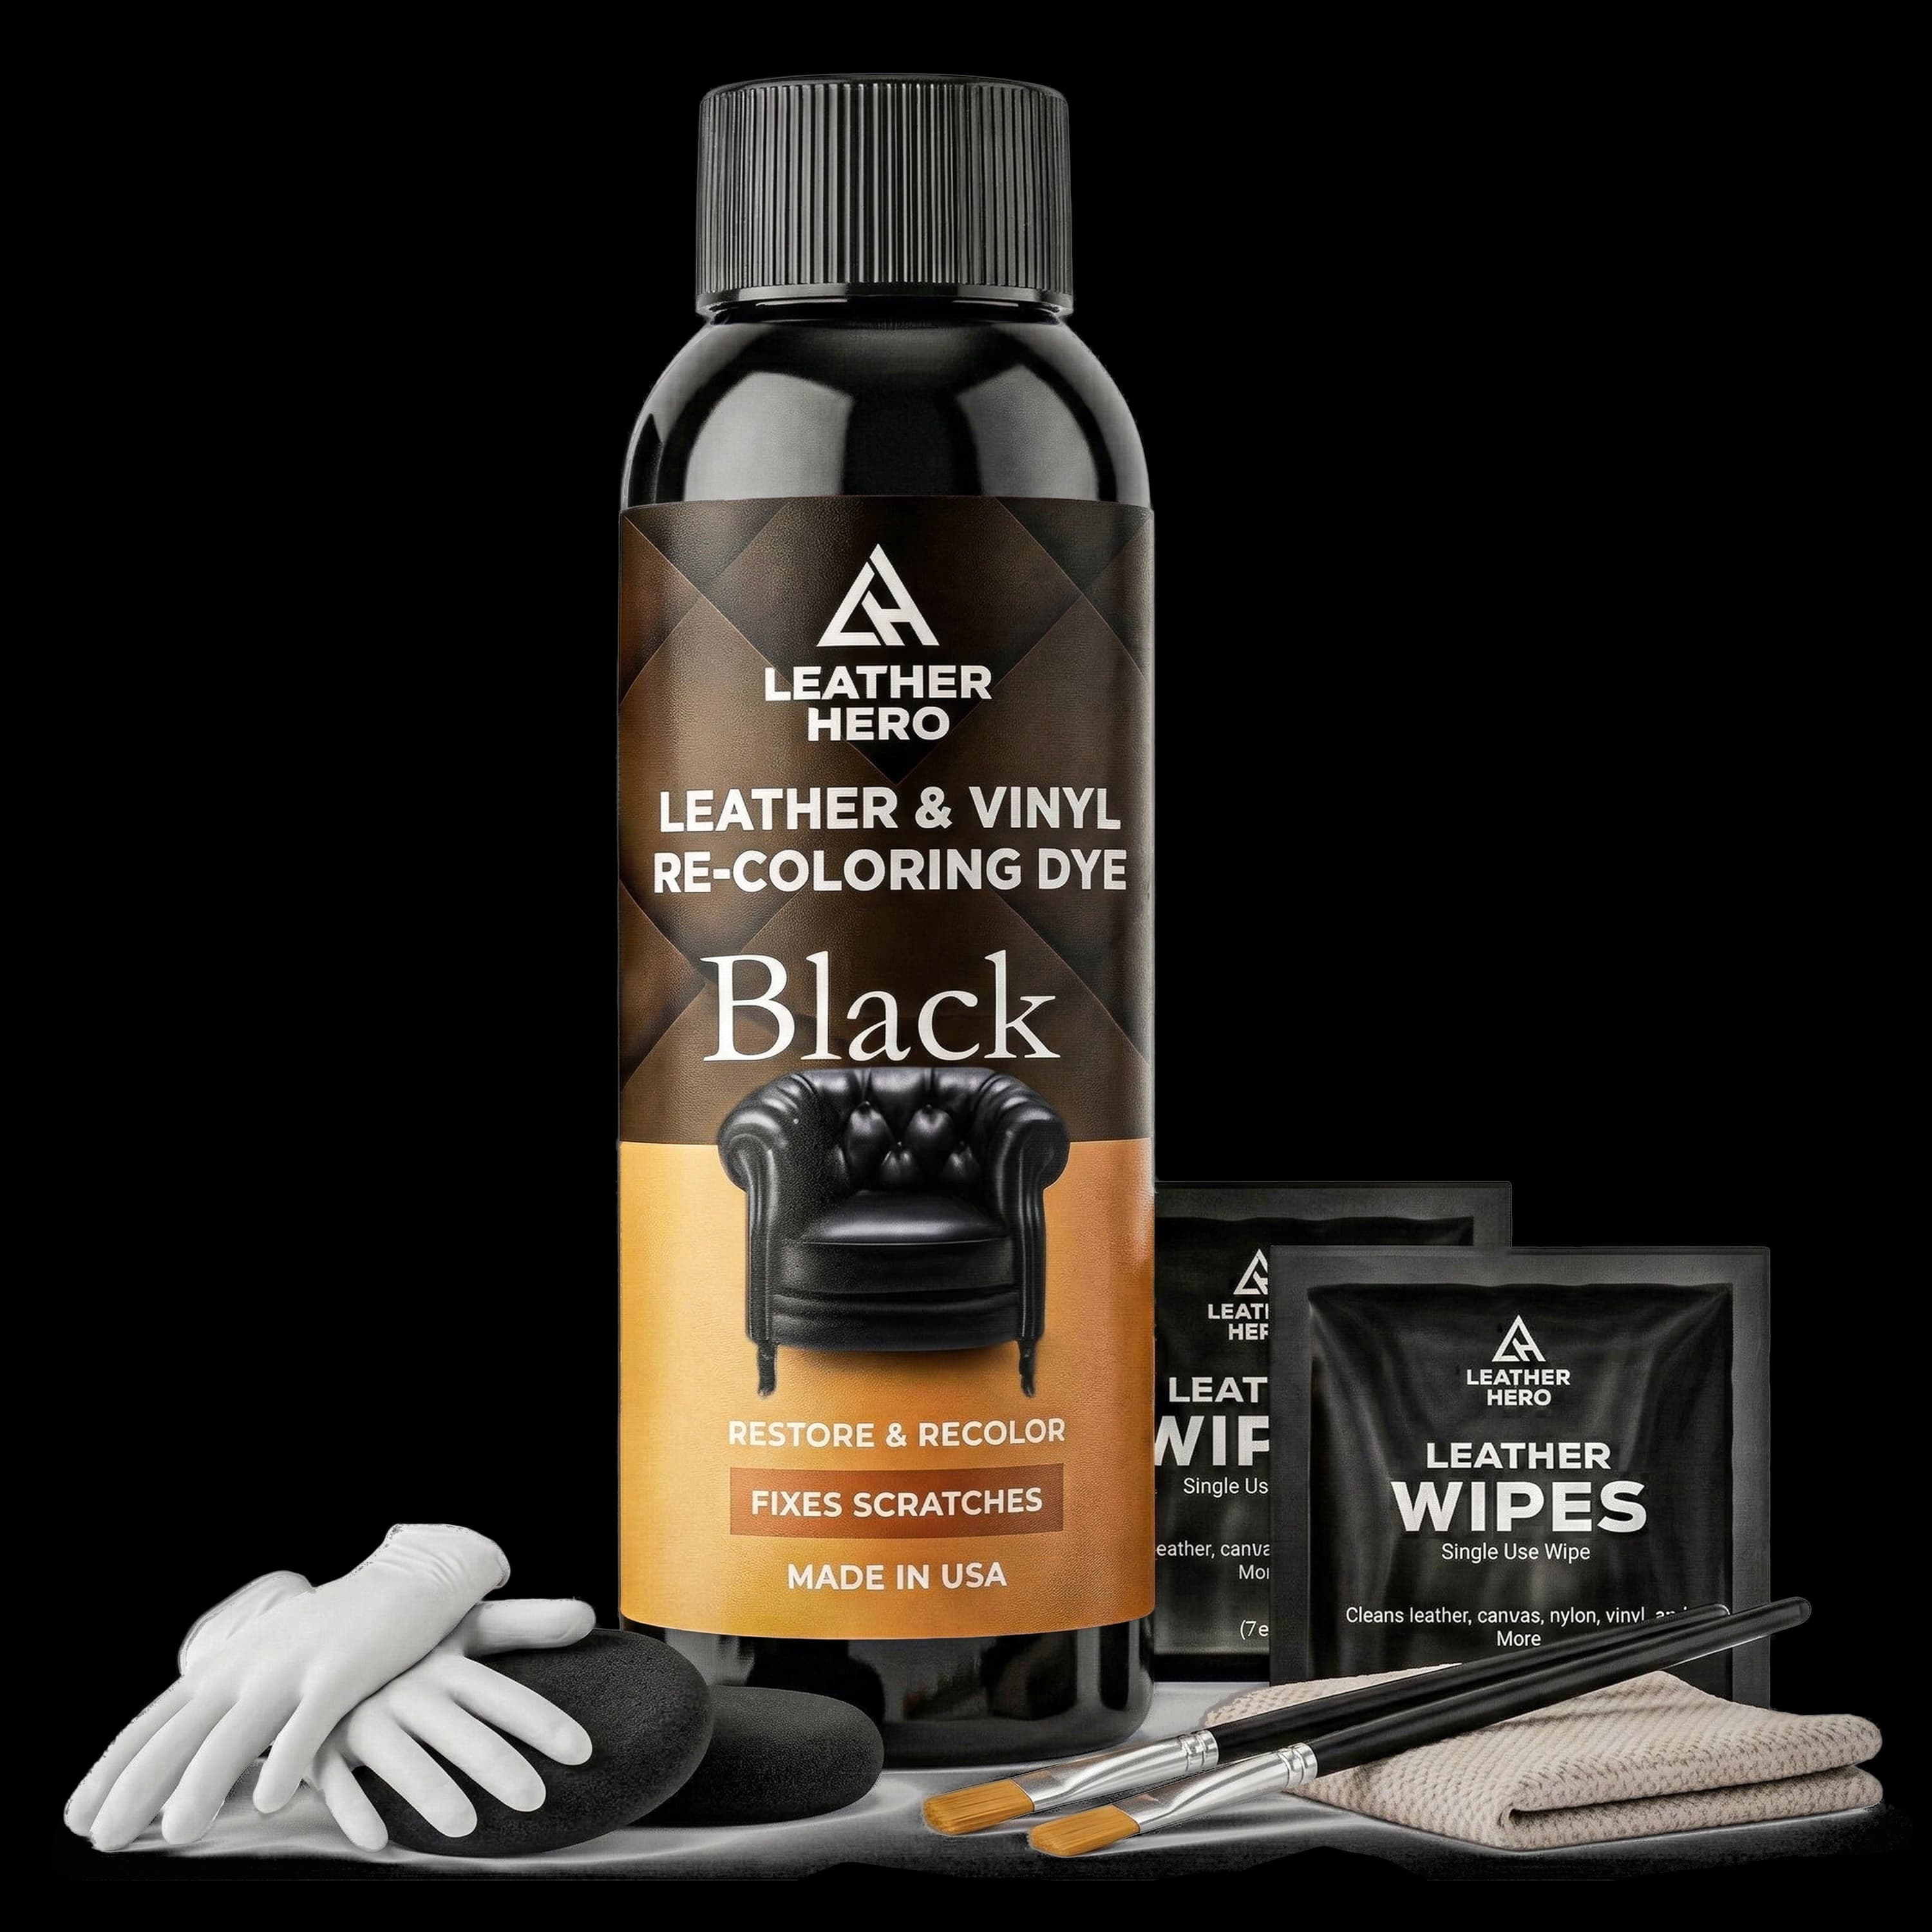
Color Match the Repair
Thin, feathered coats of color restorer help a claw-mark repair disappear into the surrounding leather.
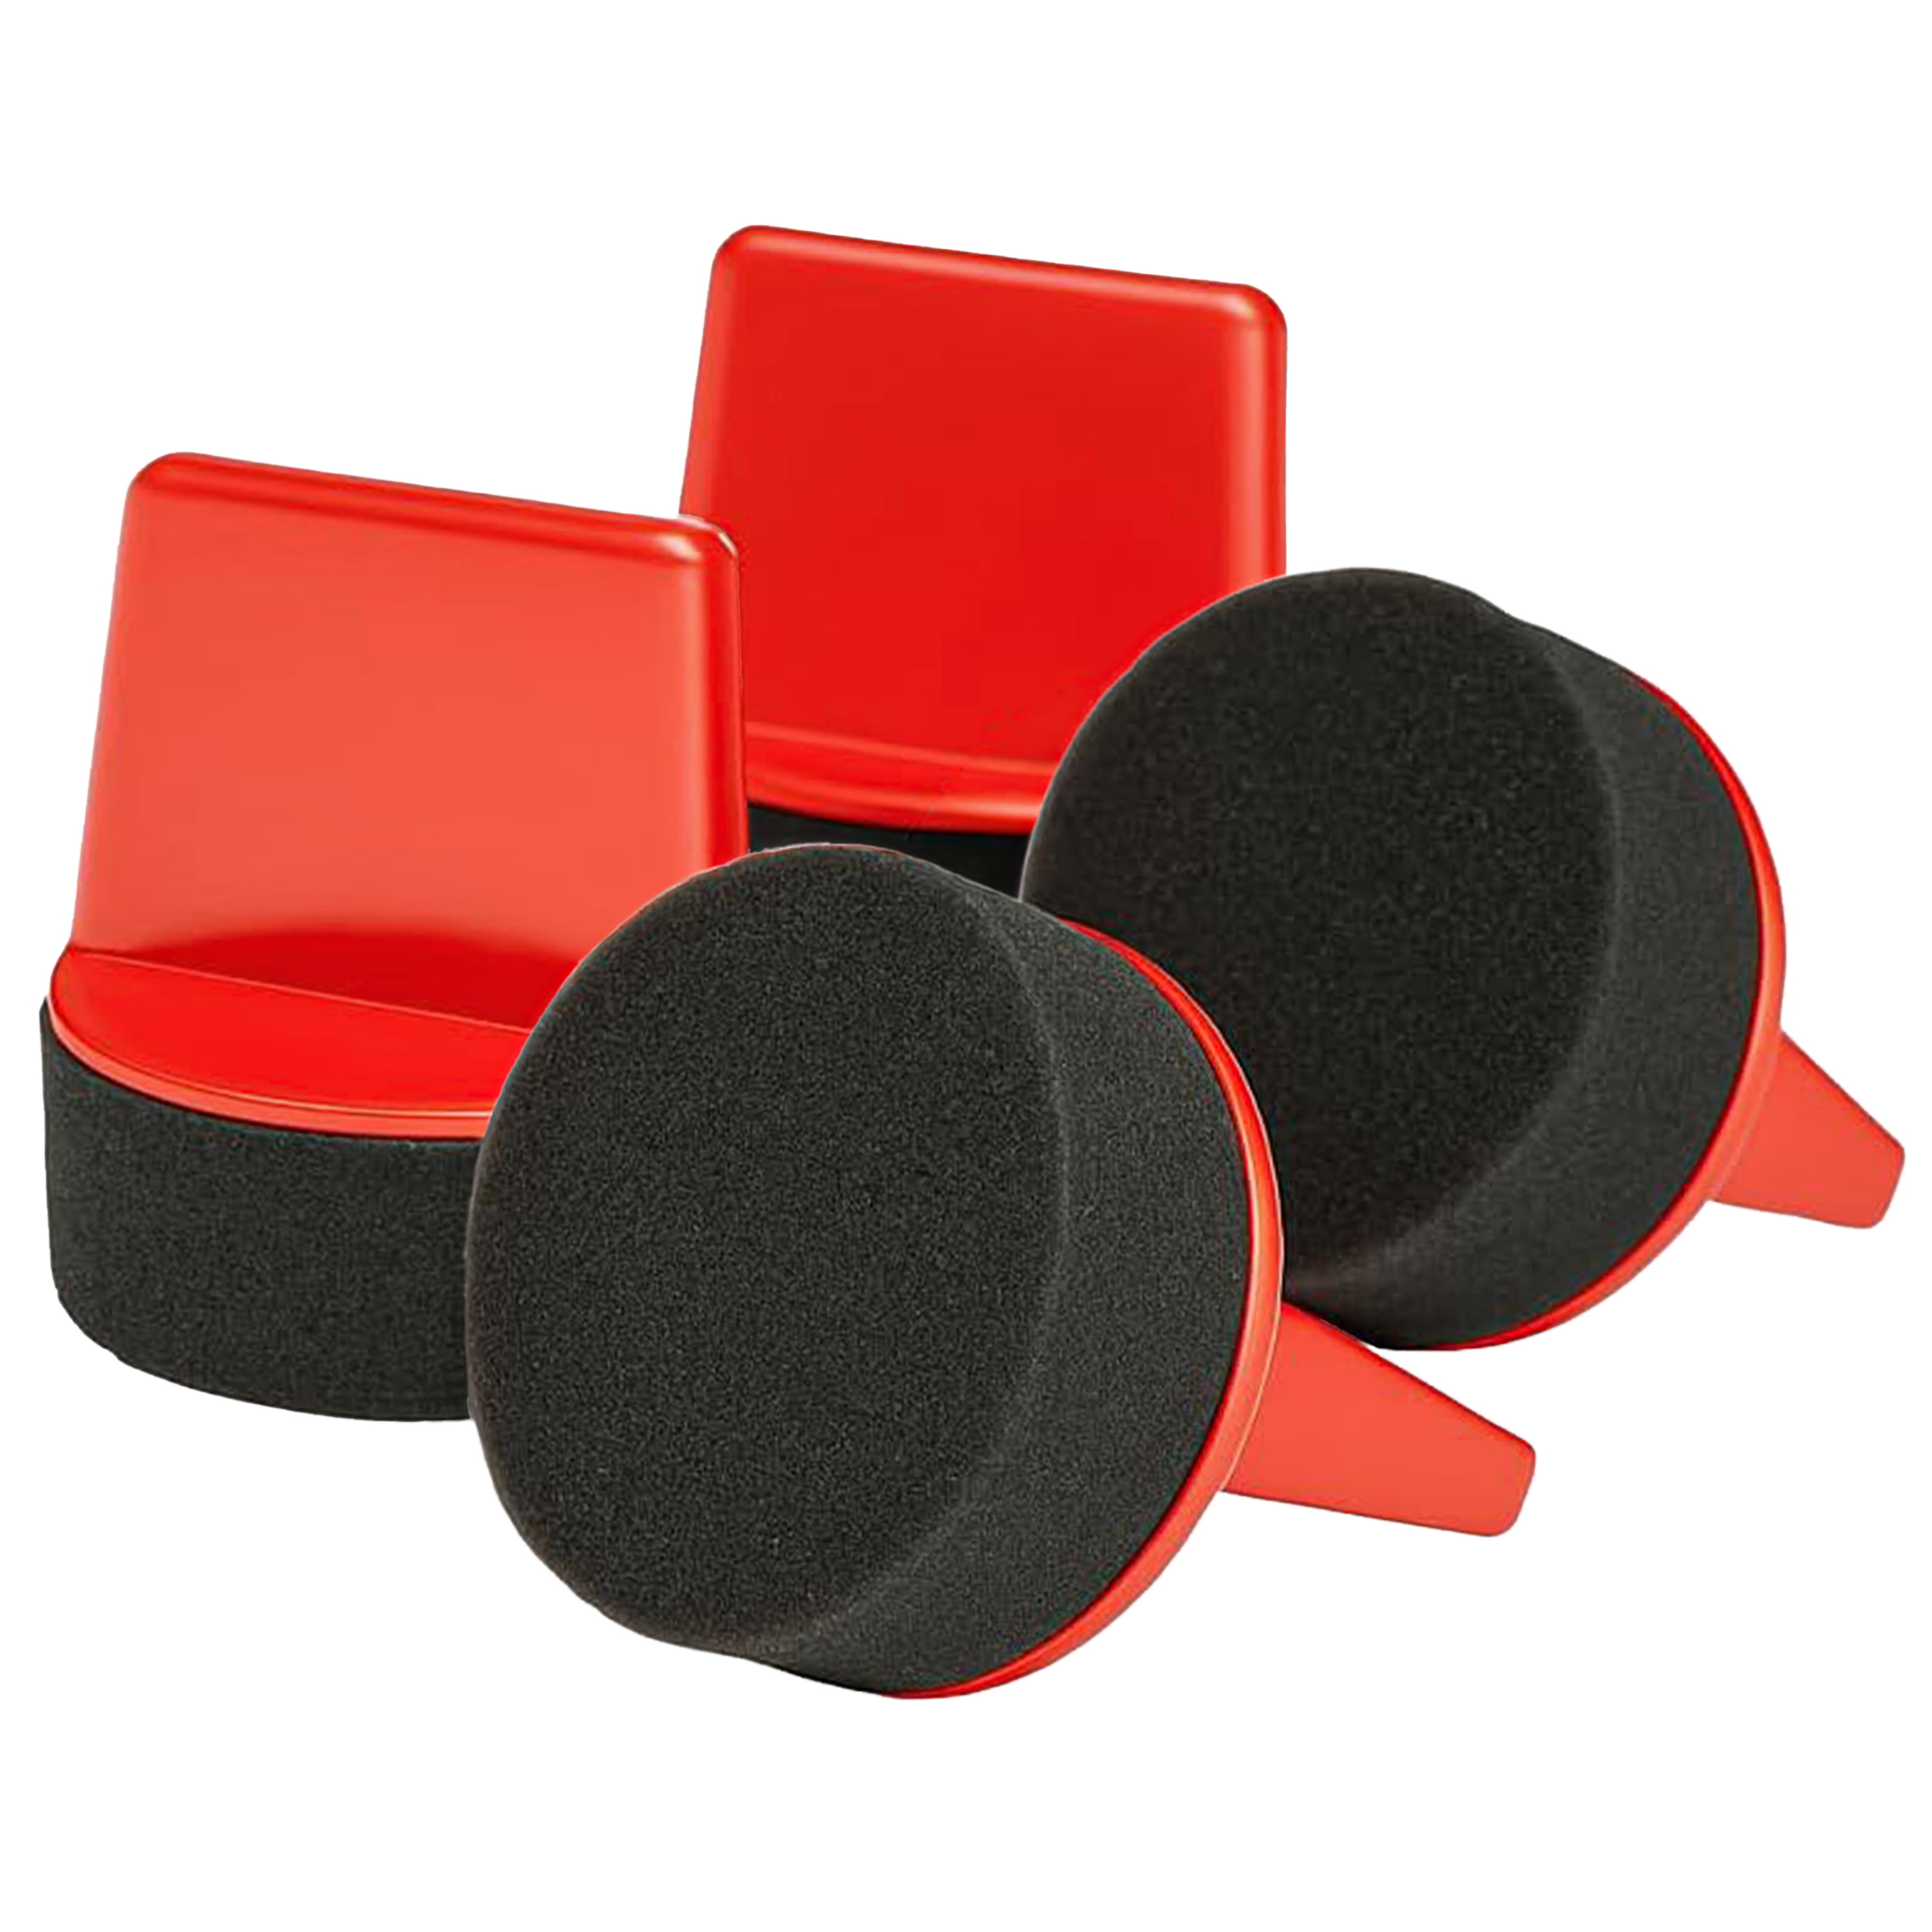
Foam Daubers for Small Marks
Small daubers give you control on tight areas like cushion corners, arm edges, and piping.
Why Cats and Dogs Scratch Leather Furniture
Scratching is a normal pet behavior, not a sign of a bad pet. Cats scratch to stretch their claws, mark territory with scent glands in their paws, and shed the outer layer of their claw sheaths. Dogs tend to scratch or paw at furniture out of excitement, anxiety, or habits carried over from digging behavior. Leather furniture is an easy target because arms, corners, and cushion edges are the exact shapes pets naturally use to scratch or dig.
Understanding the cause matters because a repair that is not paired with a behavior fix will likely get scratched again. Trimming claws regularly, offering a scratching post near the furniture, and using deterrent covers on vulnerable corners can reduce repeat damage while you focus on repairing the leather itself.
How to Tell If a Scratch Is Shallow or Deep
Run a fingernail gently across the mark. If it glides over the surface without catching, the damage is likely limited to the finish coat and can usually be repaired with cleaning and color restorer alone. If your nail catches, dips, or you can see lighter-colored leather fibers exposed under the top layer, the scratch has gone deeper and needs filler before color.
Look at the pattern too. A cluster of thin parallel lines is typical of cat claws and is usually shallow. Deeper single gouges, torn stitching, or lifted edges are more common with dog claws or repeated scratching in the same spot, and these usually need filler and sometimes stitching repair beyond what a color kit alone can fix.
Step One: Clean the Scratched Area
Before any repair product touches the leather, clean the scratched area with a leather-safe cleaner or preparer. Pet fur, skin oils, dander, and saliva can sit inside a scratch and prevent filler or color from bonding evenly. Work in small circular motions with a soft cloth, then let the area dry fully before continuing.
Avoid household cleaners, baby wipes, or anything with alcohol, since these can dry out leather or react with the existing finish. If a pet accident happened nearby, clean that area separately with a product made for leather and let it dry completely, since trapped moisture can make later repair steps harder to control.
Step Two: Fill Deep Claw Marks
For scratches that catch a fingernail, apply a small amount of leather filler paste into the mark with a spatula or fingertip, working it level with the surrounding surface. Build the fill in thin layers rather than one thick pass, letting each layer dry before adding more. This keeps the repaired texture close to the natural grain instead of looking like a raised patch.
Once the filler is dry, lightly smooth the area so it blends into the surface profile. You do not need a perfectly glassy finish, since leather grain is naturally uneven. The goal is closing the gap so the claw mark no longer catches on clothing or fingers, and so color sits evenly across the repaired spot.
Step Three: Recolor and Blend the Repair
Once the surface is clean, dry, and level, test a leather color restorer in a hidden spot such as the underside of a cushion or the back of an arm panel. Let the test dry fully before judging the match, since wet color often looks darker than the final result. Black leather is the most forgiving; brown leather can lean warm, cool, or gray depending on the piece.
Apply thin coats with a foam dauber, feathering the color past the repaired area into the surrounding leather so there is no hard edge. Let each coat dry before adding another, and stop as soon as the repair blends into the surrounding surface. A patient, thin-layer approach almost always looks more natural than one heavy coat.
Step Four: Protect the Repair From Future Scratches
Repaired areas are still leather, which means they can be scratched again. A top coat over the repaired spot adds a layer of protection and can make the surface slightly more resistant to light claw contact. Choose a finish that matches the rest of the piece, whether that is matte, satin, or gloss, so the repaired area does not stand out with a different sheen.
Pair the physical repair with a behavior plan. Keep a scratching post or pad near the repaired furniture, trim your pet's nails on a regular schedule, and consider a removable throw or corner guard on the most targeted spot while training takes effect. Repairs hold up far better when the same corner is not scratched again the following week.
Conclusion
Pet scratches on leather furniture usually look more dramatic than the actual damage underneath. Most claw marks sit in the finish layer and respond well to cleaning, thin color work, and a protective top coat. Deeper gouges just need one extra step: filler to rebuild the surface before color is applied.
Work in small sections, test color before committing to the whole repair, and pair the fix with simple habits that reduce future scratching. With the right products and a little patience, a scratched leather couch or chair can look cared for again instead of chewed up.
Match the product to the leather type, finish, and condition, then test it on a hidden area before full application.
Leather Hero Care NoteRecommended Product
Leather Filler Paste Kit
A focused product pick for the restoration steps in this guide.
Helpful References
Leather Naturally Care Guide
Independent reference on safe cleaning products and testing leather in a hidden area first.
Leather Repair Kit Guide
Full walkthrough of repairing scratches, cracks, and peeling leather with a repair kit.
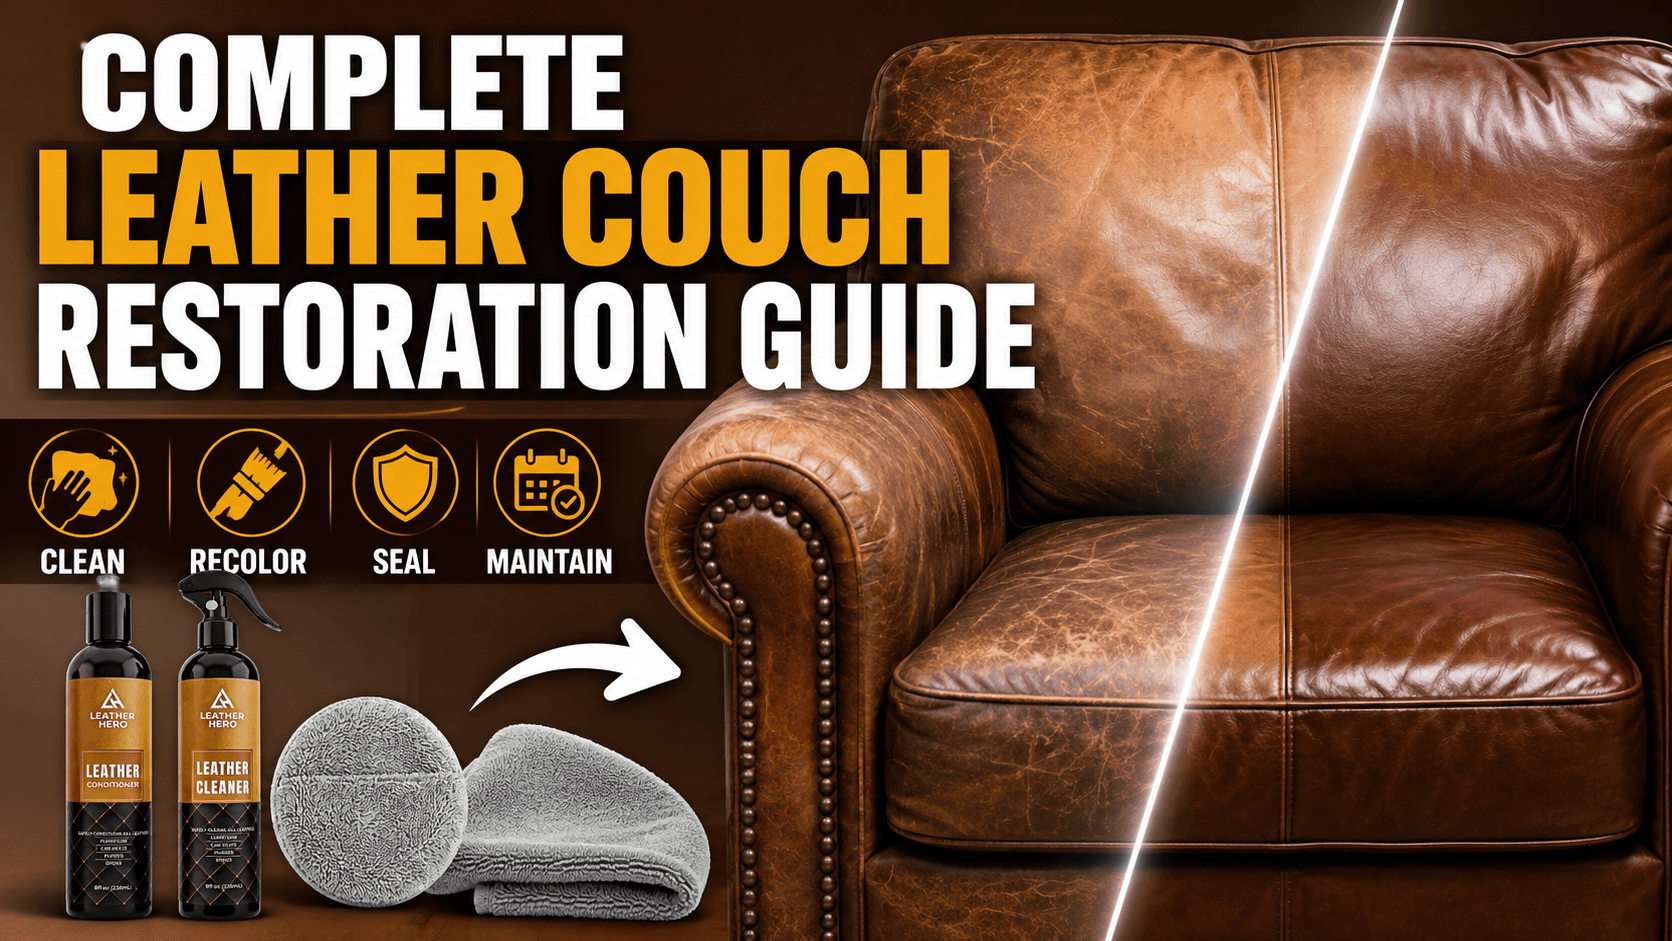
Complete Leather Couch Restoration Guide
Clean, recolor, seal, and maintain an entire leather couch beyond a single scratch repair.
Shop Leather Repair & Color Products
Browse Leather Hero cleaners, fillers, color restorers, and top coats for furniture repair.
Frequently Asked Questions
Can leather furniture be repaired after cat or dog scratches?
Yes. Most pet scratches only damage the top finish layer of leather, so cleaning, filler for deeper marks, and color restorer can usually repair the area without replacing the furniture.
How do I know if a scratch needs filler or just color restorer?
Run a fingernail over the mark. If it catches, dips, or shows exposed fibers, use filler first. If it glides smoothly, color restorer alone is usually enough.
Will a repaired area get scratched again?
It can, since it is still leather. Pair the repair with regular nail trims, a scratching post near the furniture, and a top coat for added surface protection.
Can I use regular household cleaner to clean up before repairing?
No. Household cleaners, alcohol, and baby wipes can dry out leather or interfere with filler and color adhesion. Use a leather-safe cleaner or preparer instead.
When should I call a professional instead of repairing it myself?
If the scratch has torn through stitching, cut deep into a seam, or covers a large structural area, professional upholstery repair is usually a safer option than a DIY fix.
Join The List
Leather Care, Delivered.
Get expert guides and exclusive offers in your inbox.