How to Restore a Leather Car Interior at Home Without a Professional Shop
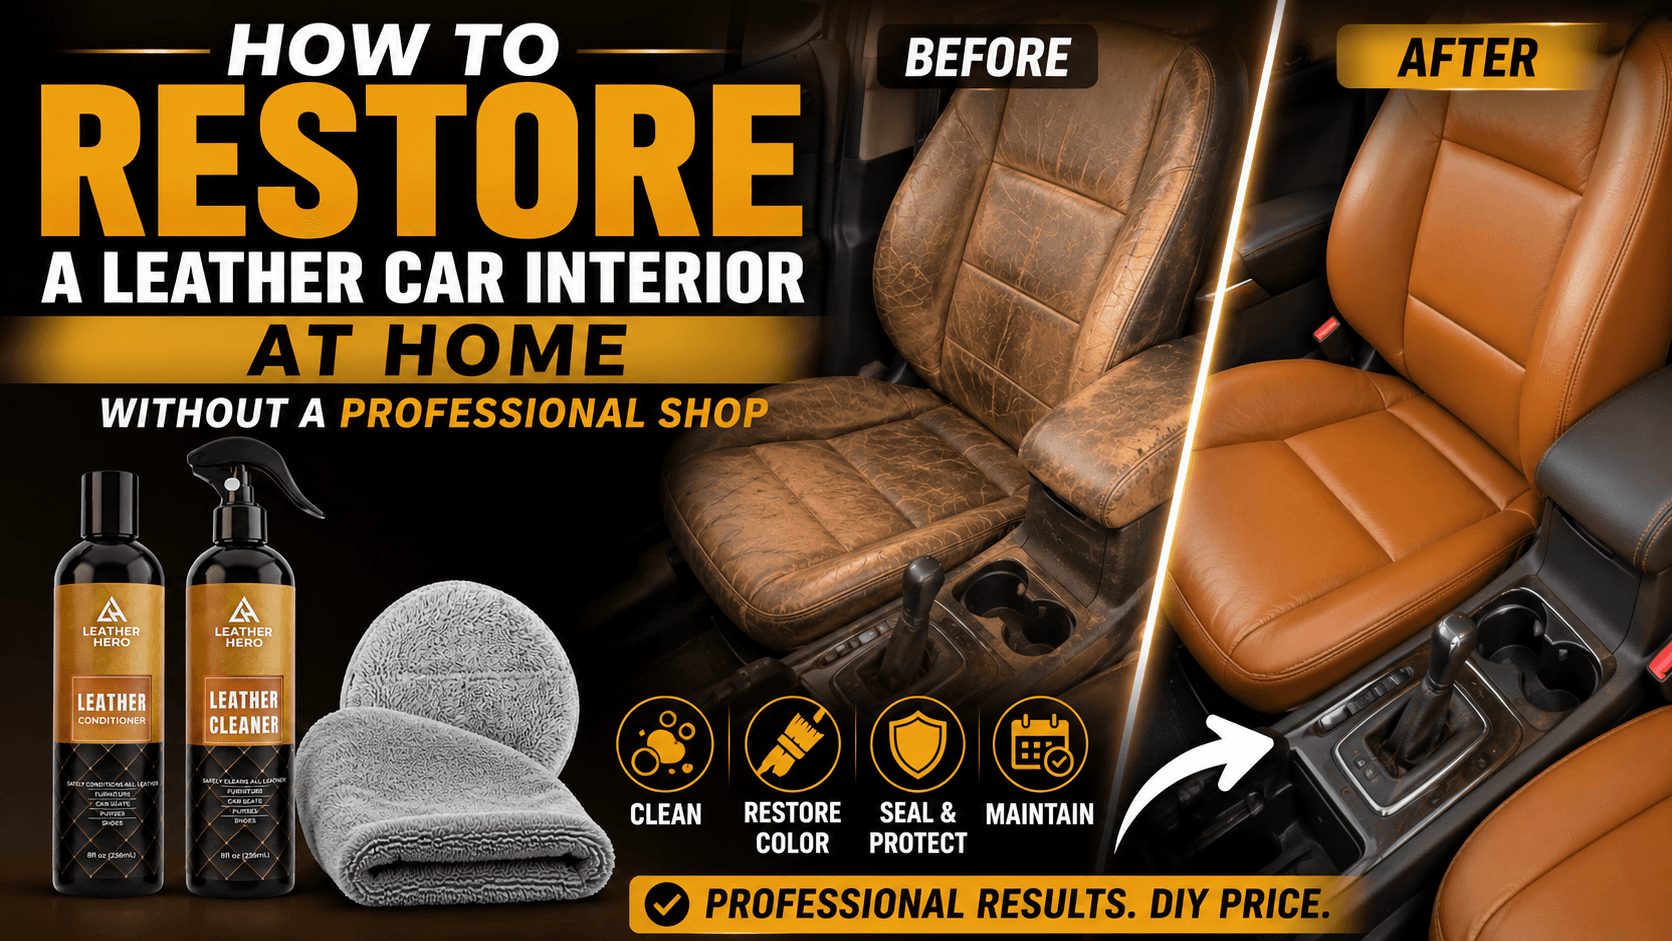
Car leather has a hard life. It handles sunlight, heat, denim dye, sweat, steering wheel grip, child seats, pet claws, drive-through spills, and constant friction every time someone gets in or out. That is why a leather car interior can look older than the vehicle itself even when the engine, paint, and dashboard still feel fresh.
Restoring automotive leather at home is possible, but it needs a controlled process. Seats, bolsters, armrests, and steering wheels are high-touch surfaces, so shortcuts show quickly. The best routine is to clean thoroughly, identify the type of wear, repair surface damage, restore color gradually, and protect the finish before regular driving resumes.
Automotive leather restoration works best when you separate grime, shine, fading, scuffs, and physical damage before choosing products.
Driver bolsters and steering wheels need extra preparation because body oil and friction build up there fastest.
Thin color layers help preserve grain and flexibility on seats that bend every day.
A protective top coat is especially important for restored car interiors because heat and friction are constant.
Restoration Flow
Degrease contact zones
Repair worn bolsters
Recolor evenly
Protect before driving
Know What Automotive Leather Needs
Most modern car seats use finished leather, coated leather, or leather seating surfaces combined with synthetic side panels. The coating is designed to handle wear, but it still breaks down over time. A shiny steering wheel is often not a sign of healthy leather; it can be body oil, flattened finish, and grime polished by repeated hand contact.
Start by identifying the worst areas. Driver seat outer bolsters usually wear first because they rub against clothing as the driver enters and exits. Steering wheels fade or become glossy from constant grip. Armrests collect skin oil. Rear seats may have pressure marks from child seats. Each zone may need a slightly different level of cleaning and restoration.
Vacuum and Dry-Clean First
Before using liquid cleaner, remove grit from seams, perforations, piping, and cushion gaps. Tiny particles can scratch the finish while you clean. Use a soft brush attachment and take your time around stitched panels. If your seats are perforated, avoid pushing moisture into the holes.
A dry microfiber wipe after vacuuming helps reveal the true condition. Sometimes what looks like fading is only dust and dry residue. Other times cleaning exposes actual pigment loss. This first pass gives you a clearer map of the project and prevents abrasive dirt from being rubbed across the leather.
Clean High-Contact Areas Carefully
Use a leather-safe cleaner on the steering wheel, driver seat, armrest, and seat bolsters. Work gently but thoroughly. If a cloth turns dark quickly, change to a clean side rather than spreading old soil. Do not use harsh household degreasers, alcohol-heavy wipes, or glass cleaner. Automotive leather coatings can be damaged by aggressive chemicals.
Let the cleaned areas dry completely. This is especially important in a car because enclosed cabins can trap moisture. Open doors or windows in a shaded area if possible. Do not restore color onto damp leather, and do not use strong heat to force drying. Heat can make dry leather stiffer and can affect adhesives or trim.
Fix Scuffs Before Recoloring
Seat bolsters often have scuffs where the finish has been rubbed away. If the surface is smooth, a color restorer may be enough. If the area feels rough, cracked, or raised, repair or smooth it first with the correct repair product. Color does not hide texture; it usually makes texture more noticeable.
Steering wheels deserve extra caution. They are safety-critical touchpoints, so the final surface must feel clean, dry, and controlled. Avoid any product buildup that could feel slippery. Apply very thin layers, let them cure, and test the feel before driving.
Restore Color With Patience
Choose a shade that matches the original interior, not the faded area. Hidden spots under a seat edge, behind a headrest, or near trim can help show the original tone. Apply a small test first and let it dry. Car interiors are seen in changing light, so inspect the result outdoors, in shade, and under garage lighting before committing.
Use thin layers and feather the edges. On seats, avoid creating a hard color border in the middle of a panel. On bolsters, blend into the surrounding area so the repair does not look like a patch. Let each coat dry before adding another. A natural-looking restoration usually comes from controlled build rather than heavy coverage.
Protect Against Heat and Friction
Cars punish finishes with heat, UV exposure, and repeated abrasion. After recoloring, a compatible top coat can help protect the surface. This matters most for driver seats, steering wheels, console lids, and door pulls. Choose a finish level that matches the interior. Most car leather looks best with a low-sheen matte or satin finish rather than a glossy coating.
Allow curing time before heavy use. If possible, restore the car when it can sit overnight. Avoid tight clothing friction, wet towels, and aggressive cleaning immediately after the work. The finish needs time to become durable enough for daily driving.
Build a Simple Car Leather Maintenance Routine
Once restored, keep the routine simple. Wipe dust weekly, clean high-contact areas monthly or as needed, and protect the vehicle from strong sun when practical. Windshield shades, covered parking, and quick spill cleanup all reduce future fading and dryness.
Do not over-condition modern coated car leather. Many automotive surfaces need gentle cleaning and protection more than heavy oil. Too much conditioner can leave residue, attract dirt, or create shine. Use products that match the leather and the problem rather than treating every surface the same way.
Work Safely Around Trim, Stitching, and Perforations
Automotive interiors have details that furniture does not. Contrast stitching, perforated seat centers, plastic trim, seat controls, airbag labels, and heated-seat panels all deserve care. Keep products controlled on the applicator instead of flooding the surface. If a seat is perforated, use less product and avoid pushing liquid into the holes where it can collect below the surface.
Mask nearby trim if you are working close to plastic or metal. Wipe accidental product transfer immediately before it dries. Around stitching, apply light pressure and avoid loading thread with color unless the thread is meant to be recolored. Clean edges make a home restoration look deliberate, while stained stitching and product marks on trim can make even good color work look rushed.
Set Expectations for Daily Drivers
A daily driver will keep wearing after restoration. That does not mean the project failed; it means the most-used areas need normal upkeep. Driver bolsters, steering wheels, and armrests may need periodic cleaning and touch-ups sooner than rear seats or decorative panels. The goal is to make the interior look cared for and slow future wear, not freeze the vehicle in showroom condition forever.
If the leather is badly cracked, has foam showing, or has peeling material across large panels, a professional upholsterer may be the better answer. Home restoration is strongest when the surface is intact enough to clean, recolor, and protect. Knowing that boundary helps you spend effort where it can produce a satisfying result.
Conclusion
A worn leather car interior can often be improved without a professional shop when the damage is mostly surface wear, fading, shine, and light scuffing. The right process is careful: remove grit, clean contact zones, repair rough damage, restore color in thin coats, and seal the areas that hands and clothing touch every day.
The reward is more than appearance. A cleaner, more even interior feels better to drive and can make the whole vehicle feel cared for again. Work in small sections, avoid harsh cleaners, and give every layer enough drying time.
Match the product to the leather type, finish, and condition, then test it on a hidden area before full application.
Leather Hero Care Note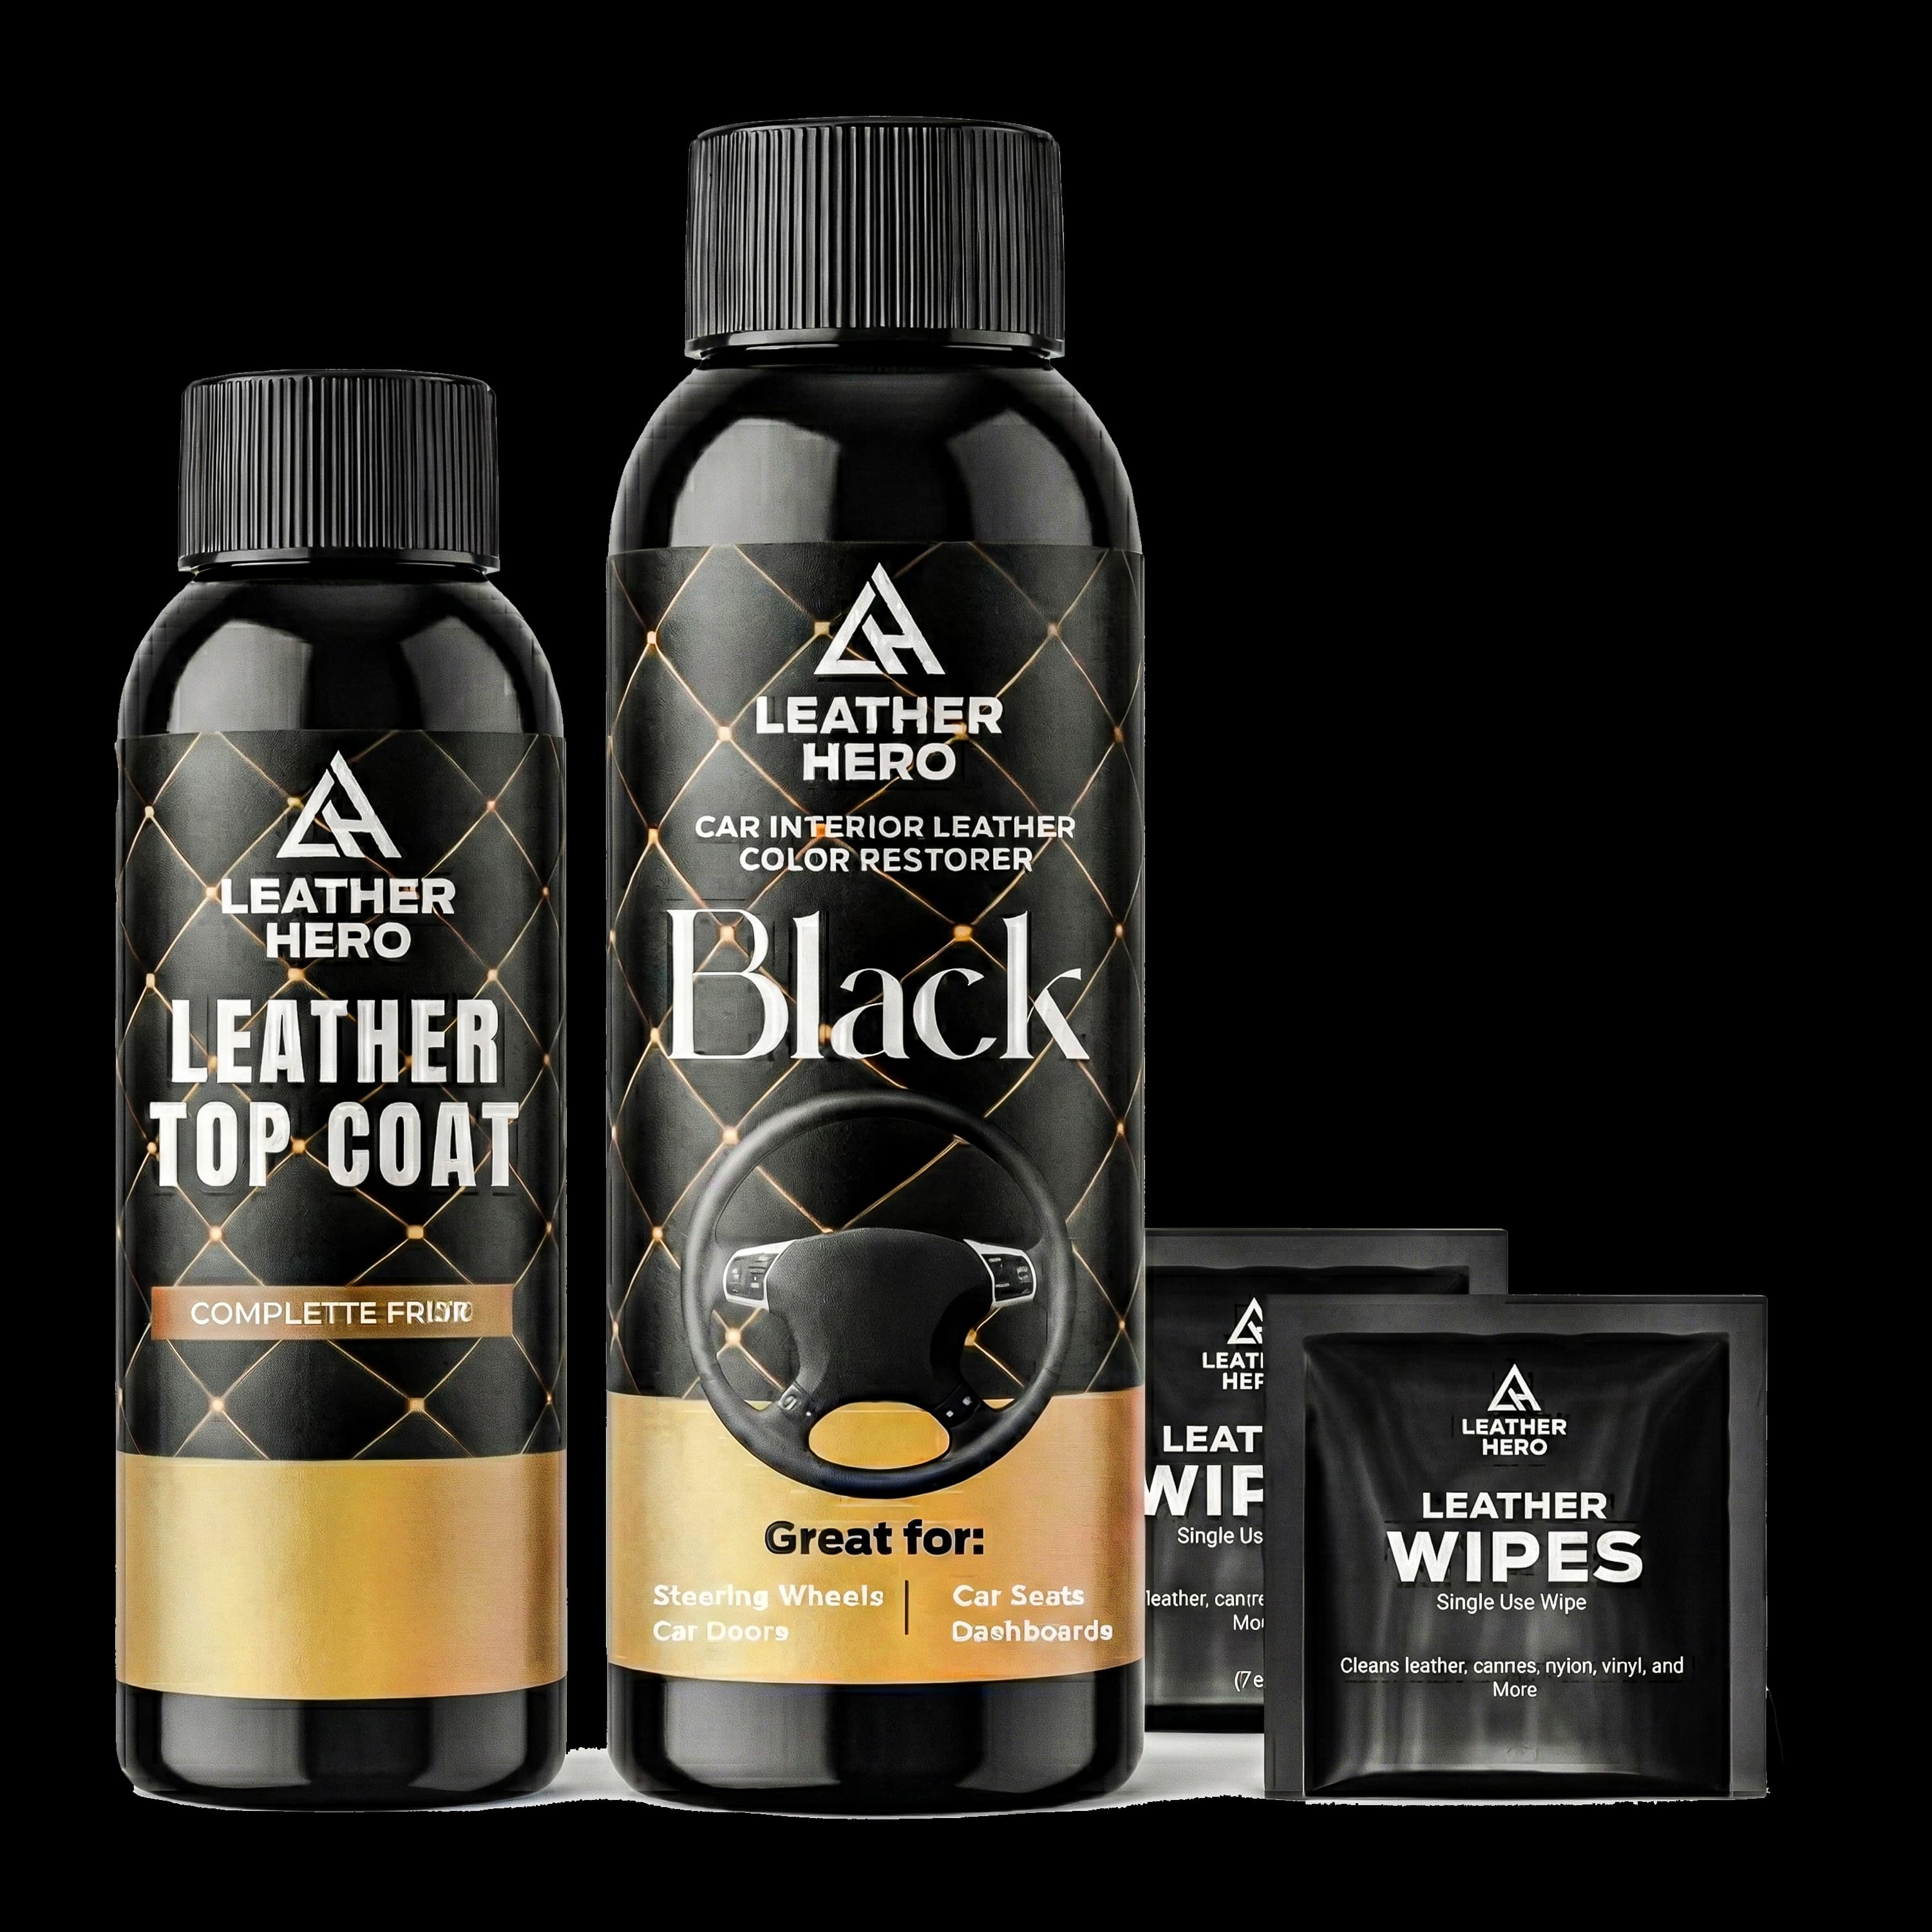
Recommended Product
Leather Hero Steering Wheel Restoration Kit - Black
A focused product pick for the restoration steps in this guide.
Helpful References
Frequently Asked Questions
Can I restore leather car seats myself?
Yes, many finished leather car seats can be cleaned, recolored, and protected at home if the damage is surface wear rather than deep tearing or severe peeling.
Why is my leather steering wheel shiny?
A shiny steering wheel is often caused by body oil, grime, flattened finish, and repeated friction. Cleaning may reduce the shine, but worn finish may need restoration and a low-sheen top coat.
Should car leather be matte or glossy after restoration?
Most car interiors look more natural with matte or satin protection. Gloss can look too bright unless the original interior was designed with a polished finish.
How long should I wait before driving after restoring car leather?
Follow the product directions, but whenever possible allow restored areas to dry and cure overnight before heavy use, especially seats and steering wheels.
Join The List
Leather Care, Delivered.
Get expert guides and exclusive offers in your inbox.