
How to Clean Leather Before Restoration: A Step-by-Step Guide
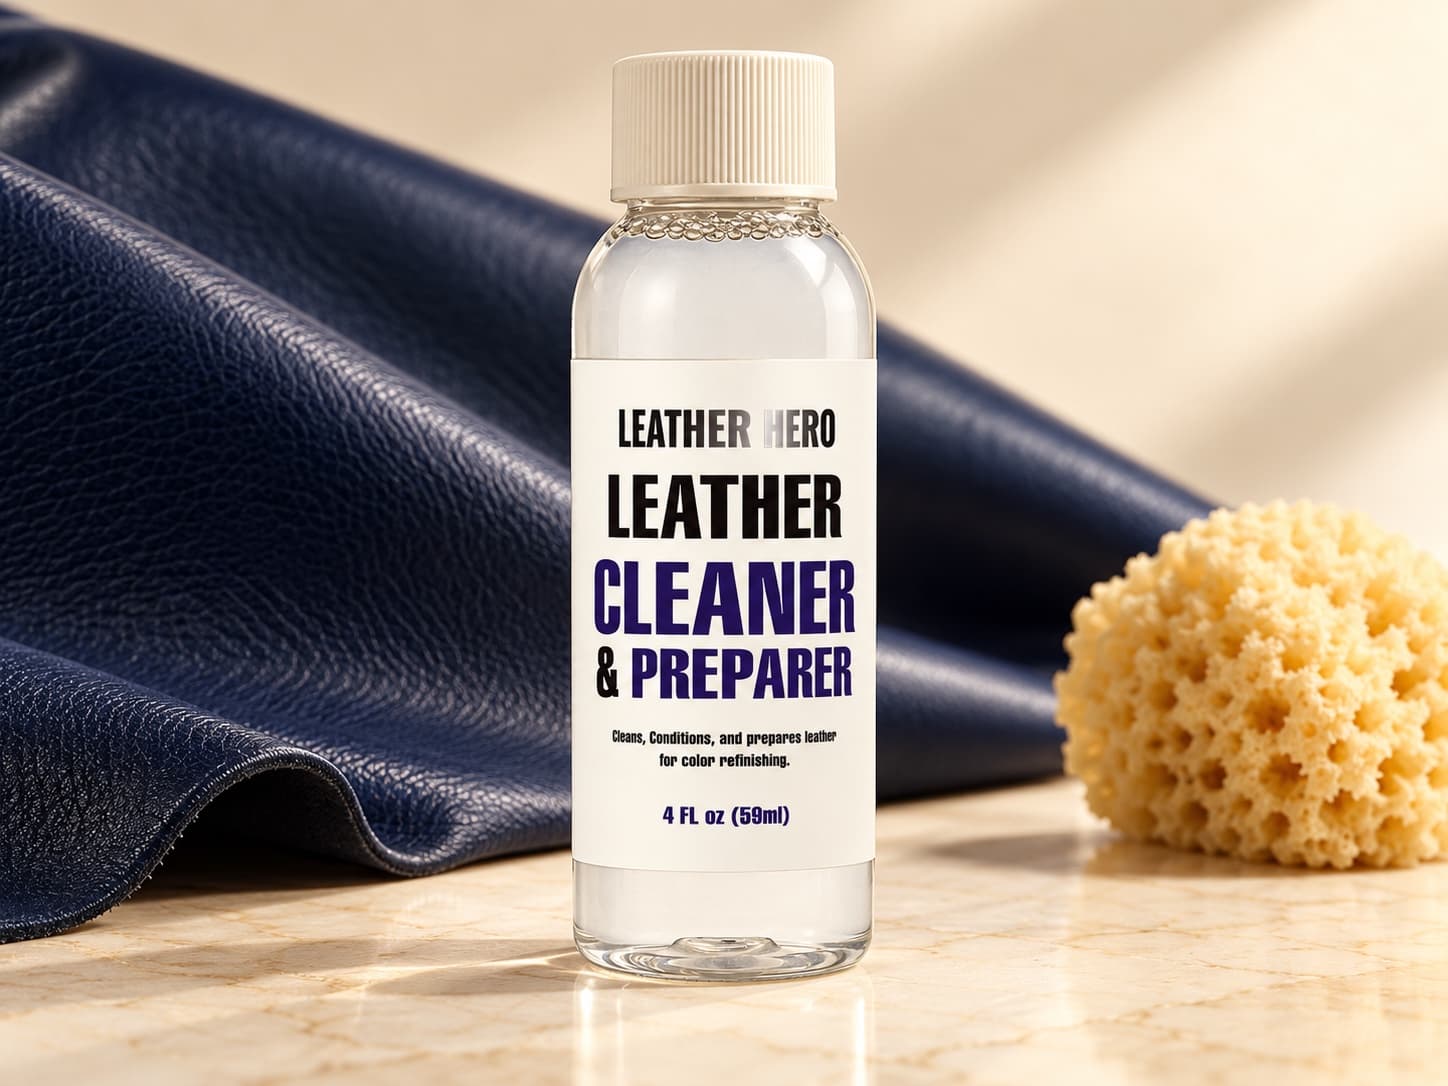
Successful leather restoration starts before the first coat of color. Dirt, body oil, wax, silicone, and old conditioner can form an invisible barrier that makes repair products streak, separate, or rub away early.
This guide explains how to clean finished smooth leather before restoration, how to spot contamination, and when the surface is ready for filler, color restorer, or protective finish.
Identify the leather type before cleaning; smooth finished leather and suede need different products and methods.
Remove loose dust first, then use a leather-safe cleaner in small sections with a soft cloth or sponge.
Let the surface dry completely before judging its color or applying any repair product.
Always test cleaner, color, and finish in a hidden area before treating the visible surface.
Restoration Flow
Identify and patch test
Remove loose debris
Clean in small sections
Dry and inspect
Why Cleaning Comes Before Leather Repair
Leather collects more than visible dirt. Handbags and steering wheels absorb skin oils, furniture holds polish and household spray residue, and shoes collect wax and road grime. Applying filler or color over that buildup can trap contamination under the repair and weaken adhesion.
Cleaning also reveals the true condition of the leather. A dark patch may be oil rather than intact color, while a pale area may be residue instead of fading. Once the surface is clean and dry, it is easier to decide whether the next step should be conditioning, filler, color restoration, or simply routine protection.
Check the Leather Type and Test First
This process is intended for finished smooth leather, the type commonly used on couches, car seats, shoes, bags, and jackets. Suede and nubuck have a raised nap and should be cleaned with dedicated suede products. Aniline leather can be highly absorbent and may darken quickly, so professional advice can be safer for valuable items.
Test the cleaner in a hidden area. Apply a small amount, let the spot dry, and check for color transfer, darkening, stiffness, or a change in sheen. A dry result that looks and feels normal is a better signal than judging the area while it is still damp.
How to Clean Finished Leather Step by Step
Vacuum seams and wipe away loose grit with a dry microfiber cloth. Put cleaner on the cloth or applicator instead of pouring it directly onto the leather. Work one small section at a time using gentle overlapping motions, then lift loosened residue with a clean part of the cloth.
Avoid soaking seams, perforations, and damaged edges. Repeat lightly if the cloth still picks up heavy residue, but do not scrub aggressively. More pressure does not equal better cleaning; it can disturb an already worn finish and make the repair area larger.
How to Know the Leather Is Ready
Let the leather air-dry away from direct heat. The surface should feel clean rather than greasy, tacky, or slick, and a fresh white cloth should not pick up obvious soil when rubbed gently over the area. Inspect the color and texture in natural light after drying.
If the surface is smooth but faded, move to a matching color restorer. If scratches or cracks catch a fingernail, repair the texture with filler first. If the leather looks healthy after cleaning, it may only need an appropriate maintenance product rather than a full recoloring treatment.
Common Preparation Mistakes
Do not use bleach, alcohol, baby wipes, furniture polish, or a strong household degreaser. These products can dry leather, strip color unevenly, or leave ingredients that interfere with later coats. Avoid applying color to damp leather or trying to speed drying with a hair dryer.
Do not skip the final inspection. Color changes tone, filler changes texture, and top coat changes sheen. Choosing the next product only after the clean leather is dry helps you use the lightest process that solves the actual problem.
Match the product to the leather type, finish, and condition, then test it on a hidden area before full application.
Leather Hero Care Note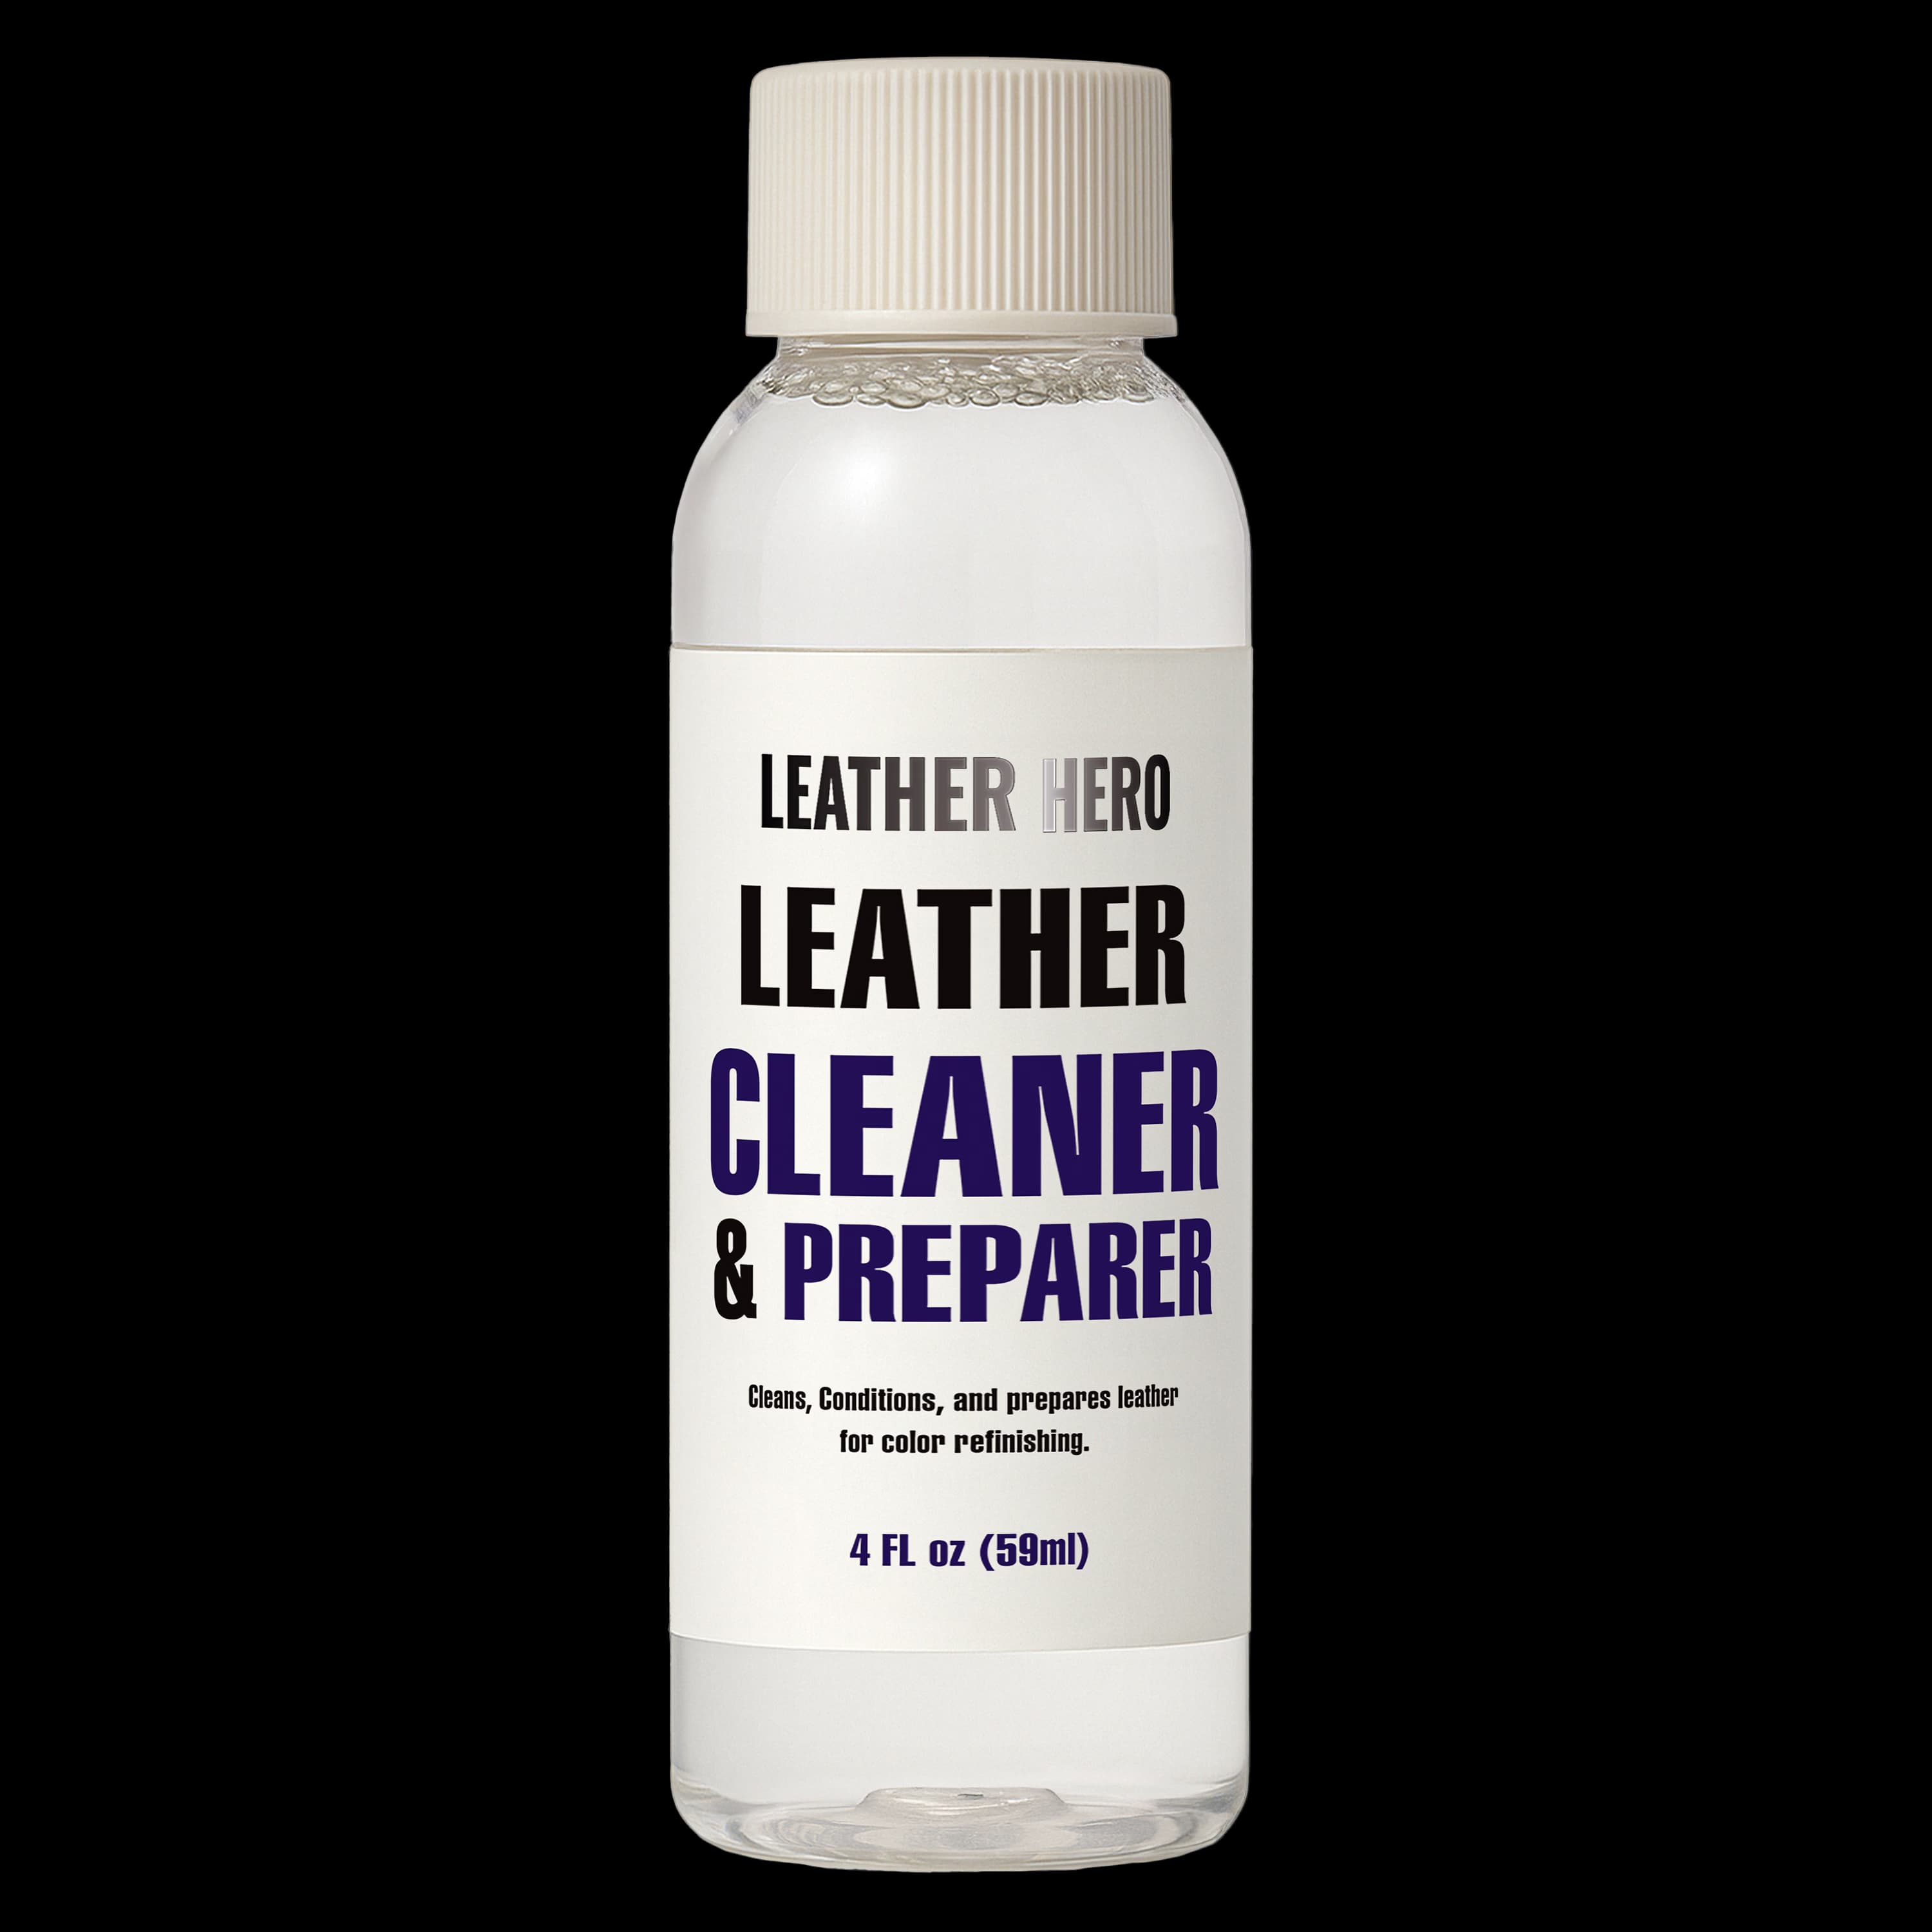
Recommended Product
Leather Hero Cleaner & Preparer
A focused product pick for the restoration steps in this guide.
Helpful References
Frequently Asked Questions
Do I need to clean leather before using color restorer?
Yes. Cleaning removes oils, wax, dirt, and residue that can cause color restorer to apply unevenly or wear away early.
How long should leather dry after cleaning?
Let it air-dry fully before applying another product. Drying time varies with humidity and how much cleaner was used, so judge the surface rather than relying on a fixed time.
Can I use this method on suede?
No. Suede and nubuck need dedicated cleaners, brushes, and nap-safe methods rather than a smooth-leather preparation routine.
Should I condition leather before recoloring it?
Follow the instructions for the color system you plan to use. Heavy conditioner immediately before color can reduce adhesion, so preparation products should be compatible with the next step.
Join The List
Leather Care, Delivered.
Get expert guides and exclusive offers in your inbox.